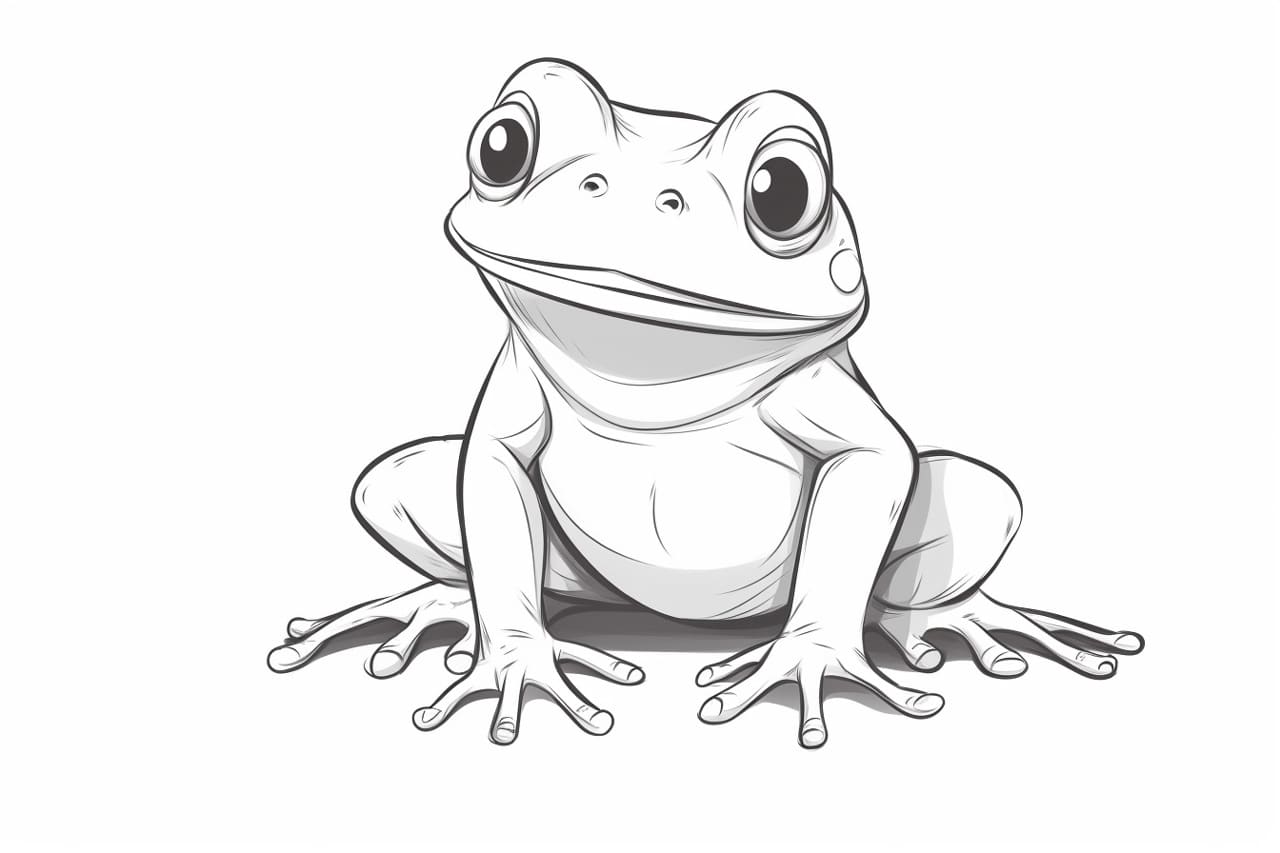
Welcome to this step-by-step tutorial on how to draw a cartoon frog! Whether you’re a beginner or an experienced artist looking to add a fun and whimsical character to your artwork, this guide will help you create a delightful cartoon frog. By following these simple instructions, you’ll be able to bring a cute and lively frog to life on your paper or digital canvas. So grab your drawing materials and let’s get started!
Materials Required
To begin with, gather the following materials:
- Drawing paper or sketchbook
- Pencil
- Eraser
- Fine-tip black marker or pen
- Colored pencils or markers (optional)
Now that you have all your materials ready, let’s dive into the steps to draw a cartoon frog!
Step 1: Draw the Outline
Start by drawing a slightly elongated oval shape, positioned diagonally on your paper. This oval shape will become the body of the frog. It doesn’t have to be perfect, as we can refine it later on.
Step 2: Add the Legs and Arms
Extend two curved lines from the bottom of the oval shape to form the frog’s hind legs. These lines should curve outward, creating a gentle arc. Repeat the same process on the top portion of the oval to form the frog’s front legs or arms.
Step 3: Define the Shape of the Body
Refine the outline of the frog’s body by making it slightly wider in the lower portion and narrower towards the top. Smooth out the curves and make any necessary adjustments to achieve the desired shape.
Step 4: Draw the Eyes
Position your frog’s eyes near the top of the oval shape. Draw two large circles or ovals, slightly slanted towards each other. Leave a small space between them for the nose. To create a lively expression, add two smaller circles within each eye to represent the frog’s pupils.
Step 5: Add the Nose and Mouth
Between the eyes, draw a small rounded triangle shape for the frog’s nose. Just below the nose, draw a curved line to represent the mouth. You can make the mouth slightly open or closed, depending on the expression you want to convey.
Step 6: Sketch the Details
Start adding some details to your cartoon frog. Draw a line across the body, slightly below the eyes, to create the division between the frog’s head and body. Add some curved lines to indicate the frog’s webbed feet. You can also add some simple patterns or spots on the frog’s body for added character.
Step 7: Finalize the Outline
Carefully go over your pencil lines with a fine-tip black marker or pen. This step will help make your drawing more defined and polished. Leave out any unnecessary guide lines as you trace the main outlines of your cartoon frog.
Step 8: Erase the Pencil Lines
Once you’re satisfied with your inked outline, gently erase any remaining pencil lines. Take care not to erase the inked lines you just created. This will give your drawing a clean and finished look.
Step 9: Color your Frog (optional)
Now comes the fun part – coloring your cartoon frog! Use colored pencils or markers to bring your frog to life. You can use any color you like, but shades of green are most commonly associated with frogs. Experiment with different color combinations to create a unique and vibrant character.
Conclusion
Congratulations, you’ve successfully drawn a cartoon frog! With these step-by-step instructions, you’ve learned how to create a fun and adorable character that can be used in various art projects. Remember to practice and experiment with different styles to develop your own artistic flair. Enjoy the process and have fun bringing your cartoon frogs to life!


