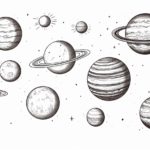
Whether you’re an aspiring artist or simply looking for a fun and creative project, drawing celestial bodies can be a fascinating and rewarding experience. In this step-by-step guide, we will explore how to draw one of the most mesmerizing planets in our solar system, Jupiter. Using simple techniques and a few basic materials, you will be able to create a stunning representation of this gas giant. So let’s embark on this artistic journey and learn how to draw Jupiter on paper!
Materials Required
Before we begin, gather the following materials:
- Drawing paper or sketchbook
- Pencil (HB or B)
- Eraser
- Colored pencils or markers (optional)
Having these materials on hand will ensure a smooth and enjoyable drawing process.
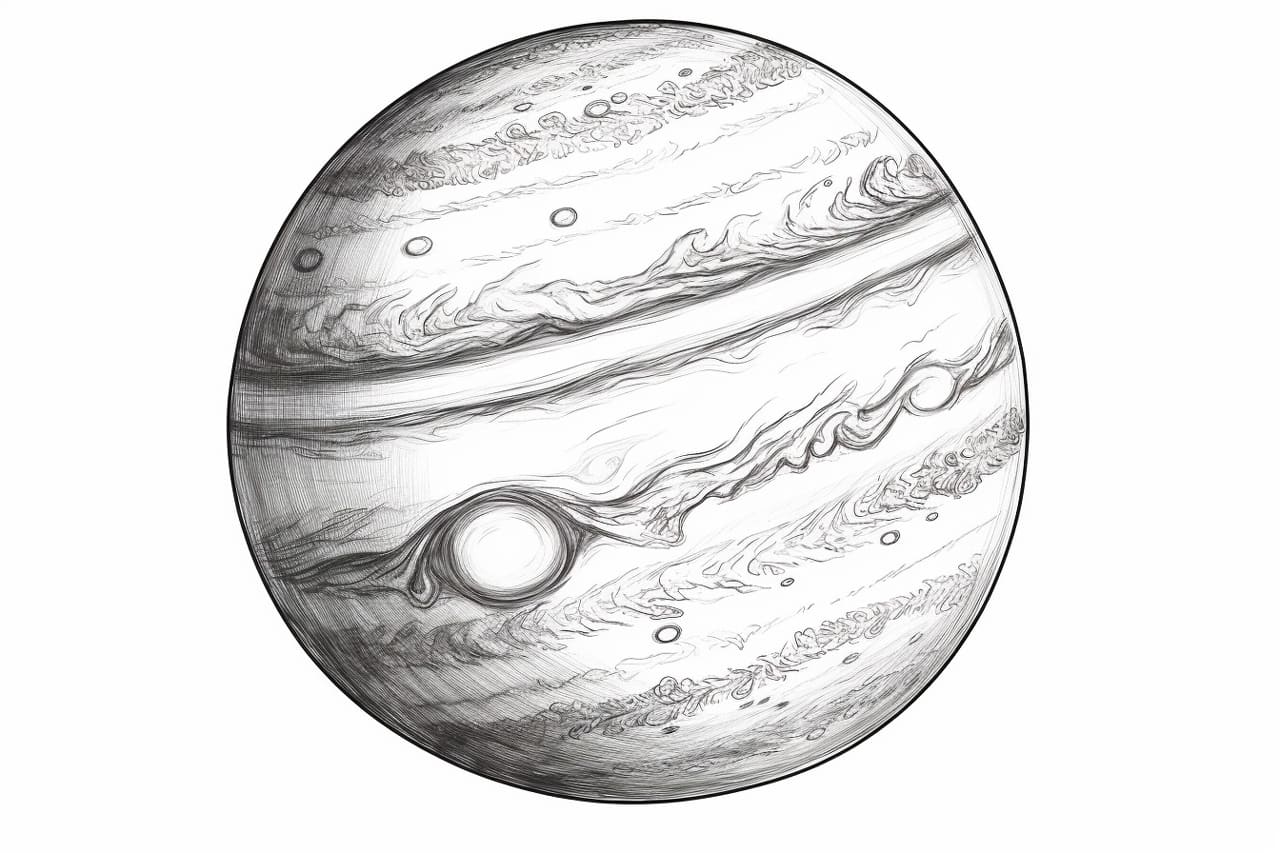
Step 1: Outlining the Basic Shape
Start by lightly sketching an oval shape at the center of your paper. This will serve as the foundation for Jupiter’s main body. Remember to keep your lines light and faint, as they will be erased later on.
Step 2: Defining the Atmosphere Bands
Jupiter is renowned for its distinct, colorful atmosphere bands. To capture this characteristic feature, use your pencil to draw several horizontal lines across the surface of the oval shape. These lines will represent the different bands of gas swirling around the planet. Make sure the lines are not perfectly straight, as Jupiter’s atmosphere exhibits some turbulence.
Step 3: Adding Details to the Atmosphere Bands
Now, within each band, add some irregular shapes and lines to create a more realistic representation of Jupiter’s atmosphere. These shapes can vary in size, width, and direction, mimicking the stormy and chaotic patterns present on the planet’s surface.
Step 4: Creating the Great Red Spot
One of Jupiter’s most famous features is the Great Red Spot, a massive storm that has been raging for centuries. To depict this iconic feature, draw a large oval shape near the edge of the planet, on one of the atmosphere bands. This oval should be elongated and slightly tilted.
Step 5: Shading and Blending
Now that the main features of Jupiter are outlined, it’s time to add depth and dimension to your drawing. Begin by shading the atmosphere bands using a darker pencil, such as a 2B or 4B. Apply the pencil strokes gently and gradually build up the tone, paying attention to the areas between the irregular shapes to create a smooth transition.
To further enhance the realistic look, use your finger or a blending stump to blend the graphite and create a softer, more atmospheric effect. This technique will help to smoothen out any rough lines and add a sense of depth to your drawing.
Step 6: Enhancing Colors (optional)
If you wish to add a touch of color to your drawing, grab your colored pencils or markers. Jupiter’s atmosphere is known for its vibrant hues, so feel free to experiment with shades of red, orange, yellow, and white. Apply the colors lightly and gradually build up the layers to achieve a realistic representation of the planet’s atmosphere.
Step 7: Erasing Guidelines
Once you’re satisfied with the shading and coloring, gently erase the initial light sketch lines that were used to outline the shape of Jupiter. Be careful not to smudge the graphite or colored pencil while doing so.
Conclusion
Congratulations! You have successfully learned how to draw Jupiter, one of the most awe-inspiring planets in our solar system. By following these step-by-step instructions, you’ve been able to capture the essence of this gas giant on paper. Remember, practice makes perfect, so don’t be afraid to experiment and refine your drawing skills. Happy creating!