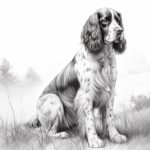
Welcome to this step-by-step guide on how to draw a golden retriever! Golden retrievers are beloved and beautiful dogs known for their friendly nature and golden coats. Whether you’re an experienced artist or just starting out, this tutorial will help you capture the essence of a golden retriever on paper. So grab your materials, find a quiet spot, and let’s get started!
Materials Required
To complete this drawing, you will need the following materials:
- Drawing paper or sketchbook
- Pencils (preferably a range from 2H to 6B)
- Eraser
- Blending tools (such as a blending stump or tortillon)
- Fine-tip black pen or marker (optional, for outlining)
- Colored pencils or markers (optional, for adding color)
Now that you have your materials gathered, let’s begin creating our golden retriever masterpiece!
Step 1: Sketch the Basic Shapes
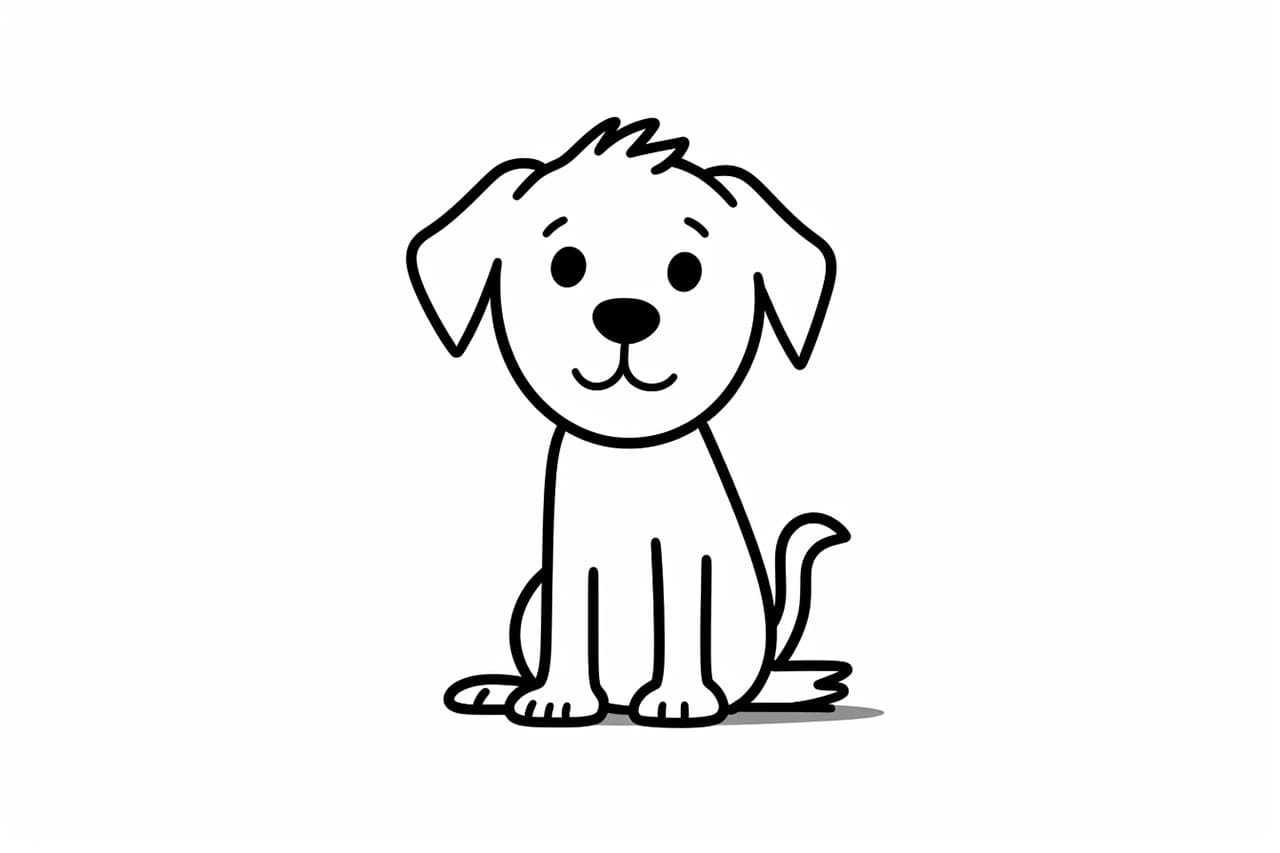
Start by lightly sketching the basic shapes that will serve as the framework for your drawing. Begin with an oval shape for the head, followed by a slightly bigger oval shape for the body. Add two circles for the eyes, and a curved line for the tail. These initial shapes will help you maintain proportion and capture the overall form of the golden retriever.
Step 2: Define the Facial Features
Now, let’s focus on the golden retriever’s face. Use gentle strokes to sketch the eyes, nose, and mouth within the circles you drew earlier. Pay close attention to the placement and size of these features, as they play a crucial role in capturing the breed’s characteristics. Don’t forget to indicate the ears as well, which are generally medium-sized and hang down to the sides.
Step 3: Add Fur Details
Golden retrievers have beautiful, long fur that should be depicted in your drawing. Start by lightly sketching the direction of the fur using short, curved lines all over the body. Be mindful of the direction, as the fur tends to flow downwards on the body and is longer around the neck and tail. Continue adding these fur details until you are satisfied with the overall texture.
Step 4: Refine the Outline
At this stage, refine the outline of the golden retriever by adding more definition to its body shape. Go over the initial ovals and lines you sketched, making them more prominent and accurate. Carefully observe the reference you are using (such as a photograph or a real golden retriever) to ensure your outline matches the breed’s anatomy.
Step 5: Focus on the Eyes and Nose
The eyes and nose are key elements in capturing the expression of a golden retriever. Darken the outlines of the eyes and carefully shade the areas around them to add depth. Use soft shading techniques to create a realistic look. Pay attention to the shape and curve of the nose, adding highlights and shadows to give it a three-dimensional appearance.
Step 6: Shade the Fur
Now it’s time to add shading to the fur, bringing it to life. Start by using a softer pencil (such as a 2B or 4B) to shade the darker areas, especially around the ears, back, and tail. Gradually build up the shading, using a combination of hatching and cross-hatching techniques to create depth and texture. Remember to follow the direction of the fur while adding these shading details.
Step 7: Blend the Shading
To achieve a smooth and realistic look, use a blending tool such as a blending stump or tortillon to gently blend the shading you just created. This will soften the lines and add a seamless texture to the fur. Be careful not to blend too much, as you still want some texture and definition to remain.
Step 8: Add the Finishing Touches
To complete your golden retriever drawing, take a step back and assess the overall composition. Make any necessary adjustments to the shading, fur details, or proportions. Once you’re satisfied, you can choose to outline the drawing with a fine-tip black pen or marker for a bold, finished look. If you wish to add color, you can use colored pencils or markers to bring vibrancy to your artwork.
And there you have it! You’ve successfully learned how to draw a golden retriever. With practice, you’ll continue to refine your skills and develop your own distinctive style. Remember to be patient with yourself and enjoy the process of creating art.
Conclusion
In this tutorial, we’ve explored the step-by-step process of drawing a golden retriever. By following these instructions and using the recommended materials, you can create a beautiful and realistic representation of this beloved breed. Whether you’re drawing for your own enjoyment or as a gift for a golden retriever enthusiast, this guide provides a solid foundation for capturing the charm and essence of these wonderful dogs.
So, grab your pencils and let your creativity flow! With practice and dedication, you’ll be drawing golden retrievers with confidence in no time.
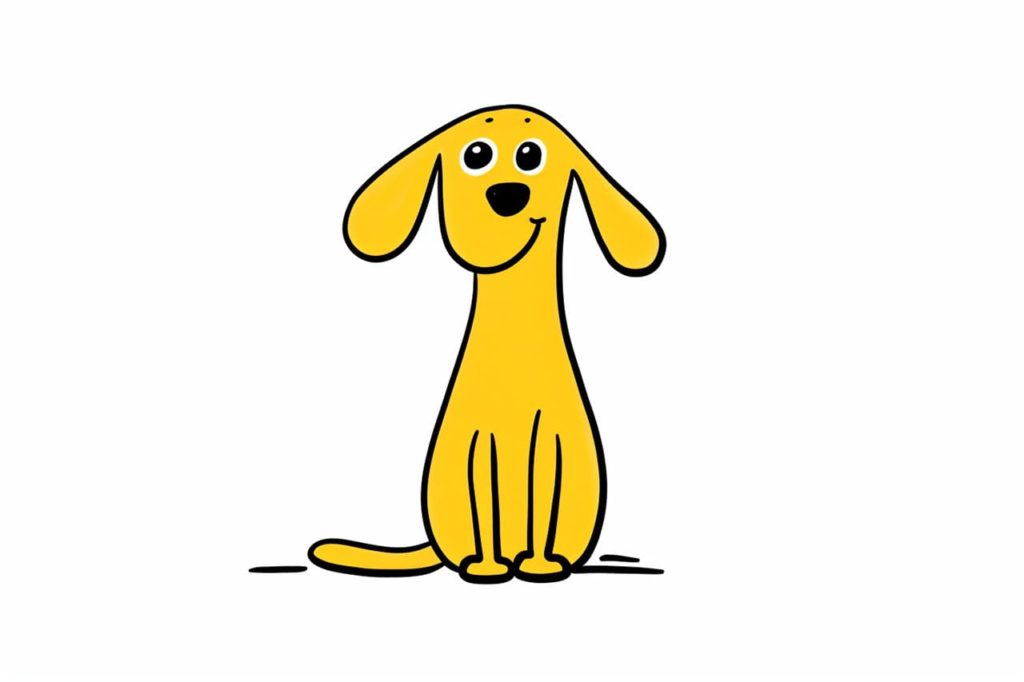
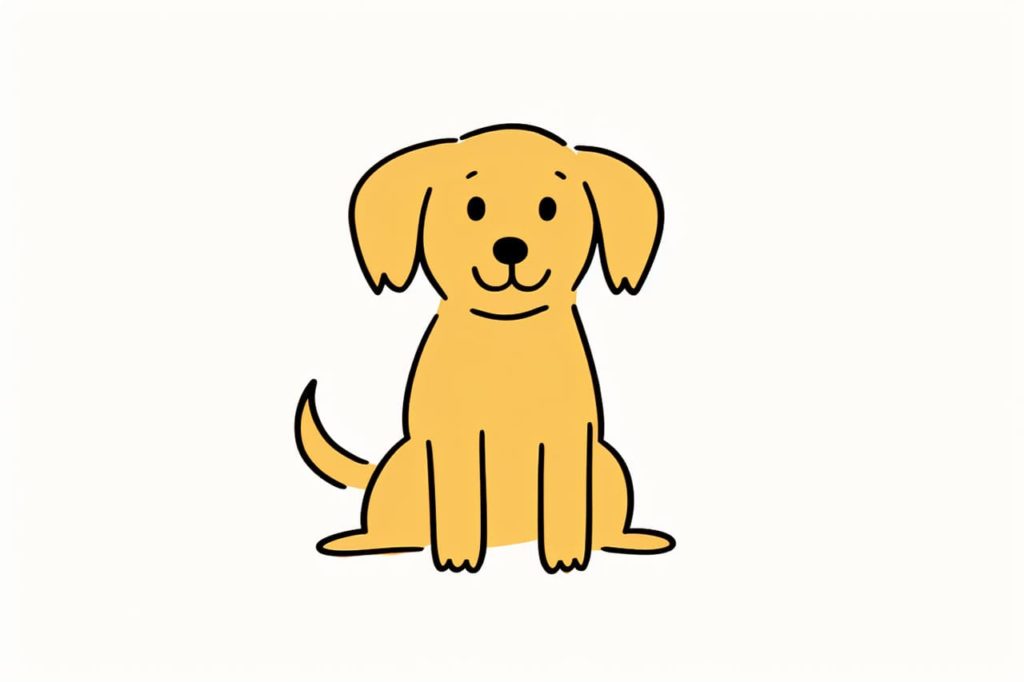
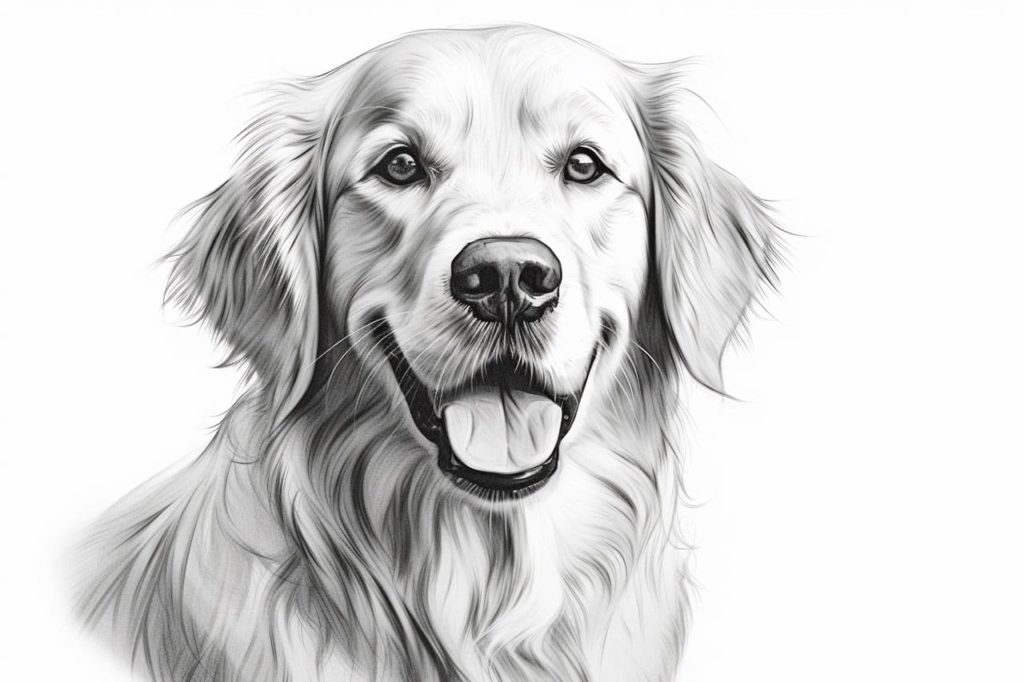
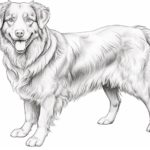
Gallery of Golden Retriever Drawings