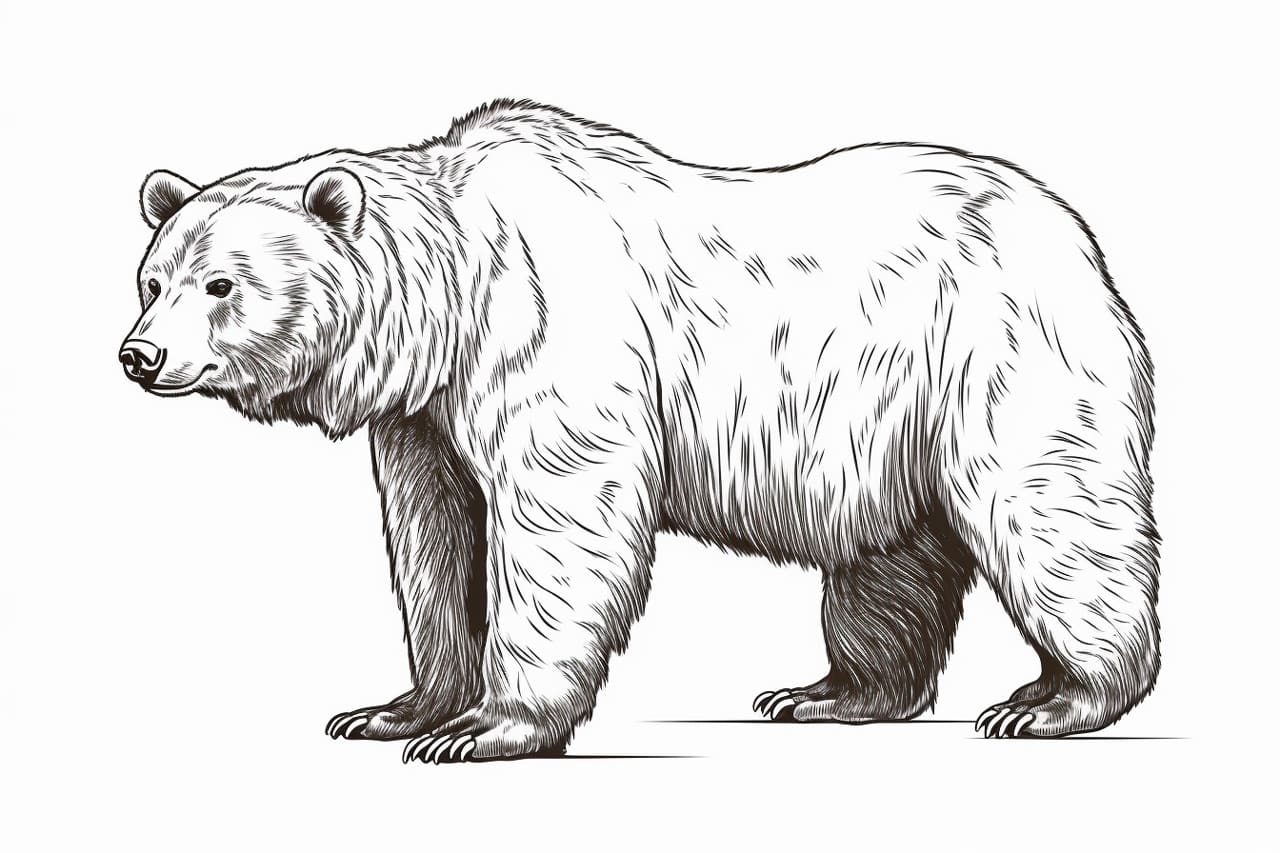
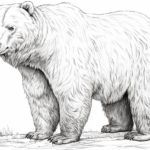
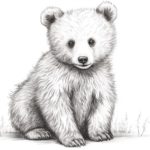
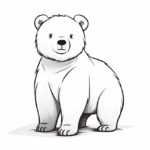
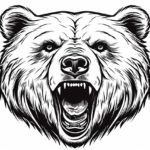
Are you interested in learning how to draw a brown bear? Drawing animals can be a fun and rewarding experience, and in this tutorial, we will guide you through the process of drawing a realistic brown bear step by step. By following along with these instructions, you will be able to create a beautiful bear drawing that captures the essence and details of this majestic creature.
Materials Required
To start your brown bear drawing, gather the following materials:
- Pencil: Use a graphite pencil with a range of softness, such as an HB or 2B, for sketching and shading.
- Eraser: Choose a kneaded or vinyl eraser to easily correct mistakes or adjust your drawing.
- Paper: Opt for a thicker paper, such as drawing paper or sketchbook paper, that can handle shading and erasing.
- Reference photo: Find a clear and detailed photo of a brown bear to use as a reference throughout the drawing process.
Now that you have your materials ready, let’s dive into the steps of drawing a brown bear.
Step 1: Sketch the Basic Shape
Begin by lightly sketching the basic shape of the bear’s body using simple geometric shapes. Start with a large oval for the bear’s head and a smaller oval below it for the body. Connect these two ovals with a curved line representing the neck. Add two small circles for the bear’s ears.
Step 2: Add the Facial Features
Next, focus on the bear’s face. Divide the head oval into halves horizontally and vertically, using light lines as guidelines. Place the eyes along the horizontal guideline, with enough space between them for the bear’s nose. Add a small oval near the bottom of the head for the nose and a curved line for the mouth. Sketch the bear’s eyes and ears, paying attention to their placement and size.
Step 3: Outline the Bear’s Body
Using the basic shapes as a reference, gradually outline the bear’s body. Start with the head and neck, gradually moving down to the body and limbs. Remember to keep your lines light at this stage, as you may need to adjust them later. Pay attention to the bear’s proportions and the overall shape of its body.
Step 4: Refine the Details
Now that you have the basic outline, start adding more details to your bear drawing. Begin with the bear’s face, working on the eyes, nose, and mouth. Capture the expression and features of the bear by paying attention to the shape and size of its eyes, the placement of its nose, and the contour of its mouth. Use light, short strokes to define the fur around the face.
Step 5: Add Fur Texture
To make your bear drawing more realistic, add texture to its fur. Bears have long, thick fur, so use your pencil to create short, curved strokes that follow the body’s form. Pay attention to the direction of the fur and gradually build up the layers, creating depth and volume. Use darker strokes in areas that would naturally have more shadow, such as the underside of the body.
Step 6: Define the Body and Limbs
Focus on defining the bear’s body and limbs further. Add muscle definition and volume by shading areas that would be in shadow or have less light. Observe the reference photo carefully to see where these shading areas appear. Use a combination of hatching and crosshatching techniques to create texture and depth in the bear’s fur.
Step 7: Refine the Face
Return to the bear’s face and refine the details. Darken the eyes, adding depth and intensity to them. Adjust the shape and shading of the nose to create a more realistic appearance. Continue adding fur texture to the face and ears, paying attention to the direction of the fur and the shading of darker areas.
Step 8: Finalize the Details
In the final step, take a moment to review your drawing and make any necessary adjustments. Erase any unnecessary guidelines or stray marks. Add additional details to enhance the overall realism of your bear drawing. Pay attention to small features, such as claws, wrinkles, or individual strands of fur, that will add depth and character to your artwork.
Conclusion
Congratulations! You have successfully learned how to draw a brown bear. By following these step-by-step instructions and using your creativity, you have created a realistic and detailed bear drawing. Keep practicing and exploring different techniques to further improve your animal drawing skills. Drawing animals is not only a great way to enhance your artistic abilities but also a wonderful way to appreciate and understand the beauty of nature.
Remember to have fun throughout the process and don’t be afraid to make mistakes. Each drawing is an opportunity to learn and grow as an artist. So grab your pencils, find a reference photo, and let your imagination roam in the world of drawing bears!

