Are you an aspiring artist who loves drawing animals? If so, learning how to draw cheetah print can be a fun and exciting challenge. Cheetahs are known for their beautiful and unique spots, making them a popular subject for artists. In this step-by-step guide, I will walk you through the process of creating a realistic and captivating cheetah print pattern. So grab your art supplies and let’s get started!
Materials Required
Before we begin, gather the following materials:
- Pencil – for sketching and outlining
- Eraser – to correct any mistakes
- Fine-tip black marker – for drawing the cheetah spots
- Tan, yellow, and black colored pencils – for shading and coloring
With these materials ready, you’re all set to unleash your creativity and create a captivating cheetah print!
Step 1: Start with a Basic Sketch
To begin, lightly sketch the outline of the shape you want to fill with cheetah print. It could be a cheetah’s face, body, or even a simple shape like a circle. Keep your sketch light and loose, as it is just a guideline for the pattern.
Step 2: Create the Base Color
Now that you have the outline, choose a light tan or yellow color pencil to fill the area inside the shape. This will be the base color for your cheetah print.
Step 3: Add Irregular Shapes
With the base color in place, it’s time to start adding the spots. Cheetah spots are typically irregular in shape and vary in size. Use your black marker to draw these irregular spots randomly across the surface of the shape. Start with larger spots and gradually add smaller ones as you move towards the edges.
Step 4: Vary Shapes and Sizes
To make your cheetah print more authentic, it’s important to vary the shapes and sizes of the spots. Some spots may have rounded edges, while others may be more elongated. Play around with different shapes to give your pattern a natural and organic look.
Step 5: Enhance Depth with Shading
To add depth and dimension to your cheetah print, use your black colored pencil to shade around some of the spots. Start by lightly shading the areas surrounding the spots, gradually building up the darkness to create a realistic three-dimensional effect.
Step 6: Add Highlights
To make your cheetah print pop, use a white colored pencil to add highlights to some of the spots. Choose the spots that would naturally catch the light and apply gentle strokes of white to create a subtle contrast.
Step 7: Refine and Adjust
Take a step back and evaluate your cheetah print. This is the perfect time to make any necessary adjustments or refinements. If you feel that certain spots are too dark or too light, use your eraser to lighten or adjust them accordingly. Don’t be afraid to experiment and make changes until you are satisfied with the overall look.
Step 8: Complete the Background
To make your cheetah print stand out, consider adding a complementary background. You can use colored pencils or even experiment with watercolors to create a vibrant backdrop for your artwork.
Conclusion
Congratulations! You have learned how to draw a captivating cheetah print. By following these step-by-step instructions, you can create realistic and visually striking patterns that will impress your friends and fellow artists. Remember to have fun and embrace your creativity throughout the process. So go ahead, grab your art supplies, and start drawing your very own cheetah prints today!
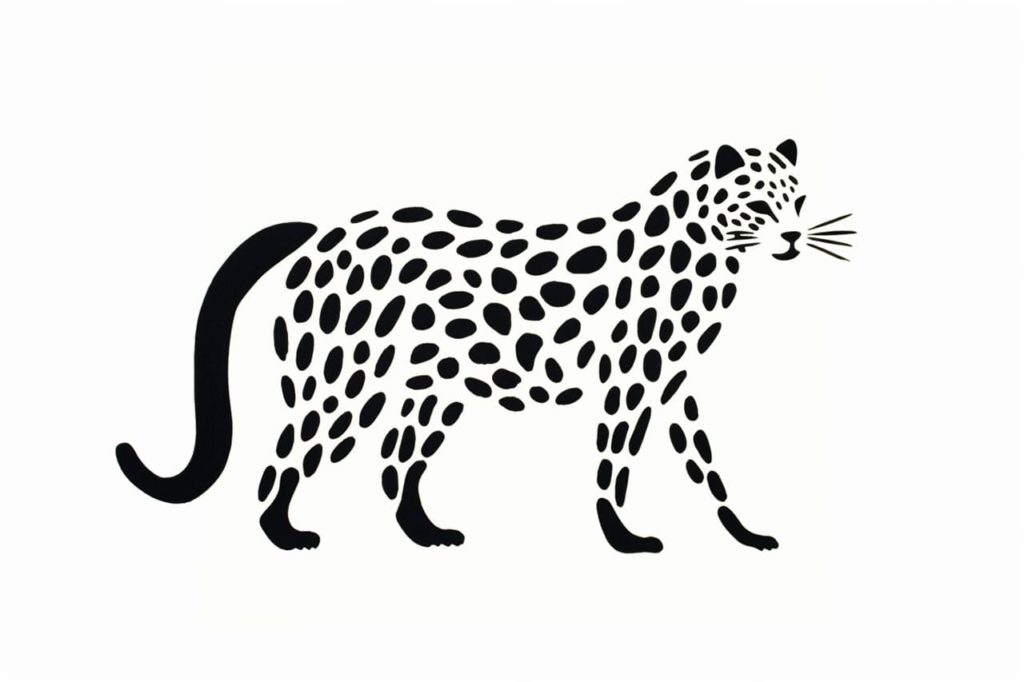
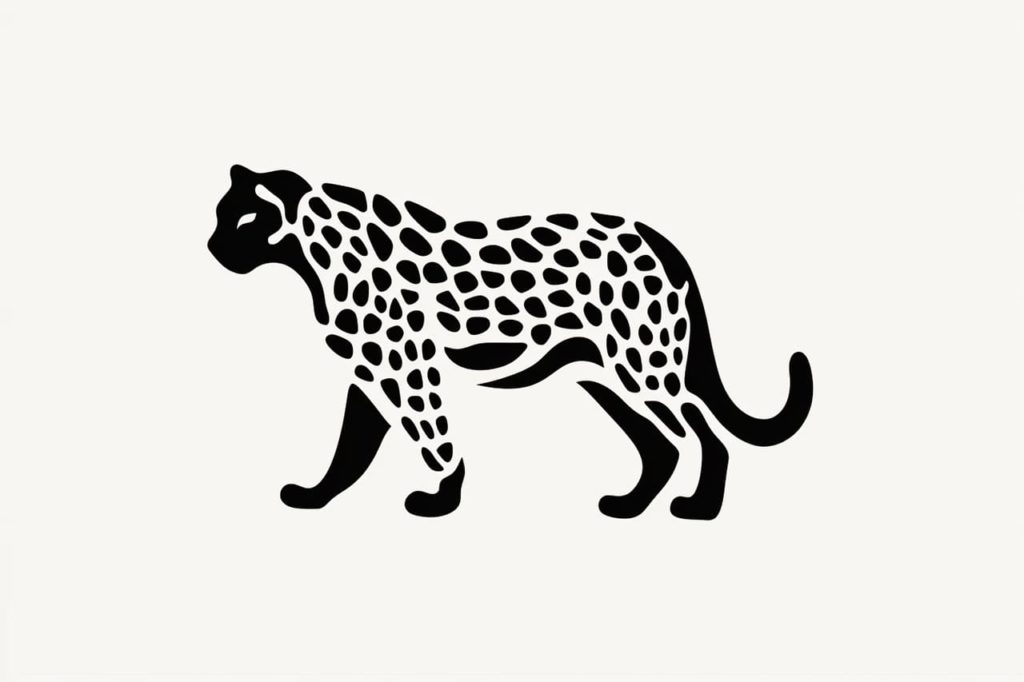
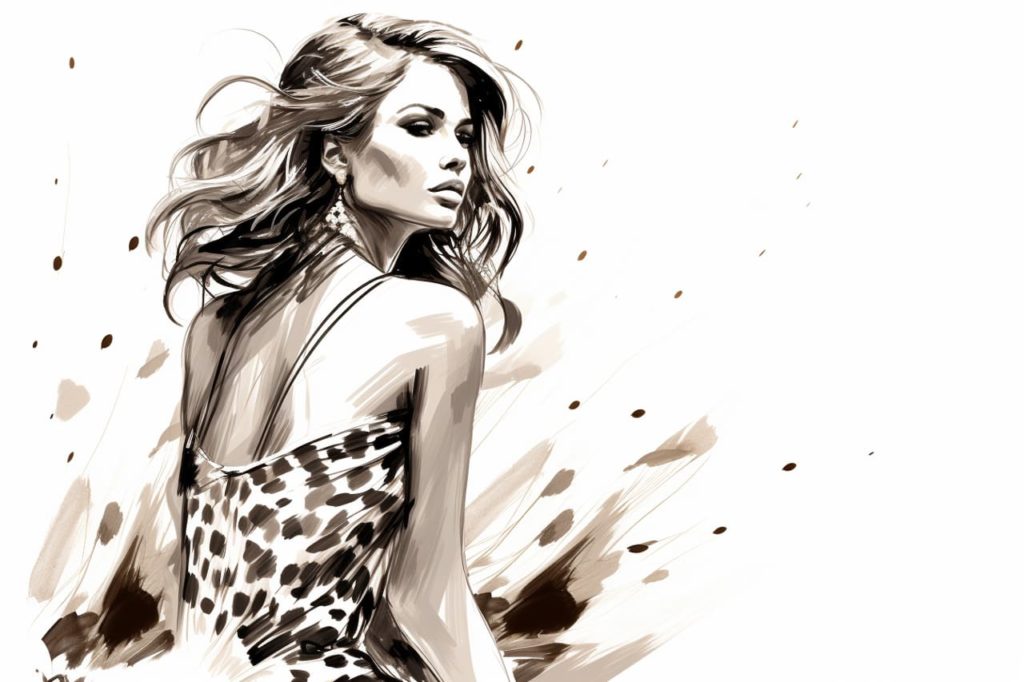
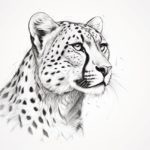
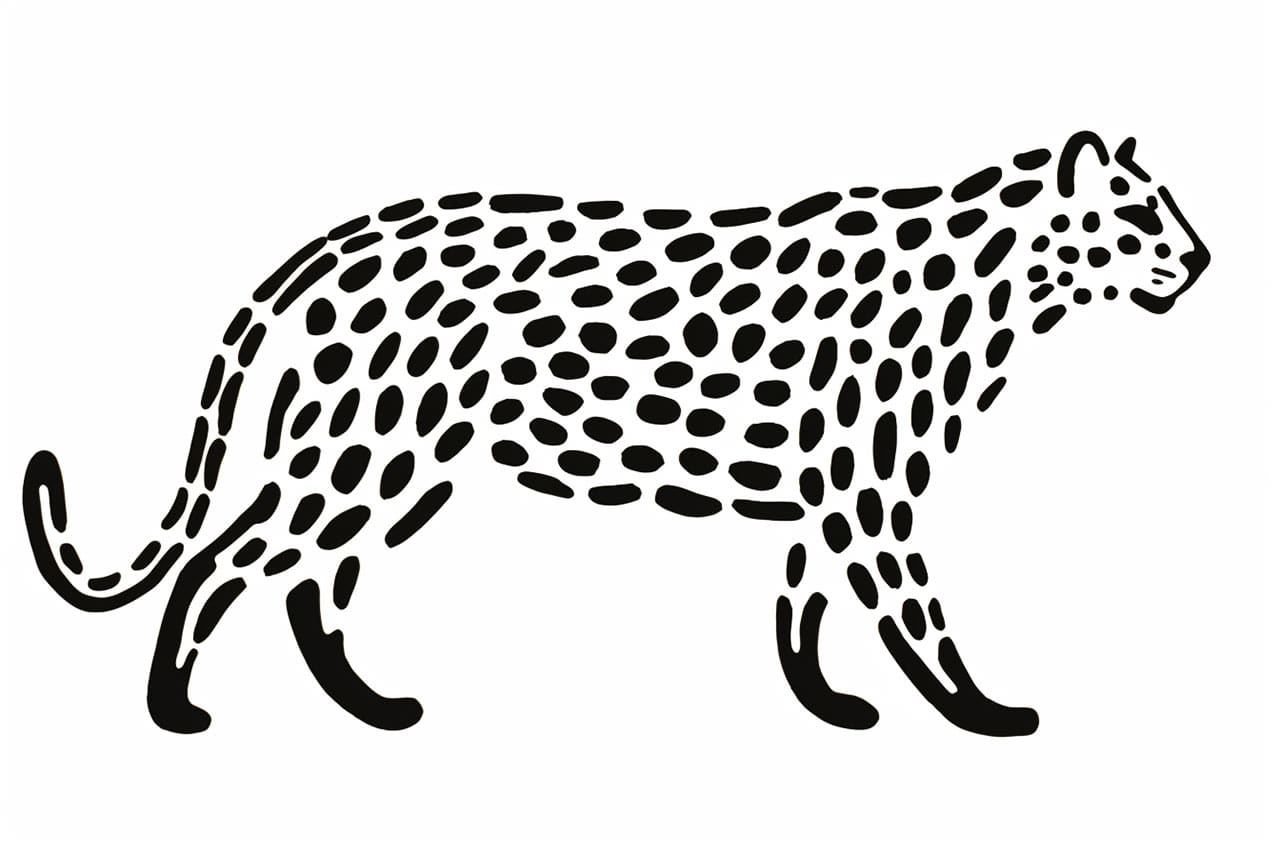
Gallery of Cheetah Print Drawings