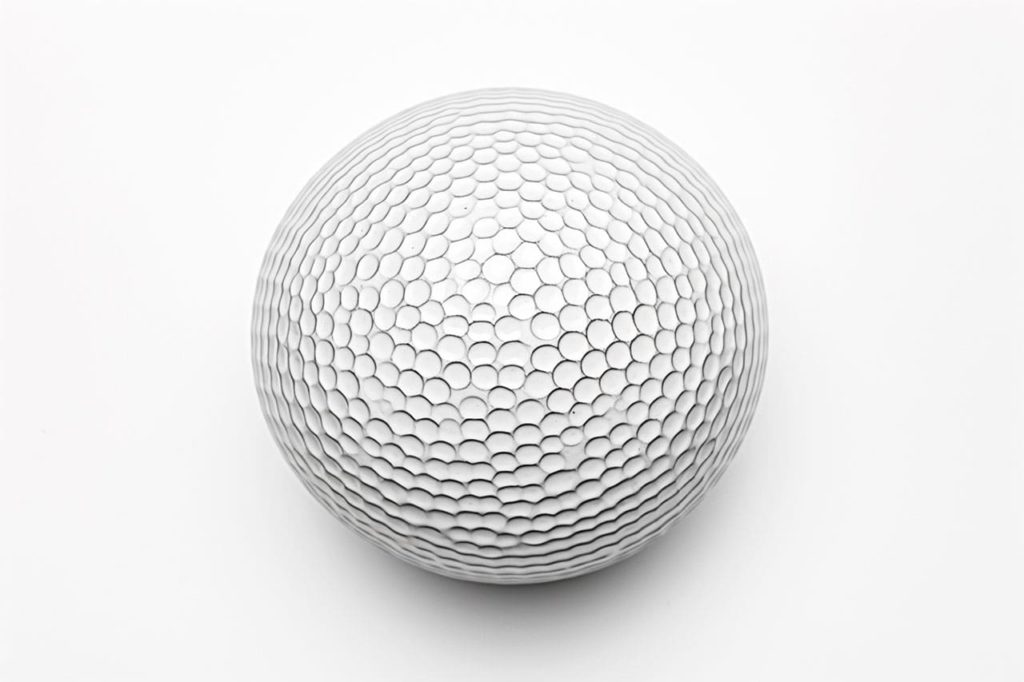
Welcome to this step-by-step guide on how to draw a golf ball! At first glance, a golf ball might seem like one of the simpler objects to draw—after all, it’s just a sphere, right? But look a little closer and you’ll notice it’s covered in a unique pattern of dimples that gives it texture, depth, and character. In this tutorial, I’ll show you how to capture those subtle details so your drawing looks clean, realistic, and just the right amount of sporty.
We’ll begin with the basic shape and proportions, then move on to shading and the iconic dimple pattern that gives the golf ball its distinctive look. Whether you’re sketching a full sports scene or just practicing textures and forms, this tutorial will help you nail it (pun absolutely intended).
So sharpen your pencil, tee up your sketchbook, and let’s draw a golf ball that’s a hole-in-one!
Materials Required
Before we begin, make sure you have the following materials ready:
- Drawing paper
- Pencils (HB, 2B, and 4B)
- Eraser
- Blending stump or cotton swabs
- Ruler
- Compass (optional)
Now that you have your materials ready, let’s dive into the drawing process.
Step 1: Sketch the Basic Outline
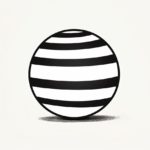
Start by lightly sketching a circle on your drawing paper to represent the outline of the golf ball. You can use a compass to achieve a perfect circle, or if you don’t have one, you can draw it freehand. Remember to keep your lines light, as this is just a guide for the final drawing.
Step 2: Add the Dimples
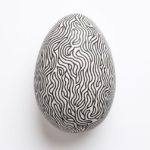
Golf balls are covered in dimples that give them their distinctive texture. To create these dimples, lightly sketch small circles or ovals within the outline of the ball. Space them evenly across the surface, ensuring that they follow the curvature of the circle. The size and shape of the dimples may vary, so feel free to experiment with different patterns.
Step 3: Darken the Outline
Once you are satisfied with the placement of the dimples, use a darker pencil (2B or 4B) to carefully darken the outline of the golf ball. Pay attention to the subtle variations in thickness as the outline curves around the ball. This will add depth and dimension to your drawing.
Step 4: Shade the Golf Ball
To create a three-dimensional appearance, we need to add shading. Start by shading the areas of the golf ball that are farther away from the light source. This will be the opposite side of the ball from where the light is coming from. Use a softer pencil (2B or 4B) to apply a light layer of shading, gradually building up the darkness.
Step 5: Create Highlights
Next, we will add highlights to make the drawing look more realistic. Identify the areas of the golf ball that are closest to the light source and use an eraser to gently lighten those spots. This will create the illusion of light reflecting off the surface. Be subtle with the eraser, as we don’t want to completely erase the shading, but rather create a contrast between light and dark areas.
Step 6: Blend and Smooth
To achieve a smooth and seamless look, use a blending stump or a cotton swab to gently blend the shading and highlights together. This will soften any harsh lines and create a more realistic texture. Remember to blend in the direction of the dimples to maintain their appearance.
Step 7: Refine and Darken
Take a step back and evaluate your drawing. Look for areas that need refinement or additional shading. Gradually darken the shadows and add more depth to your drawing. Pay close attention to the subtle variations in shading and highlights, as these details will make your drawing more realistic.
Step 8: Final Details
Now it’s time to add the finishing touches. Enhance the dimples by adding small shadows within them to create depth. Use a sharp pencil (HB or 2B) to define the edges of the dimples and refine any other details you may have missed. Take your time with this step and strive for accuracy.
Conclusion
Congratulations on completing your drawing of a golf ball! By following these step-by-step instructions, you have learned how to capture the texture, shading, and three-dimensionality of this sporting object. Remember to practice regularly to further develop your drawing skills.
Drawing a golf ball requires patience and attention to detail, but with practice, you can master this subject and create realistic representations. So grab your drawing materials, follow the steps outlined in this article, and let your creativity shine!
Fun Facts About Golf Balls
- Golf balls were originally made of wood in the early 1400s, but today they are usually made from synthetic materials like rubber and plastic.
- The modern golf ball has a dimpled surface to reduce air resistance and improve lift, with most having between 300 to 500 dimples.
- The first golf balls covered in dimples were introduced in the early 1900s after players observed that scuffed balls flew farther.
- The longest recorded golf drive in competition is over 500 yards, set using a standard ball and club.
- Golf balls are designed to withstand high impact speeds, often reaching over 170 mph during a swing.
- A warm golf ball tends to travel further than a cold one due to the changes in air pressure and material flexibility.
- Before dimples, golf balls were stuffed with feathers and called “featheries”; these were handmade and expensive.
- Modern golf balls are often produced in varying compression levels to match the club speed and playing style of different golfers.
- Some high-tech balls are embedded with sensors that can connect to apps to track your shot distance and provide insights on your play.
- Golf balls can be customized with logos, designs, and colors, making them popular corporate gifts and collectibles.
Suggestions for Scenes and Settings for Golf Ball Drawings
- Classic Golf Course: Draw a serene golf course with a golf ball sitting on a tee, rolling hills, and a flag fluttering in the distance.
- Golf Ball Planet: Imagine an entire world made of golf balls, complete with crater-like dimples, spinning in a galaxy of colorful planets.
- Golf Ball Spa Day: Depict a whimsical scene where golf balls are being pampered in a spa, complete with cucumber slice eyes and mud masks.
- Urban Jungle: Illustrate a cityscape where golf balls replace traditional buildings and skyscrapers, creating an adventurous pathway for exploring.
- Golf Ball Gardening: Show a garden where flowers bloom from golf ball seeds, with buzzing bees and butterflies alighting on them.
- Your Handicap: Picture a team of caddy golf balls “strategizing” in a locker room before their big game against the seasoned champions.
- Water Hazard Rescue: Create an underwater rescue mission where scuba-diving golf balls attempt to save one of their own from a water hazard.
- Cosmic Putt: Depict a vibrant cosmic background with a golf ball floating through space, stardust trailing off in a golden arc behind it.
- Desert Mirage: Illustrate a mirage scene where a golf ball is chased by heatwave distortions in a sunbaked desert landscape.
- Winter Wonderland: Design a snowy landscape with golf balls sledding down icy slopes, complete with golf club toboggans and snowball fights.