As an expert artist and drawing instructor, I will guide you through the step-by-step process of how to draw a golf ball. With clear instructions and concise explanations, you will be able to create a realistic representation of this iconic sporting object. So grab your drawing materials and let’s get started!
Materials Required
Before we begin, make sure you have the following materials ready:
- Drawing paper
- Pencils (HB, 2B, and 4B)
- Eraser
- Blending stump or cotton swabs
- Ruler
- Compass (optional)
Now that you have your materials ready, let’s dive into the drawing process.
Step 1: Sketch the Basic Outline
Start by lightly sketching a circle on your drawing paper to represent the outline of the golf ball. You can use a compass to achieve a perfect circle, or if you don’t have one, you can draw it freehand. Remember to keep your lines light, as this is just a guide for the final drawing.
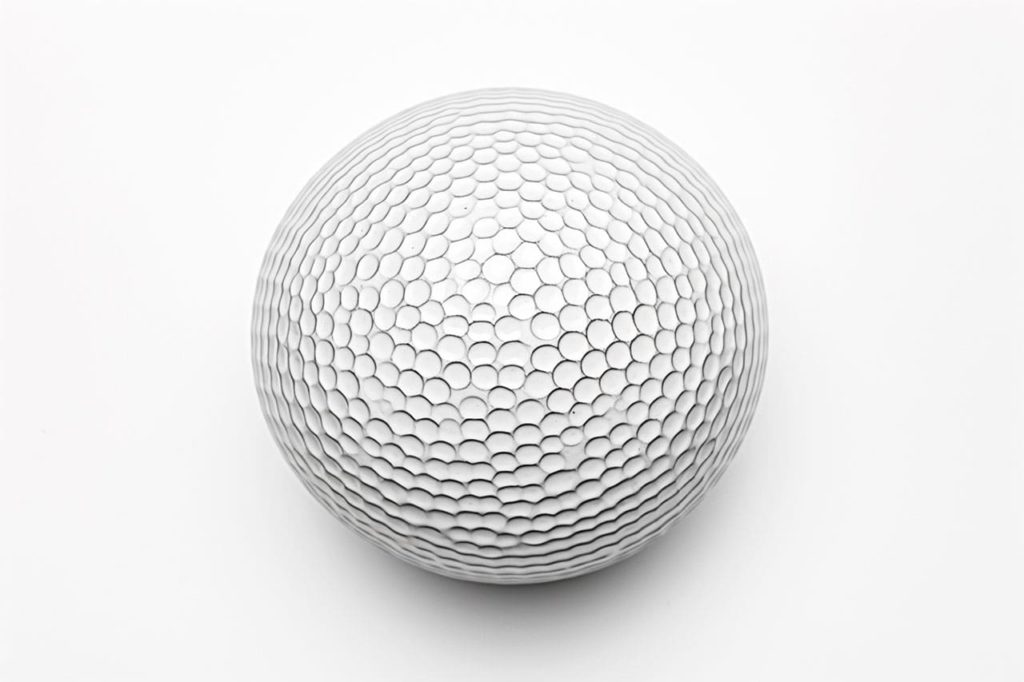
Step 2: Add the Dimples
Golf balls are covered in dimples that give them their distinctive texture. To create these dimples, lightly sketch small circles or ovals within the outline of the ball. Space them evenly across the surface, ensuring that they follow the curvature of the circle. The size and shape of the dimples may vary, so feel free to experiment with different patterns.
Step 3: Darken the Outline
Once you are satisfied with the placement of the dimples, use a darker pencil (2B or 4B) to carefully darken the outline of the golf ball. Pay attention to the subtle variations in thickness as the outline curves around the ball. This will add depth and dimension to your drawing.
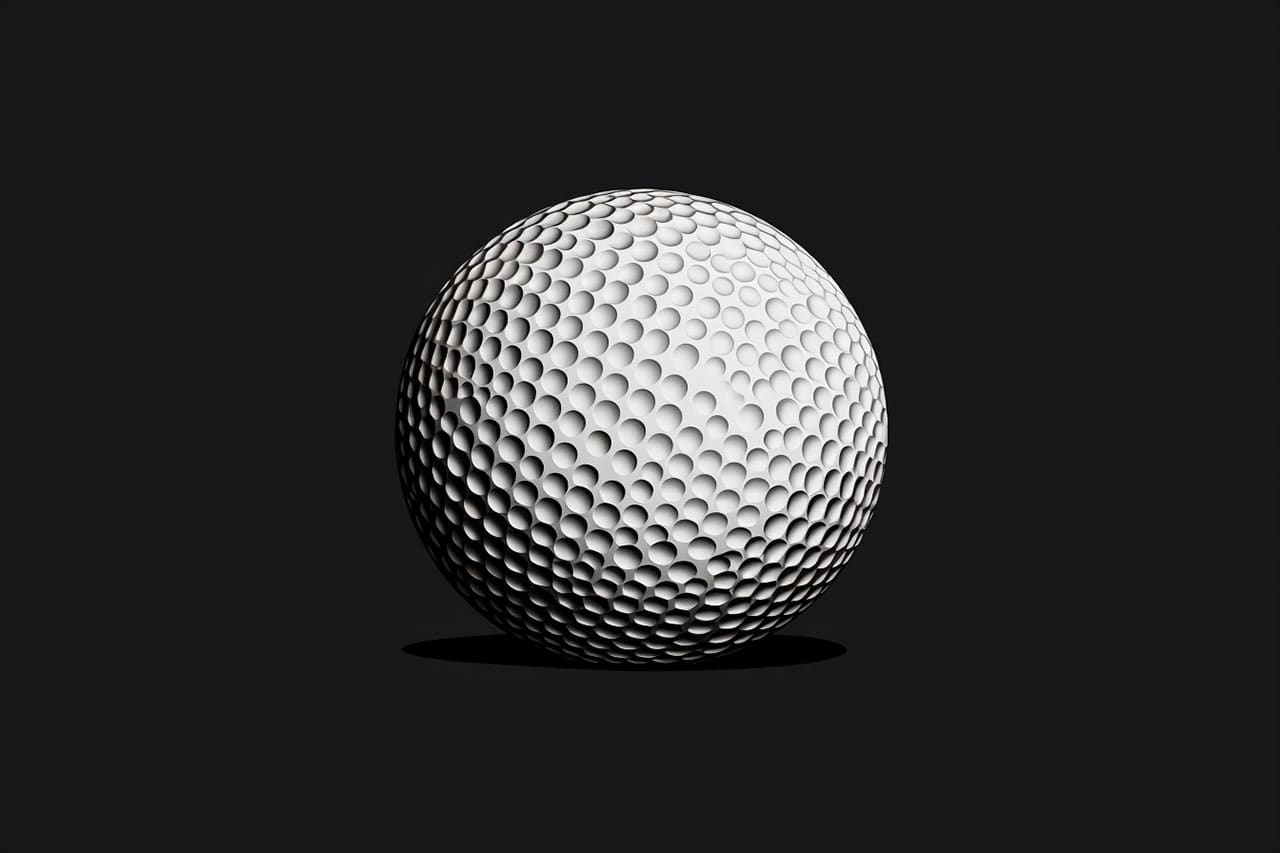
Step 4: Shade the Golf Ball
To create a three-dimensional appearance, we need to add shading. Start by shading the areas of the golf ball that are farther away from the light source. This will be the opposite side of the ball from where the light is coming from. Use a softer pencil (2B or 4B) to apply a light layer of shading, gradually building up the darkness.
Step 5: Create Highlights
Next, we will add highlights to make the drawing look more realistic. Identify the areas of the golf ball that are closest to the light source and use an eraser to gently lighten those spots. This will create the illusion of light reflecting off the surface. Be subtle with the eraser, as we don’t want to completely erase the shading, but rather create a contrast between light and dark areas.
Step 6: Blend and Smooth
To achieve a smooth and seamless look, use a blending stump or a cotton swab to gently blend the shading and highlights together. This will soften any harsh lines and create a more realistic texture. Remember to blend in the direction of the dimples to maintain their appearance.
Step 7: Refine and Darken
Take a step back and evaluate your drawing. Look for areas that need refinement or additional shading. Gradually darken the shadows and add more depth to your drawing. Pay close attention to the subtle variations in shading and highlights, as these details will make your drawing more realistic.
Step 8: Final Details
Now it’s time to add the finishing touches. Enhance the dimples by adding small shadows within them to create depth. Use a sharp pencil (HB or 2B) to define the edges of the dimples and refine any other details you may have missed. Take your time with this step and strive for accuracy.
Conclusion
Congratulations on completing your drawing of a golf ball! By following these step-by-step instructions, you have learned how to capture the texture, shading, and three-dimensionality of this sporting object. Remember to practice regularly to further develop your drawing skills.
Drawing a golf ball requires patience and attention to detail, but with practice, you can master this subject and create realistic representations. So grab your drawing materials, follow the steps outlined in this article, and let your creativity shine!