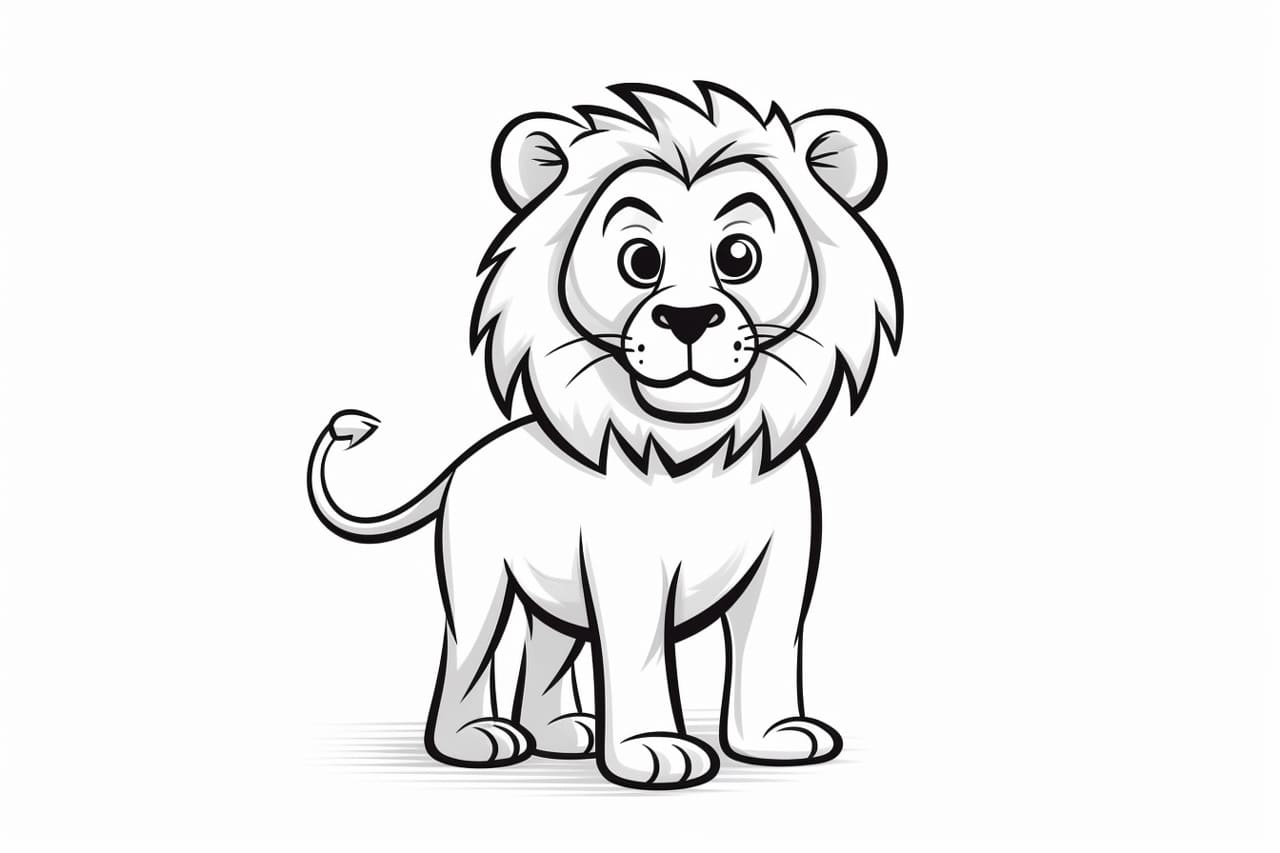
Welcome to this step-by-step guide on how to draw a cartoon lion. Whether you’re an aspiring artist or just want to have some fun doodling, this tutorial is here to help you create your very own cartoon lion. Lions are majestic creatures known for their strength and beauty, and with a little practice, you’ll be able to capture their essence on paper. So grab your pencil and let’s get started!
Materials Required
Before we begin, gather the following materials:
- Drawing paper
- Pencil
- Eraser
- Black marker or pen
- Colored pencils or markers (optional)
Step 1: Outline the Head
Start by drawing a large circle for the head. This will be the main body of the lion. Don’t worry about making it perfect; a rough outline will do just fine.
Step 2: Add Facial Features
Next, draw two small circles for the eyes, leaving enough space in between for the lion’s nose. Add a small curved line below the nose to indicate the mouth. Don’t forget to draw two small triangular ears on top of the head.
Step 3: Define the Mane
Now it’s time to add the lion’s iconic mane. Draw a series of curved lines around the head, starting from the top and working your way down. Make the lines uneven and jagged to give the mane a wild and textured look.
Step 4: Draw the Body
Extend two lines from the bottom of the head to create the lion’s body. Imagine the body as an elongated shape that curves slightly towards the back. Add small lines at the end to represent the paws.
Step 5: Add Legs and Tail
Draw four lines extending from the body to create the lion’s legs. Make them thick and strong, as lions have powerful limbs. Add small ovals at the end of each leg for the paws. Finally, draw a long, curved line for the tail, making it fluffy by adding some short lines at the end.
Step 6: Refine the Facial Features
Go back to the lion’s face and add more detail. Darken the eyes and add small circles inside to represent the pupils. Draw curved lines above the eyes for the eyebrows, giving the lion a fierce expression. Add a few small lines below the nose to create a snout.
Step 7: Outline the Mane and Body
Refine the mane and body by darkening the lines and adding more texture. Make some parts of the mane longer and more voluminous, while leaving others shorter to create depth and variation.
Step 8: Finalize the Legs and Tail
Similarly, refine the legs and tail by adding more definition. Make the lines bolder to emphasize the strength and solidity of the lion’s body. Don’t forget to add claws to the paws!
Step 9: Erase Unnecessary Lines
Now that you have a complete lion shape, erase any unnecessary guidelines or overlapping lines. Use a gentle touch with the eraser to avoid smudging the drawing.
Step 10: Ink the Drawing
Once you’re satisfied with your pencil sketch, go over the lines with a black marker or pen. This will make your lion drawing bolder and more defined. Take your time and be careful not to smudge the ink.
Step 11: Color Your Lion (optional)
If you prefer to add some color to your cartoon lion, grab your colored pencils or markers and have fun! Lions are typically golden or tawny, but feel free to get creative and use different colors. Add shading and highlights to make your drawing more dynamic.
Congratulations! You’ve successfully drawn a cartoon lion. With practice, your drawings will improve, and you’ll be able to create even more intricate and detailed artwork. Remember, drawing is all about expressing your creativity, so don’t be afraid to experiment and have fun with your creations.
I hope you enjoyed this tutorial on how to draw a cartoon lion. Happy drawing!
Conclusion
In this tutorial, we’ve learned how to draw a cartoon lion step-by-step. By following these instructions and using your creativity, you can create a cute and captivating lion drawing. Whether you’re a beginner or an experienced artist, this guide is a great starting point to improve your drawing skills. So grab your pencil, let your imagination run wild, and start drawing your very own cartoon lion!

