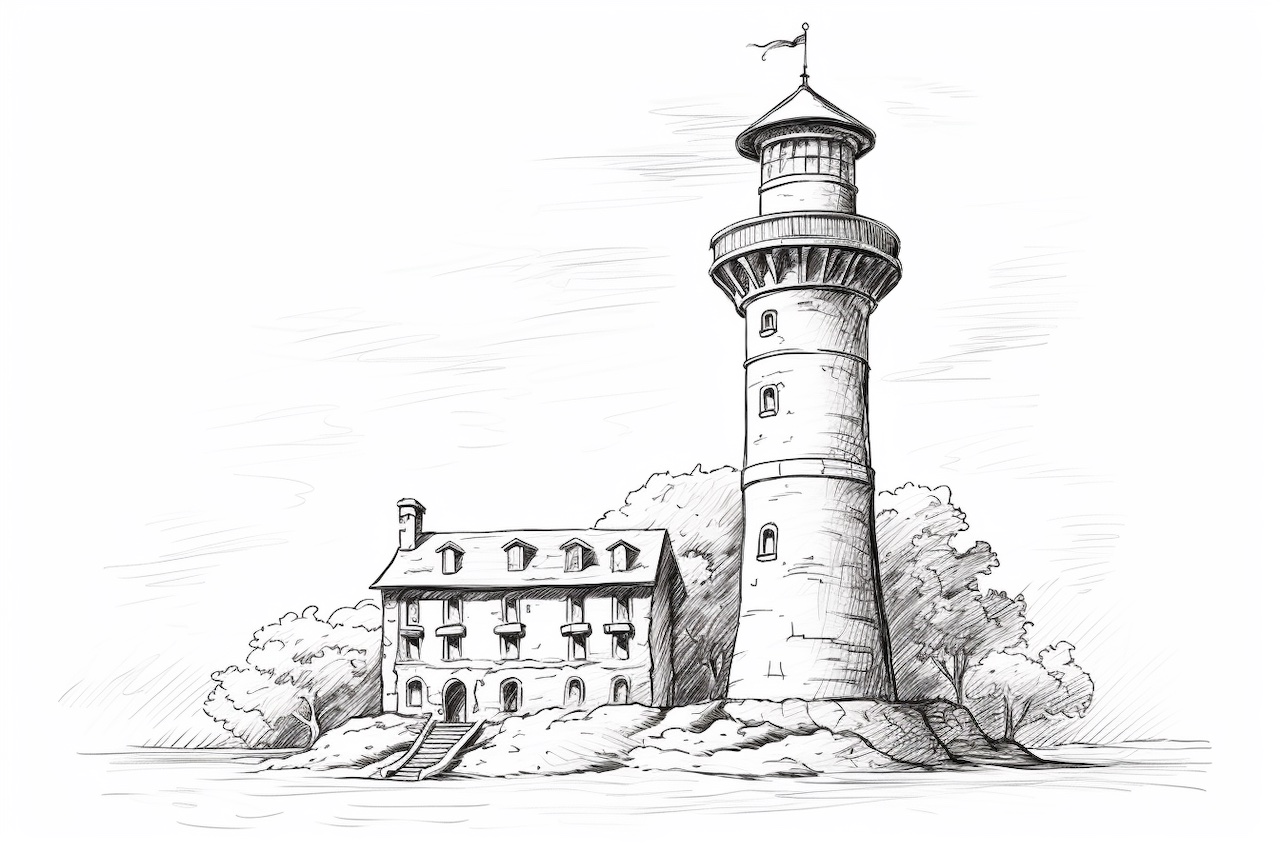
Welcome to this step-by-step guide on how to draw a tower! Whether you are a beginner or an experienced artist, this tutorial will provide you with clear and concise instructions to help you create a realistic and impressive tower drawing. So, grab your drawing materials and let’s get started!
Materials Required
Before we begin, make sure you have the following materials ready:
- Drawing paper: Choose a smooth and sturdy paper that is suitable for your preferred drawing medium.
- Pencils: Get a range of graphite pencils with varying lead hardness (e.g., HB, 2B, 4B) to achieve different shading effects.
- Erasers: Have a kneaded eraser and a vinyl eraser on hand for correcting mistakes and adding highlights.
- Drawing board: Use a drawing board or a hard surface to provide stability and support while drawing.
- Ruler: A straight edge ruler will be useful for drawing straight lines and measuring proportions.
- Reference image: Find a clear photograph or picture of a tower to use as a reference for your drawing.
Now that you have gathered your materials, let’s begin the process of drawing a tower!
Step 1: Outline the Basic Shape
Start by lightly sketching the basic shape of the tower using a light pencil. Pay attention to the proportions and general structure of the tower. Begin with simple geometric shapes like rectangles, squares, and triangles to loosely establish the main components of the tower.
Step 2: Add Details and Features
Once you have the basic shape, start adding more details and features to make your tower more realistic. Observe the reference image carefully and focus on any unique architectural elements that make the tower distinctive. Use your pencil to draw these details with precision and accuracy. Remember to keep your lines light and easy to erase if needed.
Step 3: Define the Values
With the basic structure and details in place, it’s time to add shading and define the values of your drawing. Take a closer look at the reference image and observe how light and shadow interact with the tower’s surfaces. Use your range of graphite pencils to gradually build up the values, starting with light strokes and gradually increasing the darkness as needed. Pay attention to the direction of light and create smooth transitions between light and dark areas.
Step 4: Refine the Details
Now that you have established the values, go back to the details and refine them further. Use smaller pencils or vary the pressure of your pencil to create more intricate and precise lines. Pay attention to any textures or patterns on the tower’s surface and capture them as accurately as possible.
Step 5: Add Depth and Dimension
To give your tower drawing depth and dimension, focus on creating a sense of perspective. Use your ruler to draw straight lines that converge towards a vanishing point, mimicking the perspective of the tower. This technique will help create the illusion of distance and make your drawing more realistic. Pay attention to the proportions and make adjustments if necessary.
Step 6: Finalize and Enhance
As you near the completion of your tower drawing, take a step back and assess the overall composition. Make any necessary adjustments to ensure balance and harmony in your artwork. Use your erasers to clean up any unwanted marks or smudges. Add highlights and additional shading to enhance the three-dimensional quality of your drawing. Take your time and make sure you are satisfied with the final result.
Conclusion
Congratulations! You have successfully learned how to draw a tower using a step-by-step approach. By following these instructions and putting your artistic skills to work, you are now capable of creating impressive tower drawings. Remember to practice regularly and don’t be afraid to experiment with different techniques and styles. With time and dedication, your drawing abilities will continue to improve. Enjoy the process and have fun unleashing your creativity!


