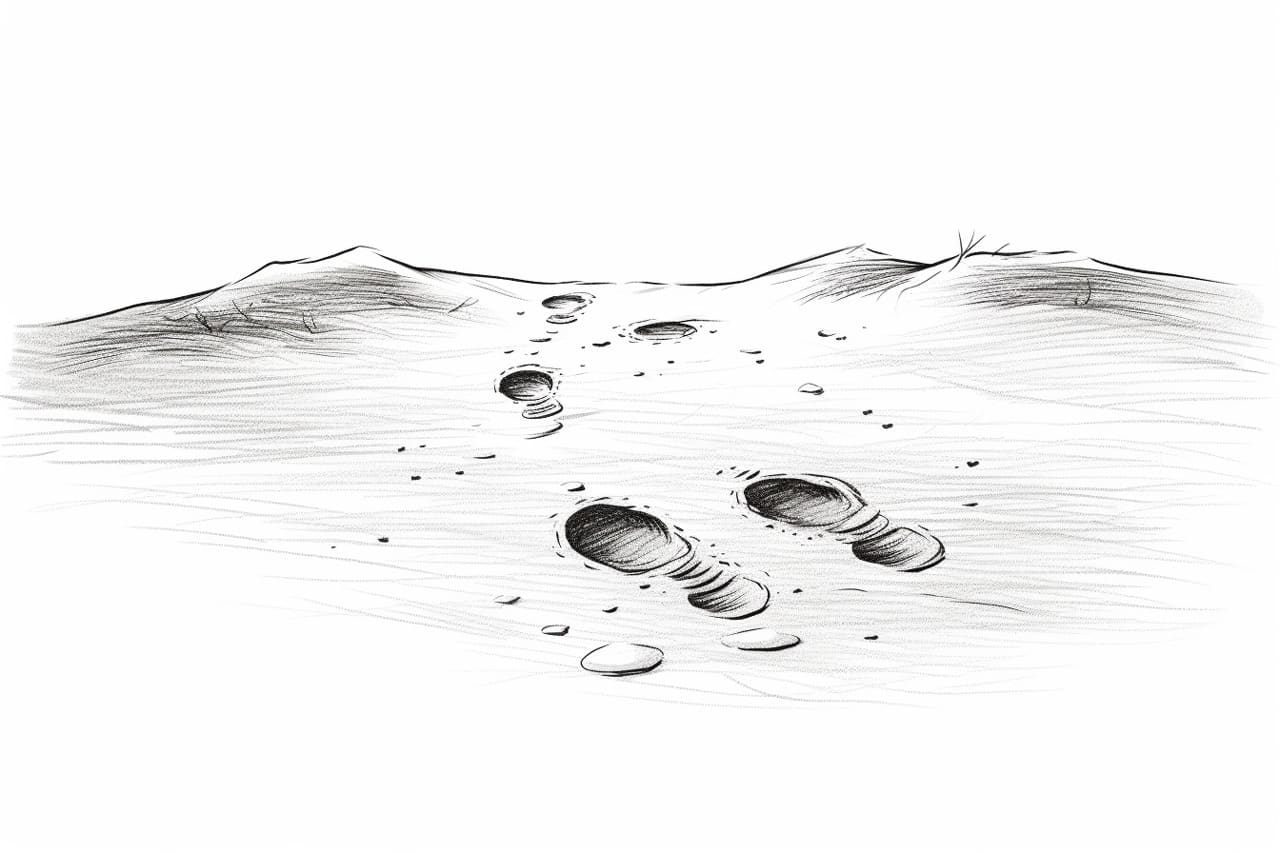
Welcome to this step-by-step guide on how to draw a footprint. Whether you are an aspiring artist or simply looking to exercise your creative muscles, drawing a footprint can be a fun and rewarding experience. In this tutorial, I will walk you through the process of creating a realistic and visually appealing footprint using simple techniques. So, let’s get started!
Materials Required
Before we begin, gather the following materials:
- Drawing paper
- Pencil
- Eraser
- Fine-tip marker or pen
- Colored pencils or markers (optional)
Now that you have everything you need, let’s dive into the steps.
Step 1: Outline the Shape of the Foot
Begin by lightly sketching the basic shape of a foot. Start with an elongated oval for the main part of the foot, and then add a smaller oval on top for the toes. Remember, this is just a rough outline, so don’t worry about making it perfect.
Step 2: Add the Toes
Next, divide the smaller oval into five sections to represent the toes. To create a natural look, make the toes slightly different in size and shape. Add curved lines to define the individual toes, keeping in mind that the big toe should be the largest and the little toe the smallest.
Step 3: Create the Foot Arch
To give the footprint depth and dimension, sketch a curved line connecting the heel to the base of the big toe. This line represents the foot arch. Make it slightly curved to mimic the natural shape of the foot.
Step 4: Define the Heel
Move on to the heel of the footprint. Draw a curved line that connects the back of the foot to the arch. This line should be smooth and curved to capture the roundness of the heel.
Step 5: Refine the Shape
Now that you have the basic structure, it’s time to refine the shape of the footprint. Use your pencil to go over the initial sketch, adding more detail and smoothing out any rough edges. Pay attention to the curves and contours of the foot, making sure they look realistic.
Step 6: Add Texture and Details
To make the footprint more realistic, consider adding some texture and details. You can use small lines or dots to represent the skin texture on the foot. Additionally, you can draw small lines to show the creases and lines on the sole of the foot. These subtle details can greatly enhance the overall appearance of the drawing.
Step 7: Ink Your Drawing
Once you are satisfied with your pencil sketch, it’s time to ink your drawing. Use a fine-tip marker or pen to go over the outlines and important details of the footprint. Be careful and take your time to ensure smooth and clean lines.
Step 8: Erase the Pencil Lines
After the ink has dried, gently erase any remaining pencil lines. Be cautious during this step to avoid smudging or damaging your drawing. A soft eraser or kneaded eraser can be helpful in removing the pencil lines without leaving any residue.
Step 9: Color Your Footprint (Optional)
To add an extra touch to your drawing, you can choose to color your footprint. Use colored pencils or markers to fill in the different parts of the drawing. Consider using shades of brown for the skin tones, and feel free to get creative with different colors for the toenails or any other details you want to highlight.
Conclusion
Drawing a footprint can be a great way to practice your artistic skills and explore the world of drawing. By following the step-by-step process outlined in this tutorial, you will be able to create a realistic and visually appealing footprint. Remember, practice makes perfect, so don’t be discouraged if your first attempt doesn’t turn out exactly as you imagined. With time and experience, your drawings will only improve. So grab your materials and give it a try. Happy drawing!