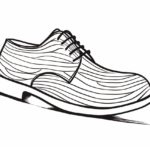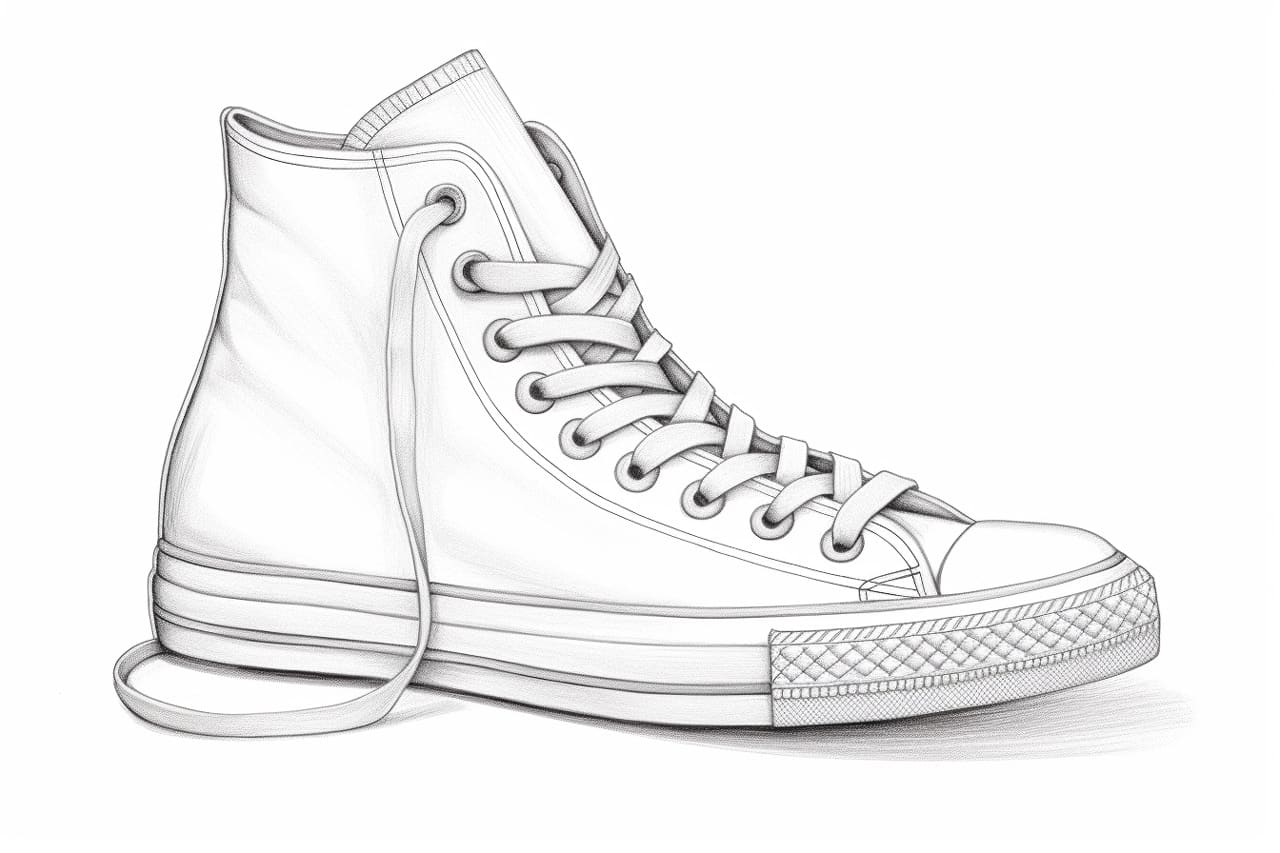
Welcome to this step-by-step guide on how to draw a Converse shoe! Whether you are an aspiring artist or just looking to have some fun with drawing, this tutorial will walk you through the process of creating a realistic and detailed representation of a Converse sneaker. So grab your pencils and let’s get started!
Materials Required
Before we begin, make sure you have the following materials at hand:
- A pencil
- A good quality eraser
- Paper
- Colored pencils or markers (optional)
Now that you have your materials ready, let’s dive into the step-by-step process of drawing a Converse shoe!
Step 1: Outline the Basic Shape
Start by lightly sketching the outline of the shoe. Begin with a curved line to represent the bottom of the shoe, then draw the sides, and finally, connect them at the top. Remember to keep your lines light and loose, as they will be erased later.
Step 2: Define the Sole
Draw a thicker line along the bottom curve of the shoe to represent the sole. Make the line slightly wavy to give it a more realistic appearance. Take your time to ensure that the line is smooth and even.
Step 3: Add Details to the Sole
Next, draw a zigzag pattern along the sole to depict the tread of the Converse shoe. Start from the heel and continue towards the toe, making sure the zigzag lines are evenly spaced. This will give your drawing a more authentic look.
Step 4: Sketch the Toe Cap
Now it’s time to add the distinctive toe cap of the Converse shoe. Start by drawing a curved line at the front of the shoe to represent the edge of the cap. Then, draw a curved line from the top of the cap to the sole, creating a rounded shape.
Step 5: Draw the Eyelets
Converse shoes are known for their eyelet detailing, so let’s include that in our drawing. Begin by drawing two small oval shapes near the top of the shoe, on either side of the tongue. These will represent the first set of eyelets. Then, draw two more ovals slightly below the first set to represent the second set of eyelets.
Step 6: Add the Laces
Draw two curved lines, starting from one end of the eyelets to the other, to represent the laces. Make sure the lines are evenly spaced and do not overlap with the eyelets. Converse shoes usually have seven pairs of eyelets, so make sure you draw the laces accordingly.
Step 7: Outline the Tongue
Now, let’s move on to drawing the tongue of the shoe. Start by sketching a curved line that connects the top of the toe cap to the eyelets on both sides. Then, draw another curved line that extends from the first line, creating a pointed shape. This will form the top part of the tongue.
Step 8: Add Texture to the Tongue
Converse shoes often have a textured pattern on the tongue. To achieve this, draw a series of diagonal lines across the tongue, starting from one side and going towards the other. These lines should be close together and slightly curved to follow the shape of the tongue.
Step 9: Enhance the Details
Take a step back and assess your drawing so far. Are there any areas that need more definition or detail? Take this opportunity to go over your lines and make any necessary adjustments. Add shading to areas that would naturally have shadows, such as the space between the tongue and the shoe or underneath the eyelets.
Step 10: Erase the Guidelines
Now that you have completed your drawing, it’s time to erase any unnecessary guidelines. Use a good quality eraser to gently remove the initial sketch lines, making sure not to smudge or damage your drawing.
Conclusion
Congratulations on completing your drawing of a Converse shoe! Following these step-by-step instructions, you have learned how to create a realistic and detailed representation of this iconic sneaker. Remember, practice makes perfect, so keep experimenting with different angles and poses to further refine your skills. Have fun, and keep drawing!