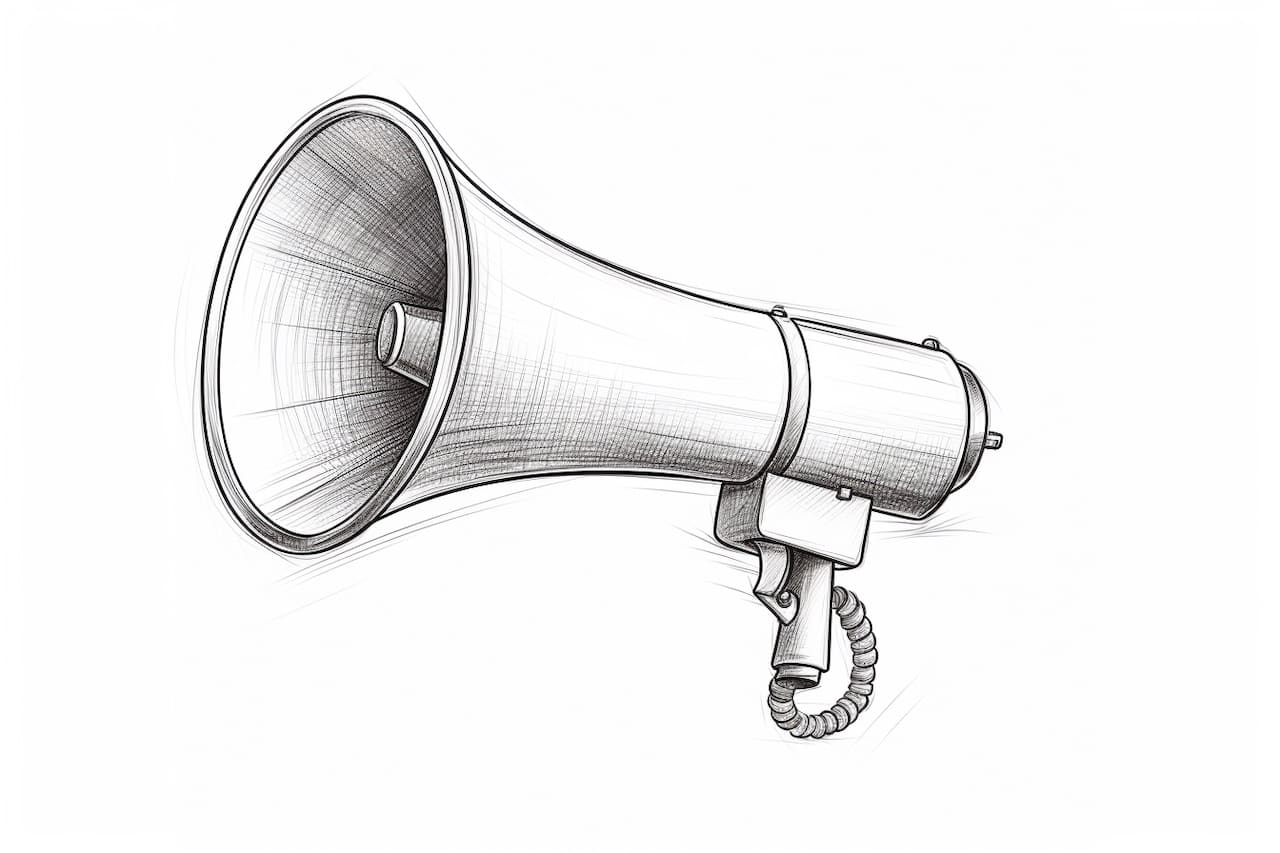
Welcome to this step-by-step guide on how to draw a megaphone. Whether you are an aspiring artist or simply want to explore your creative side, this tutorial will help you create a detailed and realistic representation of a megaphone. By following these easy instructions, you will soon be able to draw this iconic symbol of communication with confidence. So, let’s get started!
Materials Required
Before we begin, make sure you have the following materials handy:
- Drawing paper or sketchbook
- Pencil
- Eraser
- Ruler
- Fine-tip markers or colored pencils (optional)
Now that you have your materials ready, let’s dive into the step-by-step process of drawing a megaphone.
Step 1: Draw the Megaphone Shape
Start by drawing an elongated oval shape in the center of your paper. This will serve as the main body of the megaphone. Take your time to ensure the oval is symmetrical and proportionate.
Step 2: Add the Opening
At the wider end of the oval shape, draw a slightly curved line that extends outward. This line will represent the opening of the megaphone where sound is projected. It should be wider than the main body of the megaphone.
Step 3: Sketch the Handle
Extend a straight line from the narrower end of the oval shape, angling it slightly downward. This line will form the handle of the megaphone. At the bottom of this line, draw a curved shape resembling the letter “C” to complete the handle.
Step 4: Refine the Megaphone Shape
Now, take your ruler and lightly draw straight lines at the top and bottom of the megaphone’s body to create a more defined shape. These lines should follow the contour of the oval shape but should not extend beyond it.
Step 5: Add Details
To give your megaphone a more realistic appearance, it’s time to add some details. Draw a small rectangular shape near the opening of the megaphone, slightly overlapping it. This will create the appearance of a metal rim around the opening.
Step 6: Draw the Megaphone’s Text
A megaphone often has text or a logo printed on its side. Choose a word or short phrase and write it in bold letters along the side of the megaphone. You can use block letters or experiment with different fonts to add your own style.
Step 7: Erase Unnecessary Lines
Using your eraser, carefully erase any unwanted or unnecessary lines, such as the initial oval shape and construction lines. This step will help clean up your drawing and make it look more polished.
Step 8: Finalize the Outline
Go over the entire outline of the megaphone with your pencil, making sure all the lines are smooth and well-defined. Take your time to refine any areas that need attention, such as the curves and angles.
Step 9: Add Shadows and Highlights (Optional)
If you want to add more depth and dimension to your drawing, you can experiment with shading. Identify a light source and shade one side of the megaphone to create shadows, while leaving the opposite side lighter to represent highlights.
Step 10: Ink or Color Your Drawing (Optional)
If you prefer a more finished and colorful look, you can outline your drawing with fine-tip markers or colored pencils. This step will add vibrancy and make your artwork stand out. Use different shades or colors to bring your megaphone to life.
Congratulations! You have successfully completed your drawing of a megaphone. With practice, you will continue to improve your artistic skills and create even more impressive illustrations.
Conclusion
In this step-by-step tutorial, we have explored how to draw a megaphone from start to finish. By following these instructions and using your creativity, you can create a realistic and detailed representation of this iconic communication tool. Remember to take your time, practice regularly, and have fun with your artwork. Happy drawing!


