Are you a football enthusiast who also loves to draw? If so, why not combine your passions by learning how to draw a football team? Whether you want to create your own football artwork or capture your favorite team on paper, this step-by-step guide will help you bring your vision to life. So grab your drawing materials and let’s get started!
Materials Required
Before we dive into the step-by-step instructions, let’s make sure you have all the necessary materials to create your football team drawing:
- Sketchbook or drawing paper
- Pencil (preferably with various hardness grades)
- Eraser
- Fine-tipped black pen or marker
- Colored pencils or markers (optional)
Now that you’re all set, let’s begin!
Step 1: Sketch the Layout
Start by lightly sketching the overall layout of your football team. Consider the position and arrangement of the players on the field. You can use basic geometric shapes to represent the players and the ball. Don’t worry about details at this stage; focus on capturing the general composition.
Step 2: Define Body Proportions
Once you have the layout, begin refining the shapes of the players. Pay attention to the proportions of each body part, such as the head, torso, arms, and legs. Use light, loose lines to establish the placement and size of these body parts.
Step 3: Add Facial Features
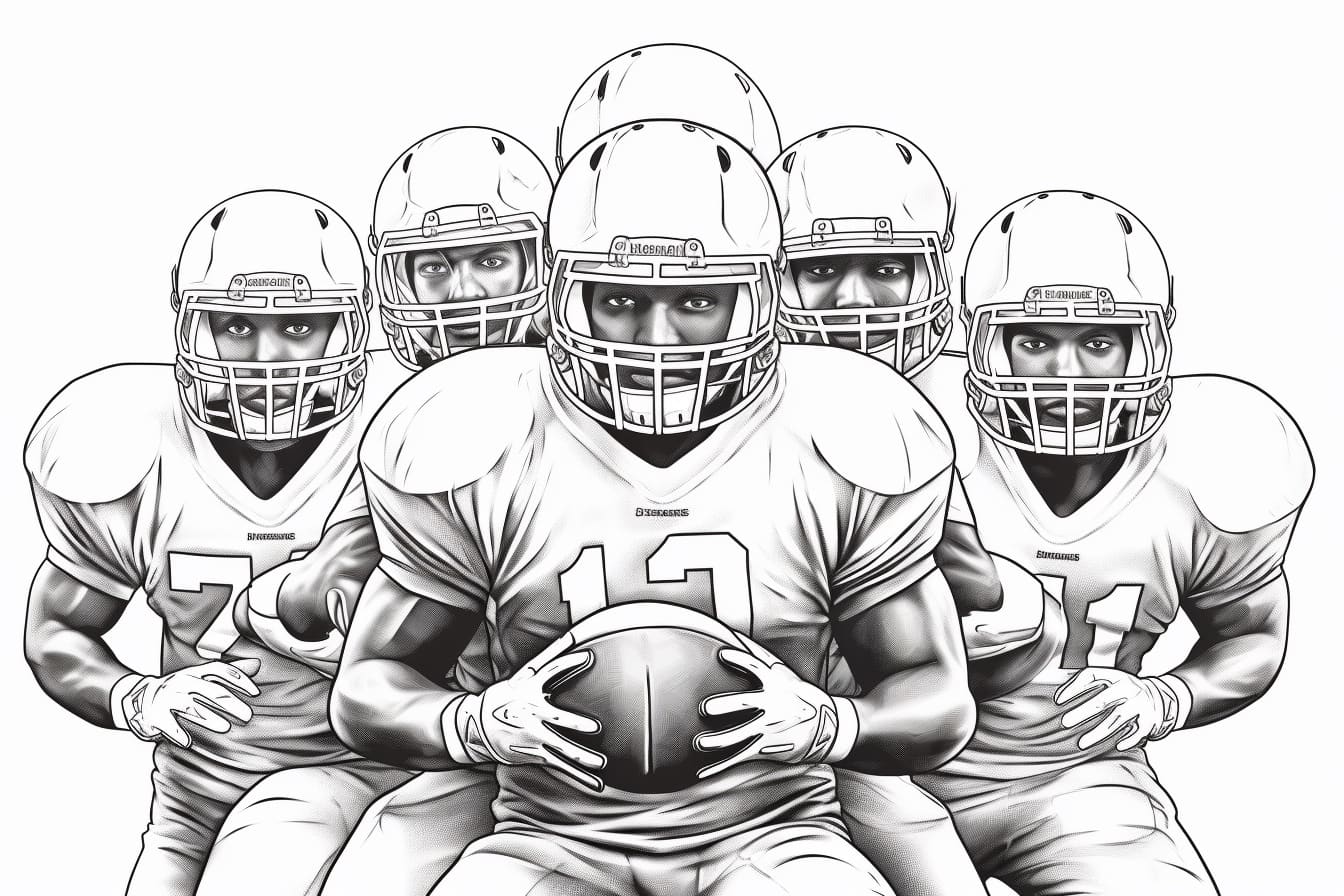
Next, add facial features to each player. Keep in mind that football players wear helmets, so you’ll only need to draw their eyes, nose, and mouth. Use simple shapes to convey these features and maintain consistency across the team.
Step 4: Outline the Jerseys and Pants
Now it’s time to outline the jerseys and pants of the players. Pay attention to the different styles and designs of the team uniforms. Use reference images if needed to accurately represent the patterns and logos on the jerseys. Keep your lines clean and confident.
Step 5: Draw the Helmets
With the jerseys and pants outlined, move on to drawing the helmets of the football players. Again, reference images can be helpful in capturing the details, such as the facemasks and team logos. Take your time to ensure accuracy, as helmets often have intricate designs.
Step 6: Define Muscles and Body Details
Now, it’s time to add more definition to the players’ bodies. Begin by refining the shape of each player, adding muscles and body contours. Pay attention to the specific positions of the players and adjust the details accordingly.
Step 7: Sketch the Football
No football team drawing is complete without the ball! Sketch the football in a position that reflects the action happening on the field. Keep in mind its shape and texture, which typically consist of oval and lacing patterns.
Step 8: Ink the Final Lines
Once you’re satisfied with the sketch, use a fine-tipped black pen or marker to ink the final lines. Take your time and work with steady strokes. Start with the player closest to you and gradually move to the background players. Let the ink dry completely before erasing any pencil marks.
Step 9: Add Color (Optional)
If you want to add color to your football team drawing, now is the time to do so. Use colored pencils or markers to bring life to the jerseys, pants, helmets, and football. Refer to team colors or create your own color scheme. Remember to work in layers, starting with lighter shades and gradually building up the color intensity.
Conclusion
Congratulations! You’ve successfully learned how to draw a football team. By following these step-by-step instructions, you can create captivating artwork that showcases your love for football. Remember to practice regularly to improve your skills and experiment with different poses and team compositions. Whether it’s capturing your favorite team’s winning moment or designing your own fantasy team, let your creativity soar on the pages of your sketchbook.