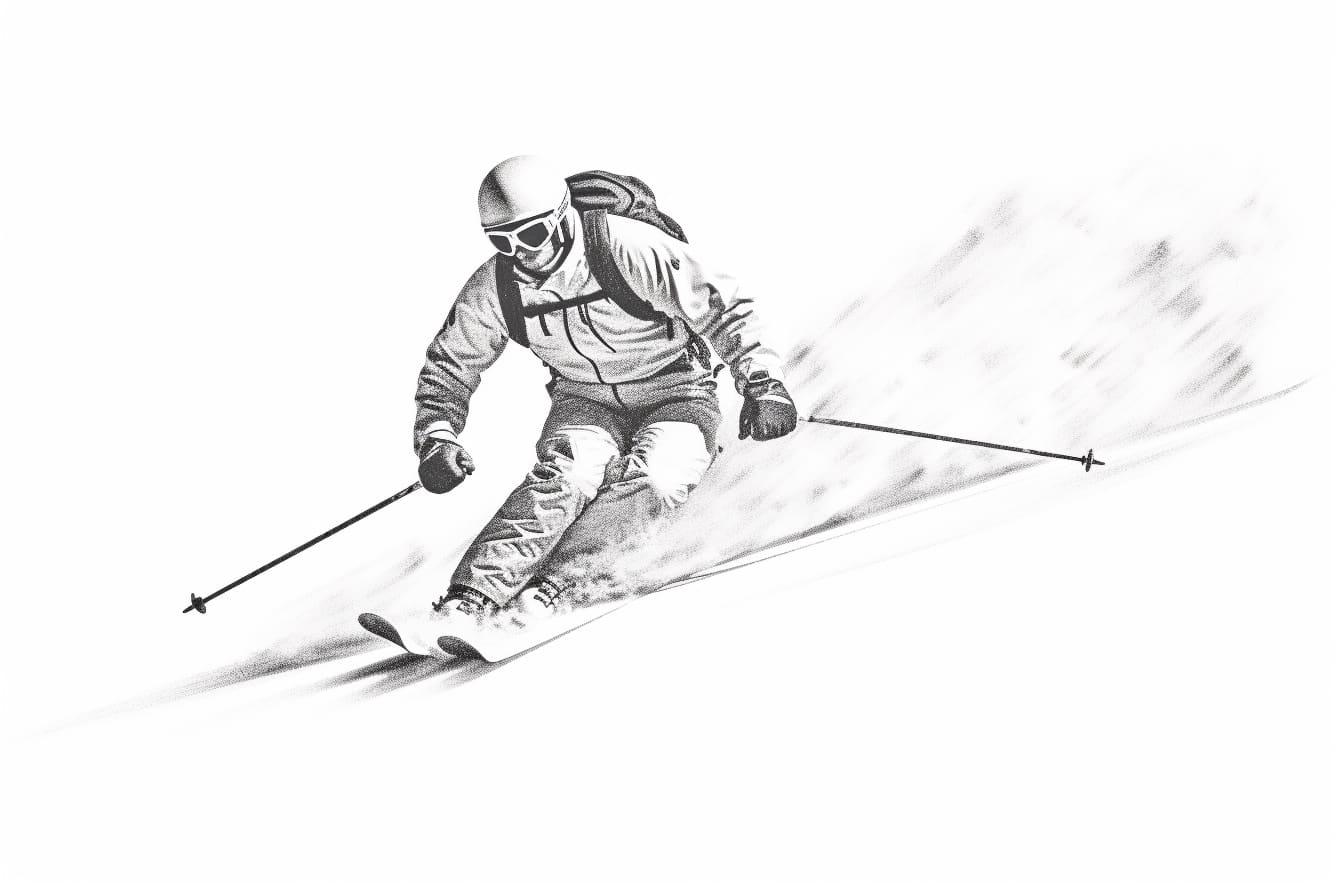
Whether you’re an experienced artist or just starting out, learning how to draw a skier can be a fun and rewarding exercise. In this step-by-step tutorial, I will guide you through the process of drawing a skier in a clear and concise manner.
Materials Required
To get started, you’ll need the following materials:
- Paper
- Pencil
- Eraser
- Colored pencils or markers (optional)
Step 1: Sketch the Basic Shape of the Skier
Begin by sketching a rough oval shape for the skier’s head. Next, draw a vertical line down the center of the oval to serve as a guide for the skier’s body. Add two more lines to indicate the arms and legs of the skier. Remember, these lines are just guidelines, so keep them light and loose.
Step 2: Define the Skier’s Body
Using the guidelines from the previous step, start defining the skier’s body. Draw a rounded shape around the center line to create the torso. Add curves for the arms and legs, keeping in mind the pose of the skier. At this stage, you can also add a small circle at the end of each arm to indicate the hands.
Step 3: Add Details to the Face
Now it’s time to add some details to the skier’s face. Sketch two small circles for the eyes and a curved line for the mouth. You can also add a small curved line above the eyes to indicate the skier wearing goggles. Feel free to get creative and personalize the skier by adding a hat or helmet.
Step 4: Draw the Skis and Poles
To complete the skier, draw two long, slightly curved lines extending from the bottom of the legs to represent the skis. Then, add two straight lines at an angle from the skier’s hands to indicate the ski poles. Remember to make the poles slightly longer than the skier’s body and position them parallel to the skis.
Step 5: Refine the Details and Outlines
Now that you have the basic shapes in place, it’s time to refine the details and outlines of the skier. Use your pencil to darken the lines and add more definition to the skier’s body, facial features, and clothing. Pay attention to the folds and creases in the clothing to add depth and realism.
Step 6: Add Face and Clothing Details
Continue adding more details to the skier’s face and clothing. Add more definition to the skier’s eyes, eyebrows, and nose. You can also draw some hair peeking out from under the hat or helmet. Don’t forget to add more folds and creases to the clothing to give it a sense of movement.
Step 7: Color the Drawing (optional)
If you want to take your drawing to the next level, you can add color using colored pencils or markers. Use light and even strokes to color the skier’s clothing, skin, and accessories. Pay attention to light and shading to create depth and dimension in your drawing. You can use reference photos or your imagination to decide on the colors and patterns for the skier’s outfit.
Conclusion
Drawing a skier is a great way to practice your artistic skills and have fun in the process. By following these step-by-step instructions, you can create a detailed and realistic drawing of a skier. Remember to start with basic shapes and gradually add more details and definition. With practice and patience, you’ll be able to capture the energy and excitement of a skier gliding down the slopes. So grab your pencil and paper, and let’s get started on this artistic adventure!