Dragons have long captivated our imaginations with their majestic presence and mythical abilities. Among the various types of dragons, the fire-breathing dragon is particularly fascinating. With its ability to create and control fire, it possesses an aura of power and danger. In this step-by-step guide, we will explore how to draw a fire-breathing dragon, capturing its fierce and awe-inspiring features. So grab your drawing materials and let’s embark on this artistic adventure!
Materials Required
Before we dive into the drawing process, let’s gather the necessary materials. You will need:
- Drawing paper or sketchbook
- Pencils (ranging from HB to 6B)
- Eraser (preferably kneaded or soft)
- Pencil sharpener
- Fine-tip markers or pens (optional)
Now that we have everything we need, let’s move on to the exciting part – creating our fire-breathing dragon!
Step 1: Basic Shapes
Begin by sketching the basic shape of the dragon using simple geometric forms. Start with a large oval for the body, followed by a smaller circle at one end for the head. Connect these two shapes with a curved line for the neck and another curved line for the tail.
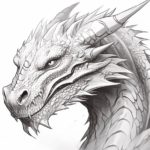
Step 2: Adding Details to the Head
Now, let’s focus on the head of the dragon. Add two circles for the eyes, and within each eye, draw a smaller circle to represent the pupils. Place a curved line below the eyes to create a snout. Add a triangular shape beneath the snout as the mouth and two small nostrils at the tip of the snout. Give your dragon a fearsome expression by adding sharp, pointed teeth along the top and bottom of its mouth.
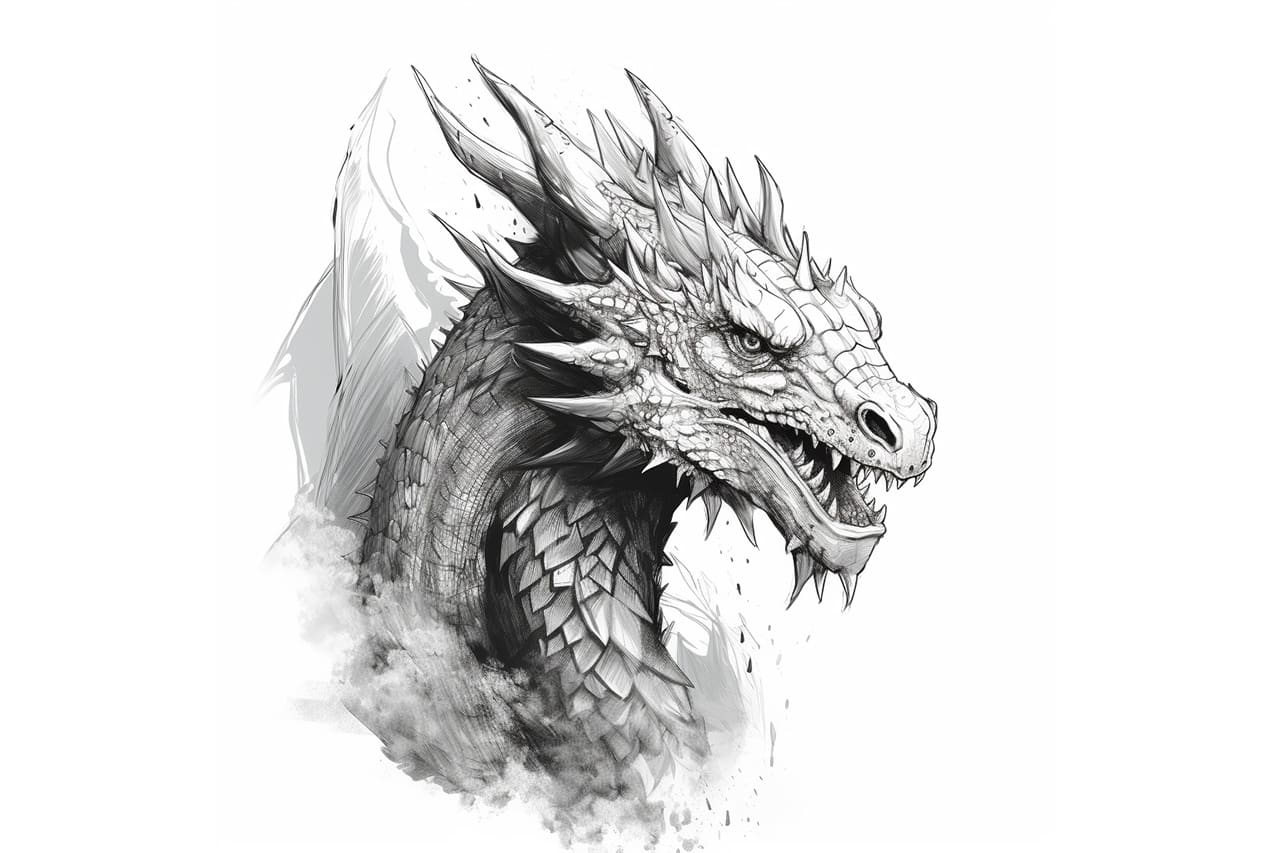
Step 3: Shaping the Body
Refine the shape of the dragon’s body by adding more detail. Add muscular contours to the neck, chest, and limbs, making them appear strong and powerful. Gradually connect the head, neck, and body with smooth lines to create a seamless flow. Remember to keep the proportions in mind while adding these details.
Step 4: Wings and Tail
Dragons are known for their magnificent wings. Add two large, bat-like wings on both sides of the dragon’s body. The wings should start from the upper part of the body and extend towards the tail. Give the wings texture by drawing curved lines that mimic the texture of leathery skin. For the tail, add spikes or small thorns along its length to enhance the dragon’s menacing appearance.
Step 5: Legs and Claws
Now it’s time to add legs and claws to our fire-breathing dragon. Draw four legs underneath the dragon’s body, each with three distinct segments. At the end of each leg, add sharp talons or claws. Make the front legs slightly shorter than the back legs to give a convincing perspective.
Step 6: Flames and Fire
To truly capture the essence of a fire-breathing dragon, we need to add fire and flames. Start by drawing flames coming out of the dragon’s mouth. Let the flames rise and flicker in an organic manner, tapering off gradually. Add extra details with flowing lines to enhance the realism of the fire. You can also draw sparks or embers surrounding the dragon to make it look even more dynamic.
Step 7: Refine and Detail
Take a step back and observe your drawing. This is the perfect time to refine any areas that need improvement. Pay attention to the dragon’s anatomy, ensuring that the proportions are accurate. Add more depth and dimension by shading certain areas, such as the muscles, wings, and mouth. Experiment with different pencil grades to achieve the desired effects.
Conclusion
Congratulations! You’ve successfully drawn a fire-breathing dragon from start to finish. By following these step-by-step instructions and using your artistic skills, you have created a captivating and mythical creature. Remember, practice makes perfect, so don’t hesitate to try again and experiment with your own unique style. Keep exploring the wonderful world of dragon drawing and let your imagination soar!