Drawing a trailer can be a fun and rewarding experience, allowing you to bring your imagination to life on paper. Whether you want to draw a trailer for a story, a comic strip, or simply for practice, this step-by-step guide will show you how to create a realistic and detailed trailer drawing. So grab your pencils, paper, and let’s get started!
Materials Required
Before we dive into the step-by-step instructions, let’s start by gathering the materials you’ll need:
- Drawing paper: Use a high-quality paper that is suitable for your preferred drawing medium. A heavier weight paper will prevent any smudging or tearing.
- Pencils: A set of graphite pencils ranging from HB to 6B will give you a range of values to work with.
- Erasers: Have both a kneaded eraser and a vinyl eraser on hand for different erasing techniques.
- Ruler: A straight ruler will help you create precise lines and measurements for your trailer drawing.
- Reference images: Find pictures or photos of trailers to use as a visual reference during the drawing process.
Now that you have your materials ready, let’s begin drawing a trailer!
Step 1: Sketch the Basic Framework
Start by lightly sketching a rectangle near the center of your paper. This rectangle will serve as the main body of the trailer. Use a ruler to ensure straight lines and keep the proportions accurate. Adjust the size and shape of the rectangle as needed to match your desired trailer design.
Step 2: Add the Trailer Wheels
Next, add the wheels to your trailer. Draw two smaller rectangles beneath the main body rectangle to represent the wheels. Make sure they are symmetrical and in proportion to the size of your trailer. Connect the wheels to the body with curved lines to create the wheel wells.
Step 3: Detail the Trailer Body
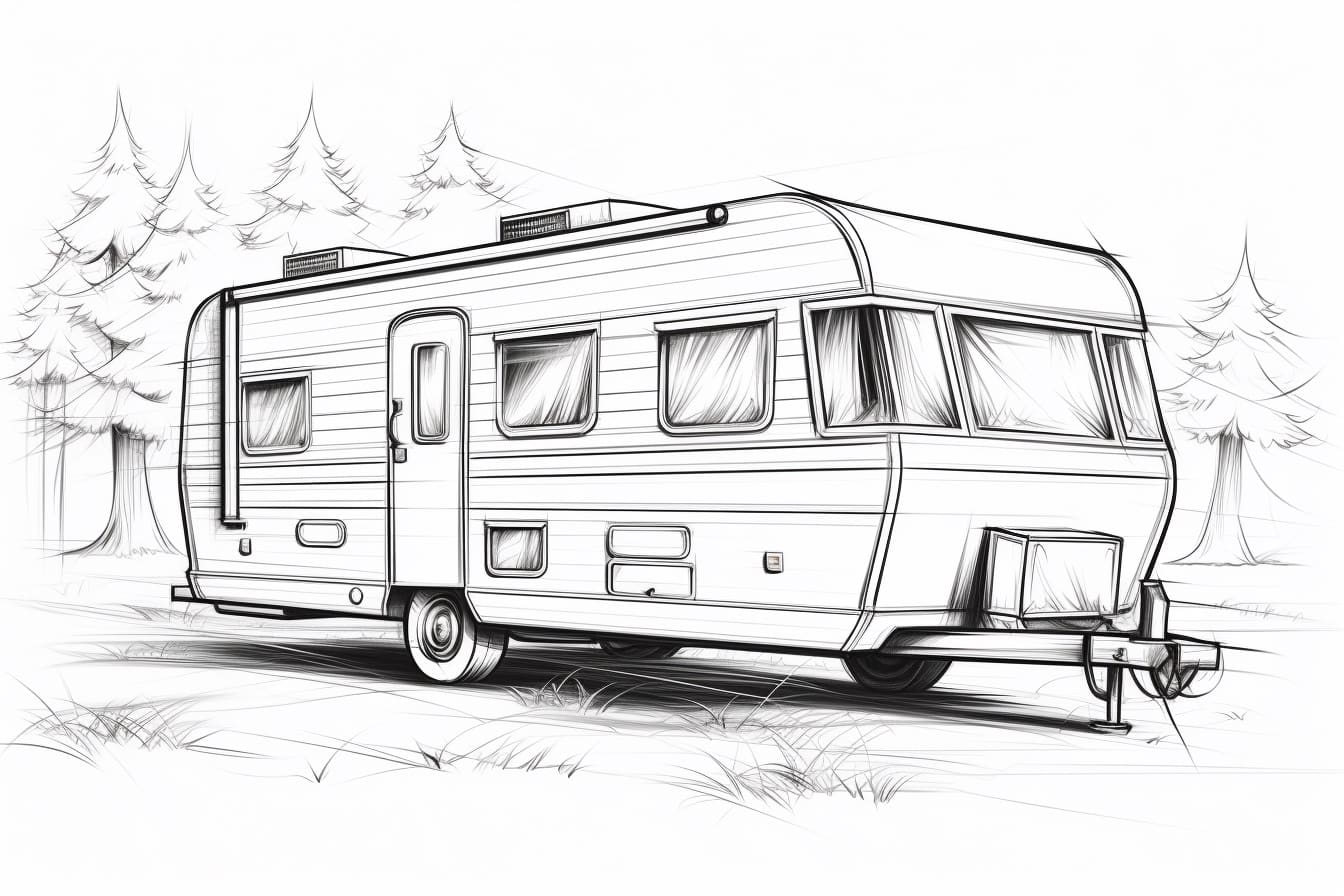
Now it’s time to add more details to the trailer body. Use the reference images to guide you in adding features like doors, windows, and any additional compartments. Take your time in this step to capture the shape and structure of the trailer accurately.
Step 4: Define the Trailer Features
In this step, add more specific features to your trailer drawing. You can include elements such as handles, hinges, lights, and other external details. Pay attention to the small nuances that make each trailer unique, and be sure to add them to your drawing to make it more lifelike.
Step 5: Shade and Add Depth
To make your trailer drawing truly come to life, it’s time to add shading and depth. Start by identifying the primary light source in your drawing. This will help you determine where the shadows and highlights should be placed. Use your range of graphite pencils to create different values and textures, working from light to dark. Pay attention to the curves and contours of the trailer, adding shading accordingly to give it a three-dimensional look.
Step 6: Refine and Fine-Tune
Take a step back and analyze your trailer drawing so far. Look for any areas that need refinement or adjustment. Use your erasers to clean up any stray lines or smudges, and make any necessary changes to improve the overall composition and accuracy of your drawing.
Step 7: Final Details
In this final step, add any remaining details and finishing touches to complete your trailer drawing. These can include logos, decals, or any other small elements that will enhance the overall realism of your artwork. Pay attention to the texture of different materials, such as metal or rubber, to add authenticity to your drawing.
Conclusion
Drawing a trailer is a creative process that requires careful observation and attention to detail. By following these step-by-step instructions and using the right materials, you can create a realistic and detailed trailer drawing that will impress others with your artistic skills. So grab your pencils, paper, and reference images, and start drawing your very own trailer masterpiece!