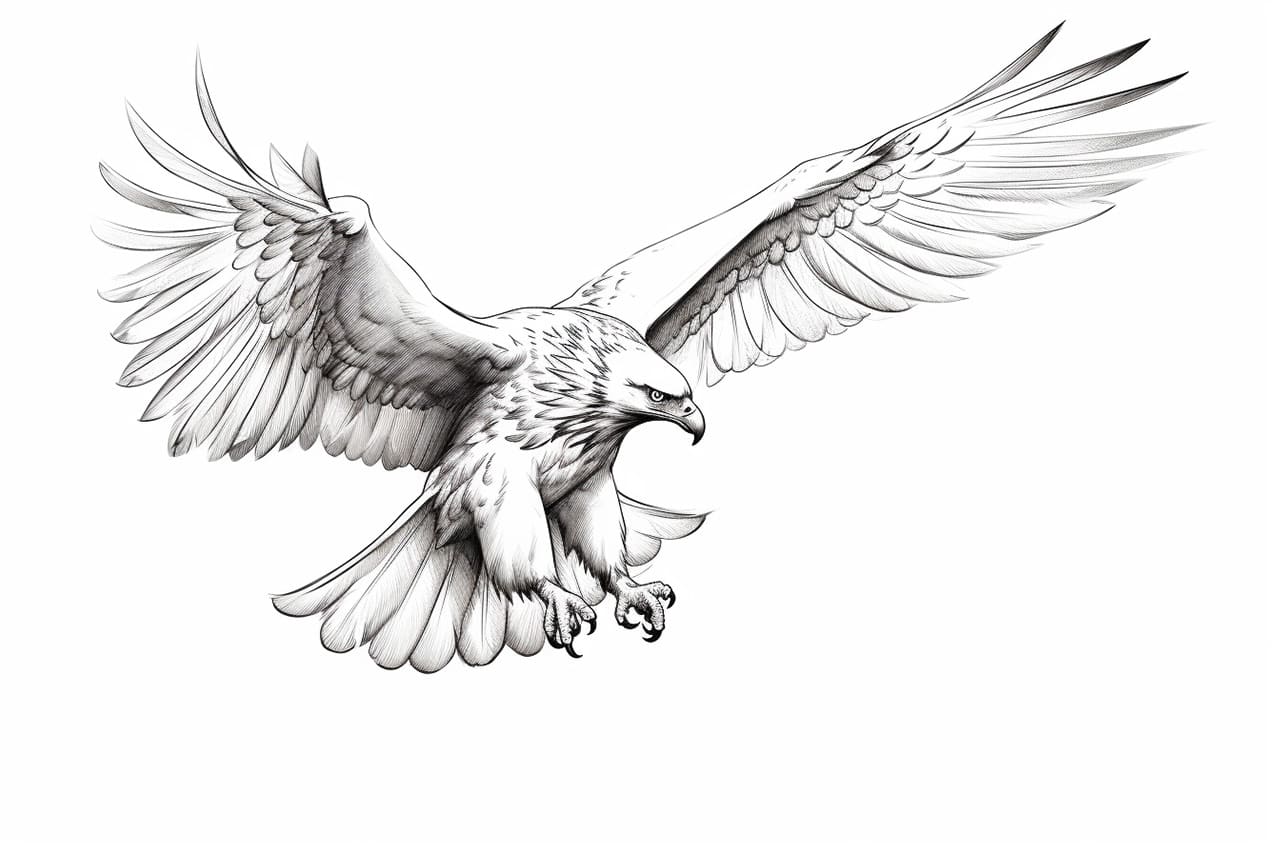
Welcome to this step-by-step guide on how to draw a falcon! Falcons are majestic birds of prey known for their incredible speed and precision. In this tutorial, I will take you through the process of creating a stunning representation of a falcon in just a few simple steps. So grab your pencils and let’s get started!
Materials Required
Before we begin, make sure you have the following materials ready:
- Sketching pencils (HB, 2B, 4B)
- Eraser
- Drawing paper
- Blending stump (optional)
- Reference image of a falcon
Now that you have everything you need, let’s dive into the process of drawing a falcon!
Step 1: Outline the Basic Shape
To start, lightly sketch a rough outline of the falcon’s body using your HB pencil. Begin with a simple oval shape for the body and add a smaller oval for the head. Extend a curved line downward from the head to represent the neck. Don’t worry about adding details at this stage, as we will refine the shape in the following steps.
Step 2: Add Details to the Head and Beak
Next, let’s focus on the details of the falcon’s head. Draw a curved line across the oval to indicate the position of the eyes, then sketch two small circles for the eyes. Draw a sharp, downward-curved beak extending from the head. Pay attention to the proportions and angles, referring to your reference image for accuracy.
Step 3: Define the Feathers
Now, it’s time to add some feather details to the body of the falcon. Start by lightly sketching the outline of the wings on each side of the body, extending them outward and slightly upward. Add lines across the wings to represent the feathers, following the natural direction of the feathers. Use curved lines to outline the tail feathers as well.
Step 4: Refine the Shape and Add Texture
In this step, we will refine the overall shape of the falcon and add more texture to its feathers. Darken the outline of the body and head, emphasizing the curves and contours. Use your 2B pencil to add more feather details, gradually building up darker shading in areas that require more emphasis. Pay attention to the way the feathers overlap and create different texture patterns.
Step 5: Focus on the Eyes and Beak
Now let’s bring the falcon’s face to life! Darken the outline of the eyes and carefully shade the area around them to create depth. Use your 4B pencil to add additional shading and texture to the beak, paying attention to its unique shape and curves. Blend the shading with a blending stump or your finger to create a smooth transition between the different tones.
Step 6: Work on the Wings and Tail
In this step, we will add more details to the wings and tail. Darken the lines representing the wing feathers, paying attention to their shape and direction. Use short, quick strokes to depict the individual feathers. For the tail feathers, draw longer, curved lines along the outline and add some smaller strokes to indicate the texture.
Step 7: Add the Final Touches
To complete your drawing, take a step back and assess the overall composition. Make any necessary adjustments to ensure the proportions and details are accurate. Use your eraser to clean up any stray lines or smudges, and add any final touches to enhance the falcon’s appearance. You can also add a background or additional elements to make your drawing stand out.
Conclusion
Congratulations! You have successfully learned how to draw a falcon, capturing its grace and beauty on paper. By following these step-by-step instructions, you have created a stunning representation of this magnificent bird. Remember, practice makes perfect, so feel free to experiment with different poses and styles. Keep honing your drawing skills, and soon you’ll be able to tackle even more complex subjects. Happy drawing!