Welcome to this step-by-step guide on how to draw a flame! Whether you’re an aspiring artist or just looking to unleash your creativity, learning to draw flames is a beautiful way to add dynamic and captivating elements to your artwork. In this article, I will guide you through drawing a realistic flame, from understanding its basic shapes to adding depth and detail. So, let’s dive in and ignite your artistic skills!
Materials Required:
Before we get started, make sure you have the following materials at hand:
- Drawing paper or sketchbook
- Pencil
- Eraser
- Fine-tipped pen or marker (optional)
- Colored pencils or markers (optional)
Now that we have everything we need, let’s begin the fiery journey of drawing a flame!
Step 1: Understanding the Shape
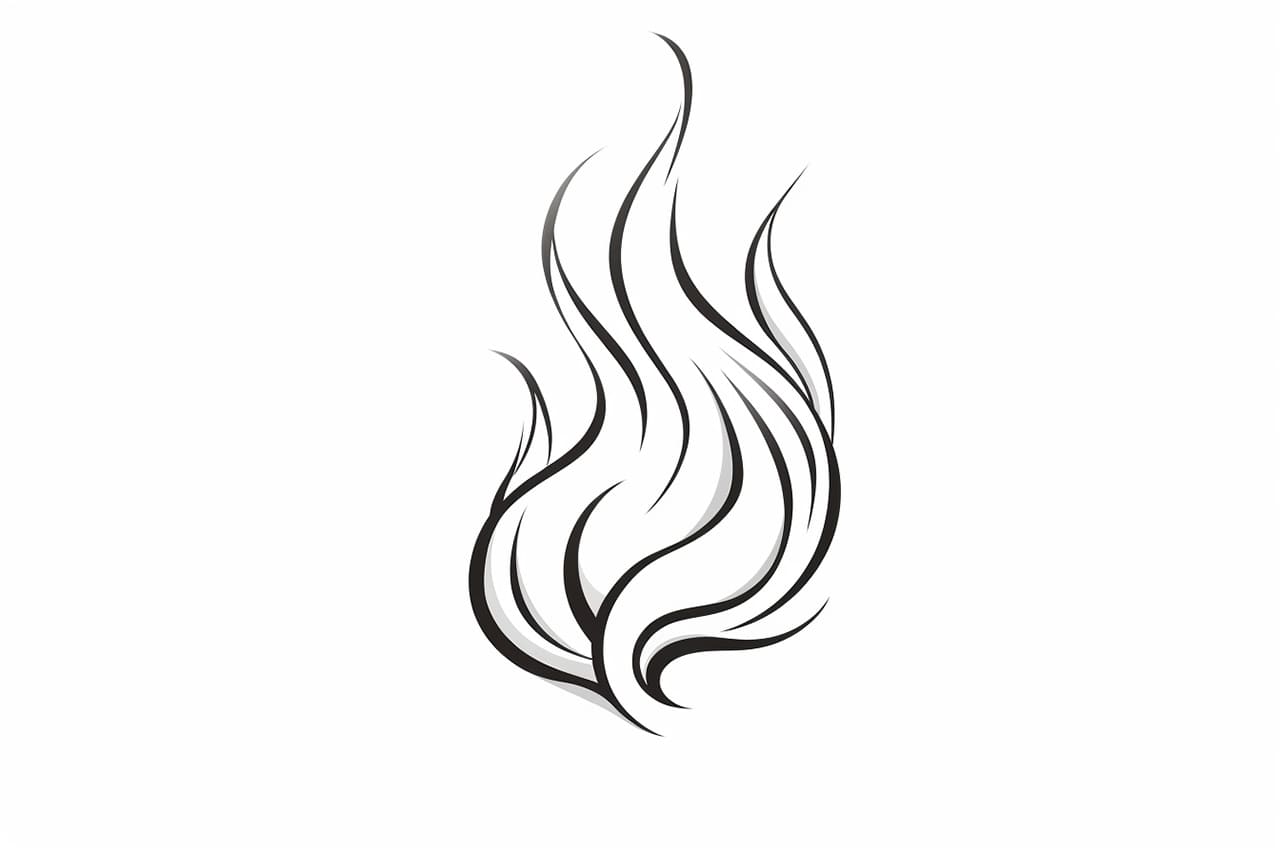
To draw a flame, it’s essential to understand its basic structure. A flame is often depicted as a flickering, elongated teardrop shape, wider at the base and gradually tapering towards the top. This iconic shape will serve as our foundation throughout the drawing process.
Step 2: Sketching the Base
Start by lightly sketching the base of the flame. You can use gentle, curved lines to form the bottom of the teardrop shape. Remember to keep the lines fluid and loose, as flames are constantly in motion.
Step 3: Adding the Flickers
Next, let’s add the flickering edges of the flame. Begin by drawing irregular, wavy lines extending outward from the base. These lines should be uneven and varied in length, representing the dancing nature of a flame.
Step 4: Shaping the Flame
Now, it’s time to refine the shape of the flame. Using your initial sketch as a guide, draw more defined lines along the outer edges of the flame. These lines should follow the curves and flickers you created earlier, gradually narrowing towards the top.
Step 5: Enhancing the Flickers
To make the flame more realistic, add smaller flickers around the edges. These flickers can be sharp and jagged, resembling miniature flames breaking away from the main body. Vary their sizes and angles to create a natural and dynamic effect.
Step 6: Adding Depth
To give our flame depth and dimension, it’s essential to create a sense of light and shadow. Start by identifying the light source in your drawing. This will determine which areas of the flame are brightest and which are darker.
Step 7: Shading the Flame
Using your pencil or colored pencils, gently shade the areas where the flame is darkest. This could be the base of the flame or areas hidden behind other flickers. Gradually build up the shading, making it darker towards the source of the flame.
Step 8: Highlighting the Flame
Now, it’s time to add some highlights to our flame. Using an eraser, gently lighten certain areas of the flame that are directly facing the light source. This will create a contrast between the bright areas and the shaded regions, further enhancing the 3D effect.
Step 9: Finalizing and Inking
Take a moment to evaluate your drawing and make any necessary adjustments. Once you are satisfied with the overall shape and shading, you can proceed to ink your flame. Use a fine-tipped pen or marker to carefully trace over the pencil lines, making them more defined and bold.
Step 10: Coloring the Flame (Optional)
If you prefer a colored flame, you can now bring it to life using colored pencils or markers. Experiment with warm tones like reds, oranges, and yellows to capture the vibrant and fiery nature of a flame. Remember to blend the colors smoothly for a realistic appearance.
Conclusion:
Congratulations! You have successfully learned how to draw a flame from scratch. By mastering this fundamental skill, you can incorporate flames into your artwork, whether it’s a portrait, landscape, or fantasy scene. The key is to practice and experiment with different shapes, sizes, and colors. So grab your pencil, let your imagination soar, and set the canvas ablaze with your newfound drawing skills!