Welcome to this step-by-step guide on how to draw an explosion! Whether you are an aspiring artist or just looking to add some excitement to your doodles, this tutorial will teach you the techniques needed to create a dynamic and eye-catching explosion drawing. So grab your pencils and let’s get started!
Materials Required
Before we begin, make sure you have the following materials:
- Drawing paper or sketchbook
- Pencils (HB, 2B, 4B)
- Eraser
- Blending stump (optional)
- Colored pencils or markers (optional)
Having these materials on hand will ensure that you have everything you need to create a stunning explosion drawing.
Step 1: Sketch the Basic Shape
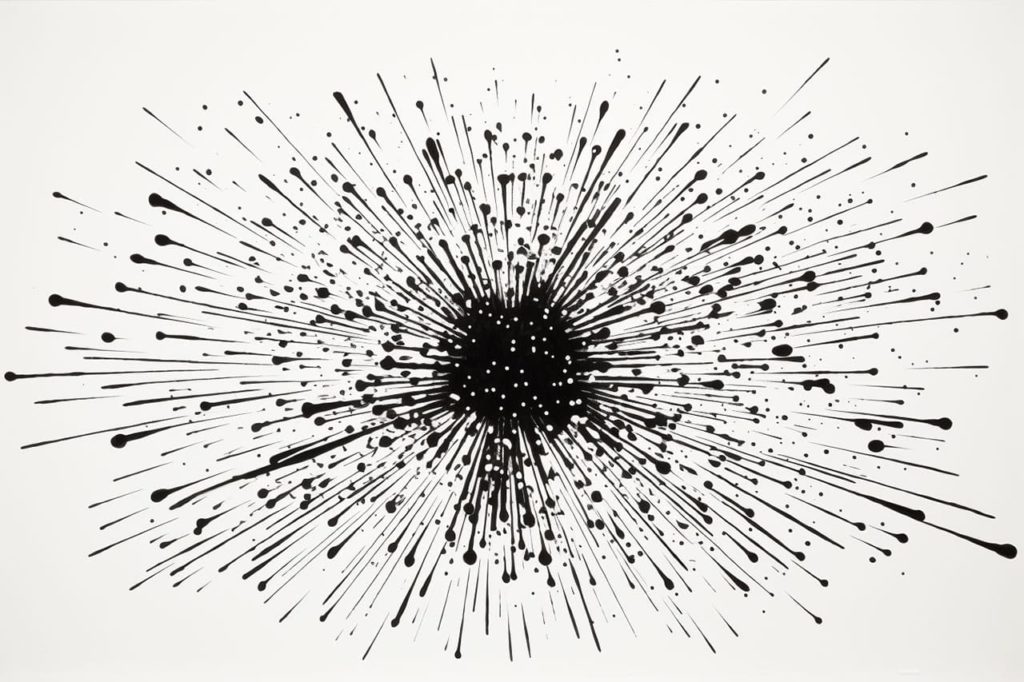
Start by lightly sketching the basic shape of the explosion on your drawing paper. Explosions often have irregular shapes with flames and debris shooting out in all directions. Use loose, flowing lines to capture the movement and energy of the explosion. Don’t worry about details at this stage, focus on getting the overall shape and composition right.
Step 2: Define the Flames
Next, begin to define the flames within the explosion. Draw long, wavy lines extending from the center of the explosion outward. Vary the length and direction of these lines to create a sense of chaos and movement. Remember, flames are not perfect or symmetrical, so embrace the organic shapes and jagged edges.
Step 3: Add Detail to the Flames
Now it’s time to add more detail to the flames. Start by adding shorter, thinner lines between the longer ones to create a sense of depth and complexity. Use curved and zigzag lines to make the flames look more dynamic and realistic. Experiment with different pressure on your pencil to create variations in line thickness.
Step 4: Draw the Debris
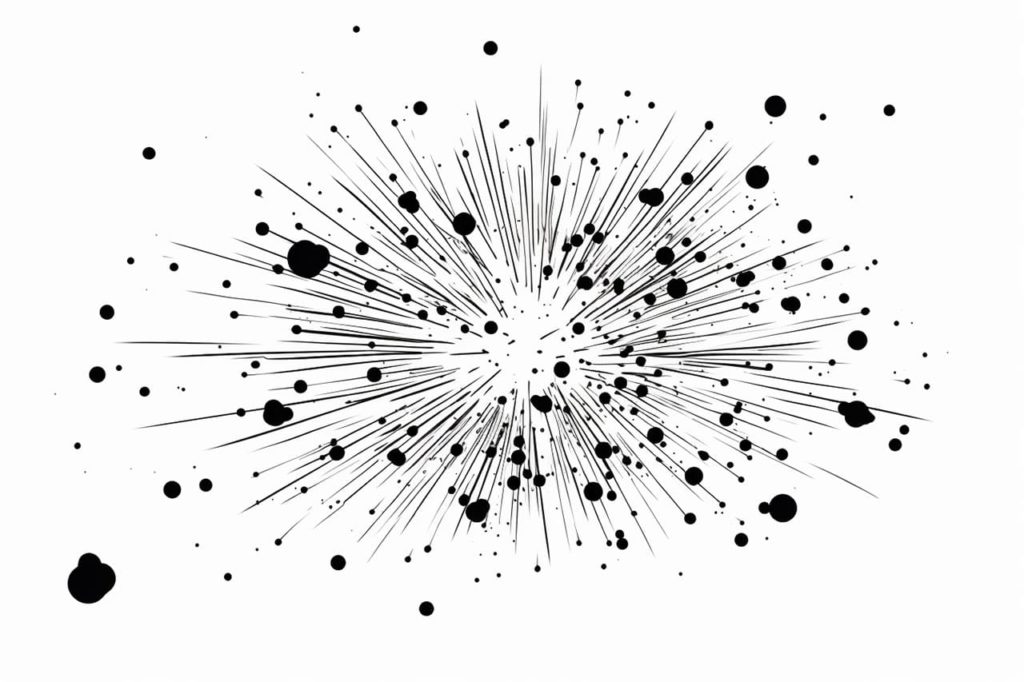
Explosions often involve debris being thrown in all directions. To depict this, draw small, sharp shapes shooting out from the explosion. These can include rocks, broken glass, or any other objects you associate with an explosion. Again, don’t worry about making them perfect – irregular shapes will add to the chaotic nature of the drawing.
Step 5: Add Shading
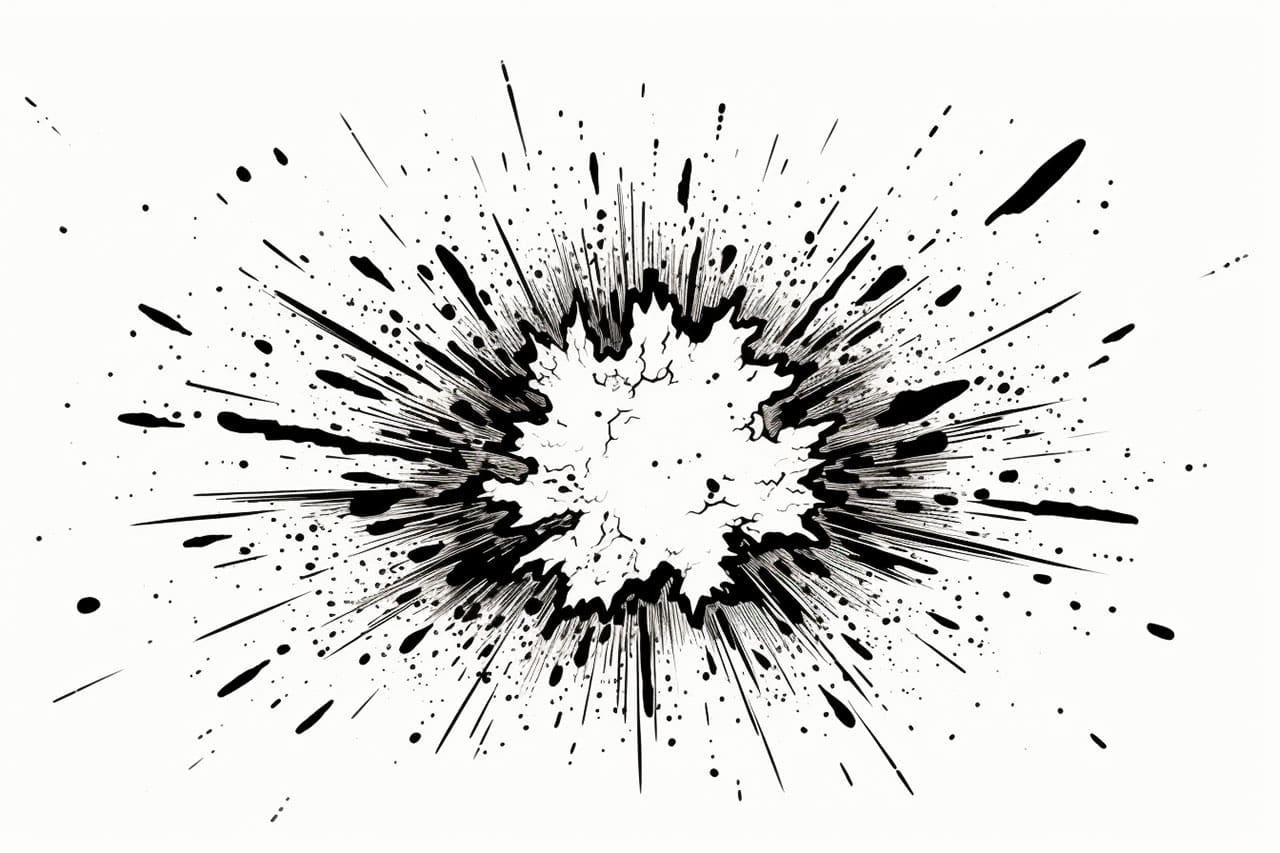
To give your explosion drawing more depth and dimension, add shading. Start by identifying the main light source in your drawing and imagine how it would interact with the flames and debris. Use a 2B or 4B pencil to darken the areas of the explosion that would be in shadow, and leave the areas closer to the light source lighter. This will help create a more three-dimensional look.
Step 6: Blend the Shading (Optional)
If you want a softer and smoother look, you can use a blending stump to blend the shading. Gently rub the stump over the shaded areas to create a more seamless transition between light and shadow. This technique can create a more realistic and polished appearance to your explosion drawing.
Step 7: Add Color (Optional)
If you want to add some extra vibrancy to your drawing, you can use colored pencils or markers to add color to the flames and debris. Play around with different color combinations to create an explosion that really pops. Remember to layer the colors to achieve depth and intensity.
Conclusion
Congratulations! You have successfully learned how to draw an explosion. By following these step-by-step instructions, you can create explosive drawings that are dynamic and visually captivating. Remember to practice and experiment with different techniques to develop your own unique style. Have fun and keep creating!
Gallery of Explosion Drawings