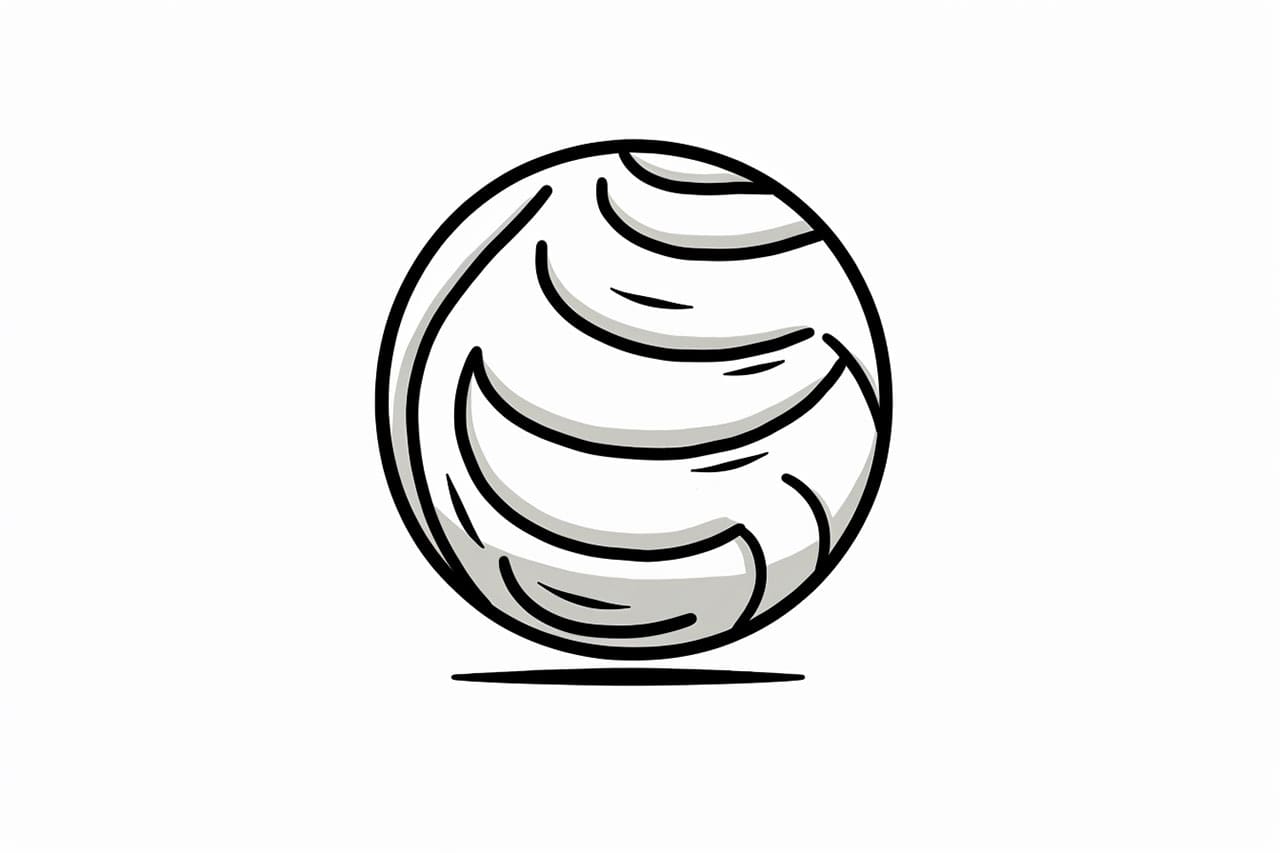
Do you love volleyball? Have you ever wanted to draw your favorite sport in action? In this step-by-step tutorial, I will guide you through the process of how to draw a volleyball. Whether you are a beginner or an experienced artist, you can create a realistic and dynamic volleyball with just a few simple steps. So grab your pencils and let’s get started!
Materials Required
Before we begin, let’s gather the materials you will need to complete this drawing:
- Drawing paper
- Pencils (HB, 2B, 4B)
- Eraser
- Ruler
- Compass (optional)
Now that we have everything ready, let’s dive into the process of drawing a volleyball!
Step 1: Outline the Basic Shape
To start, draw a large circle in the center of your paper. This will be the basic shape of the volleyball. Use a light pencil (HB) and make sure not to press too hard, as this is just the initial outline.
Step 2: Add the Volleyball Panels
A volleyball is made up of panels that give it its distinct look. To create these panels, draw curved lines across the surface of the circle. These lines should intersect each other at various points. It’s important to follow the shape of the circle and maintain equal spacing between each line.
Step 3: Refine the Panels
Now, let’s refine the shape of the panels. Use your ruler to straighten any lines that may have become too curvy. This will give your volleyball a more professional and polished look. Take your time during this step to ensure that your lines are clean and crisp.
Step 4: Add Shading
To make your volleyball look three-dimensional and realistic, we need to add shading. Start by determining the light source. Imagine a light coming from a specific direction and use this as a reference for shading.
Begin by shading one side of each panel, opposite to the light source. Use a darker pencil (2B or 4B) and apply more pressure to create a gradual transition from light to dark. This will give the panels depth and make them appear more rounded.
Step 5: Create Highlights
To further enhance the three-dimensional effect, we will now add highlights to the volleyball. Using an eraser, carefully remove some of the shading on the panels where the light would hit them directly. This will create the illusion of light reflecting off the surface, adding a realistic touch to your drawing.
Step 6: Add Texture
A volleyball has a unique texture due to its raised panels. To capture this texture, lightly sketch small lines across each panel. These lines should follow the curved shape of the panel and add a subtle sense of depth. Be careful not to press too hard, as the texture should be subtle and not overpowering.
Step 7: Finalize the Drawing
Now that you have added shading, highlights, and texture, take a moment to review your drawing. If there are any areas that need adjustments or further refinement, now is the time to do so. Use your eraser and pencils to make any necessary changes until you are satisfied with the overall look of your volleyball.
Congratulations! You have successfully drawn a volleyball. With practice, you will be able to draw more complex scenes and capture the energy and excitement of the sport.
Conclusion
Drawing a volleyball may seem challenging at first, but by following these step-by-step instructions, you can create a realistic and dynamic representation of your favorite sport. Remember to take your time, be patient, and practice regularly. Soon enough, you will be able to draw a volleyball effortlessly.
So grab your art supplies, get creative, and have fun drawing your own volleyball! Keep practicing and exploring different techniques to enhance your drawing skills. Before you know it, you’ll be able to create incredible artwork that captures the spirit of the game.


