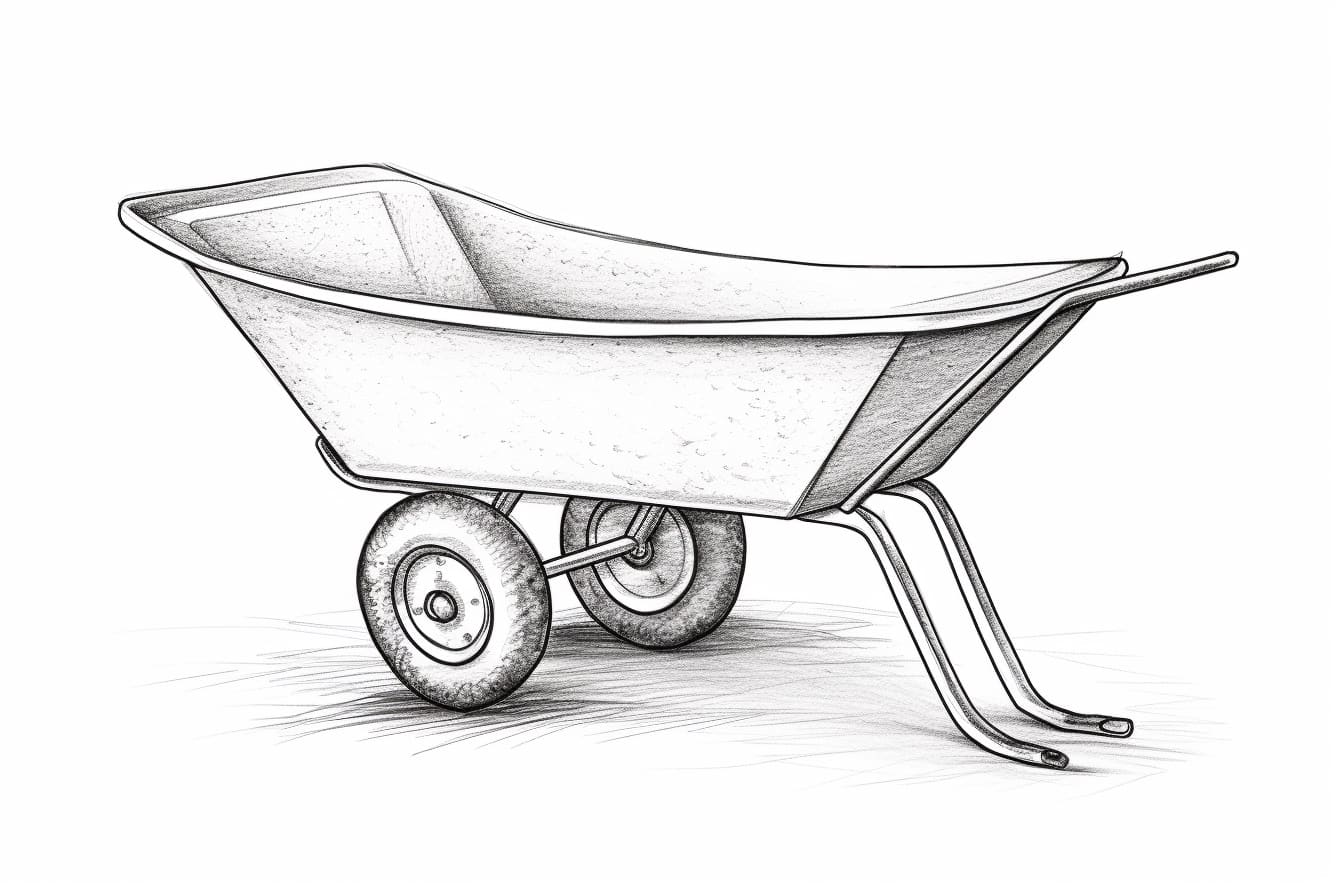
Drawing is a wonderful way to express your creativity and bring your imagination to life. In this step-by-step guide, you will learn how to draw a wheelbarrow. Whether you’re a beginner or an experienced artist, this tutorial will provide you with the necessary techniques and tips to successfully create a beautiful wheelbarrow drawing.
Materials Required
Before we get started, gather the following materials:
- Drawing paper or sketchbook
- Pencil (HB or 2B recommended)
- Eraser
- Ruler
- Compass
- Colored pencils or markers (optional)
Now that you have your materials ready, let’s begin!
Step 1: Outline the Wheelbarrow’s Main Body
Start by drawing a long, horizontal line near the bottom of your paper. This line will serve as the base of the wheelbarrow. Next, draw two vertical lines on either end of the base line to create the sides of the wheelbarrow. These lines should be slightly angled inward.
Step 2: Draw the Wheel
Using your compass, draw a large circle near the front end of the wheelbarrow’s base. This circle will represent the wheel. Make sure the size of the wheel is proportionate to the size of the wheelbarrow.
Step 3: Add the Handles
Extend two diagonal lines from the top corners of the wheelbarrow’s sides. These lines should meet near the middle of the circle you drew for the wheel. The handles should be slightly curved and angled upward, giving the appearance of being attached to the wheelbarrow.
Step 4: Sketch the Supporting Legs
Below the wheelbarrow’s base, draw two diagonal lines on each side. These lines will serve as the supporting legs. Make sure the legs are evenly spaced and extend slightly beyond the base of the wheelbarrow.
Step 5: Add the Wheelbarrow’s Tray
Draw a rectangle shape between the sides of the wheelbarrow. This rectangle will represent the tray of the wheelbarrow. Make sure the top edge of the tray is slightly curved to give it a more realistic look.
Step 6: Refine the Details
Now that you have the basic structure of the wheelbarrow, it’s time to refine the details. Use your pencil to add smaller lines and curves to define the edges of the wheelbarrow, handles, tray, and wheel. Pay attention to the proportions and symmetry of the different parts to ensure a balanced drawing.
Step 7: Erase Unnecessary Guidelines
Carefully erase any unnecessary guidelines or construction lines that you no longer need. Make sure to erase gently to avoid smudging or damaging your drawing.
Step 8: Add Shading and Texture (Optional)
If you want to add depth and dimension to your drawing, you can use shading and texture techniques. Observe the light source in your drawing and add darker shading on the areas that would be in shadow. You can also add texture to the wheelbarrow’s tray or handles by lightly shading in a crosshatch or stippling pattern.
Step 9: Color Your Drawing (Optional)
To bring your wheelbarrow drawing to life, you can use colored pencils or markers to add vibrant colors. Experiment with different shades to create a realistic or imaginative color scheme.
Conclusion
Congratulations on completing your wheelbarrow drawing! By following these step-by-step instructions, you have successfully created a beautiful artwork that showcases your artistic skills. Remember, practice makes perfect, so keep drawing and exploring your creativity. Enjoy the process and have fun!