How to Draw a Farm
Learn how to draw a farm in this step-by-step tutorial. Create your own charming farm scene with clear and concise instructions provided by an expert artist and drawing instructor.

Materials You'll Need
- Pencil
- Paper
- Eraser
![]() Drawing is a fantastic way to express your creativity, and what better subject to capture than a charming farm scene? In this step-by-step tutorial, we will walk through how to draw a farm on paper, complete with a cozy farmhouse, vibrant fields, and friendly animals. This guide is designed for everyone, whether you're just starting or have some experience, so grab your materials and prepare to embark on a delightful artistic journey.
Drawing is a fantastic way to express your creativity, and what better subject to capture than a charming farm scene? In this step-by-step tutorial, we will walk through how to draw a farm on paper, complete with a cozy farmhouse, vibrant fields, and friendly animals. This guide is designed for everyone, whether you're just starting or have some experience, so grab your materials and prepare to embark on a delightful artistic journey.
Farms embody a sense of nostalgia, tranquility, and natural beauty, making them enjoyable to draw. With expansive fields and inviting structures, a farm scene allows for a range of elements and details that will challenge and excite your artistic skills. Throughout this tutorial, you will learn to break down complex forms into simpler shapes, ensuring you have a solid foundation to work from. You'll be amazed at how these basic steps can lead to a stunning final piece.
So, if you're ready to get those creative juices flowing and bring a slice of rural life to your sketchbook, let's dive in and start drawing! There's no need for perfection—just enjoy the process and watch your charming farm come to life, one step at a time.
Materials Required
To create your farm drawing, you will need the following materials:
- Drawing paper
- Pencil
- Eraser
- Ruler
- Fine-tip black pen
- Colored pencils or markers (optional)
Step 1: Sketch the Horizon Line
Start by drawing a straight horizontal line across your paper. This line will serve as the horizon, representing the point where the land meets the sky. Use a ruler to ensure the line is level and straight.
Step 2: Add the Farmhouse
Positioned near the center of the horizon line, draw a rectangular shape to represent the farmhouse. Use light and simple strokes to sketch the basic outline of the house. Remember, we can always make adjustments later.
Step 3: Outline the Roof and Windows
Using the existing rectangle as a guide, add a triangular shape on top to form the roof of the farmhouse. Then, sketch rectangles for windows and a rectangle or square for the entrance door. Remember, these shapes can be modified as we progress.
Step 4: Draw the Barn
Next, draw a rectangular shape adjacent to the farmhouse to represent the barn. The barn can be larger or smaller depending on your preference. Feel free to add more details such as doors, windows, or even a silo if you'd like.
Step 5: Add Some Trees
To bring life to your farm, draw a few trees scattered around the landscape. Use simple shapes like triangles or ovals for the tree tops, and straight lines for the trunks. Vary the heights and positions of the trees to create visual interest.
Step 6: Sketch the Fields
Divide the space in front of the farmhouse and barn into several fields. Use horizontal lines to represent the boundaries between each field. You can make them straight or slightly irregular to add a more natural look.
Step 7: Add the Fence
Draw a small fence on one side of the farm, extending from the farmhouse towards the fields. Use short vertical lines for the fence posts, connecting them with horizontal lines for the rails. Feel free to add a gate if desired.
Step 8: Outline the Animals
[[Bring your farm to life by adding some animals. Sketch simple shapes to represent cows, horses](https://yonderoo.com/how-to-draw-a-horse/), a rooster](https://yonderoo.com/how-to-draw-a-rooster/), or any other animals you prefer. For example, draw ovals for the bodies, rectangles for the heads, and simple curved lines for legs and tails.
Step 9: Add Details to the Farmhouse
Go back to the farmhouse and add more details. Sketch lines to represent siding or bricks on the walls. Add smaller rectangles for windowsills and a curved line for the roof's edge. Enhance the entrance by adding a few steps or a porch.
Step 10: Enhance the Landscape
To make your farm drawing more appealing, sketch additional elements to enhance the landscape. You can add a pathway leading to the farmhouse, a garden with flowers, or even a pond or stream. Let your imagination guide you.
Step 11: Refine and Darken the Lines
Now that you have the main elements of your farm sketched, go over the lines with your pencil and darken them. This will help define the shapes and details more clearly. Take your time and be patient as you work through this step.
Step 12: Erase Unnecessary Guidelines
Using an eraser, carefully remove the initial light pencil lines that are no longer needed. Be cautious not to erase any of the darker lines that define your drawing. Take your time to erase gently and make sure not to smudge your work.
Step 13: Ink Your Drawing
Once you are satisfied with your pencil sketch, go over the final lines with a fine-tip black pen. This will give your farm drawing a clean and finished look. Start by outlining the main shapes and then add details such as windows, doors, and textures.
Step 14: Color Your Farm (optional)
If desired, you can add color to your farm drawing using colored pencils or markers. Use earthy tones for the buildings and green shades for the landscape. Experiment with different colors to add depth and vibrancy to your artwork.
Tip: To enhance your farm drawing, start by using a grid method to accurately place your elements. Break down your scene into sections, drawing light, simple outlines of the farmhouse, barn, and fields to establish their positions. Use a soft pencil (like 2B) for initial sketches, as it allows for easy erasing and adjustments. Once the layout feels right, gradually build detail, focusing on textures like the wood grain of the barn or the varying heights of crops in the field. Remember to layer your colors if you're using colored pencils or watercolors, starting with lighter shades and gradually adding depth with darker tones to bring your farm scene to life. Enjoy the process and don't hesitate to experiment with different perspectives to find what feels most engaging!
Conclusion
Congratulations, you have successfully learned how to draw a farm! By following these step-by-step instructions, you have created a charming and picturesque farm scene on paper. Don't forget to have fun and let your creativity shine through as you add your own personal touches to the drawing. Happy drawing!
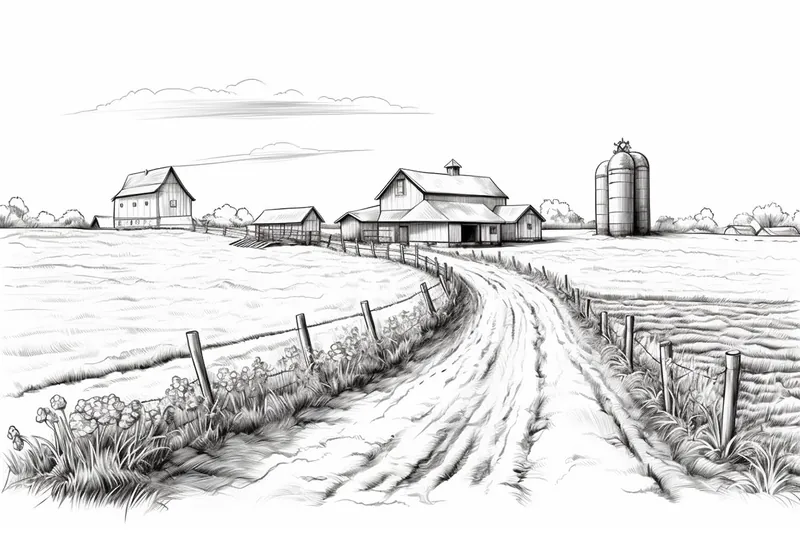
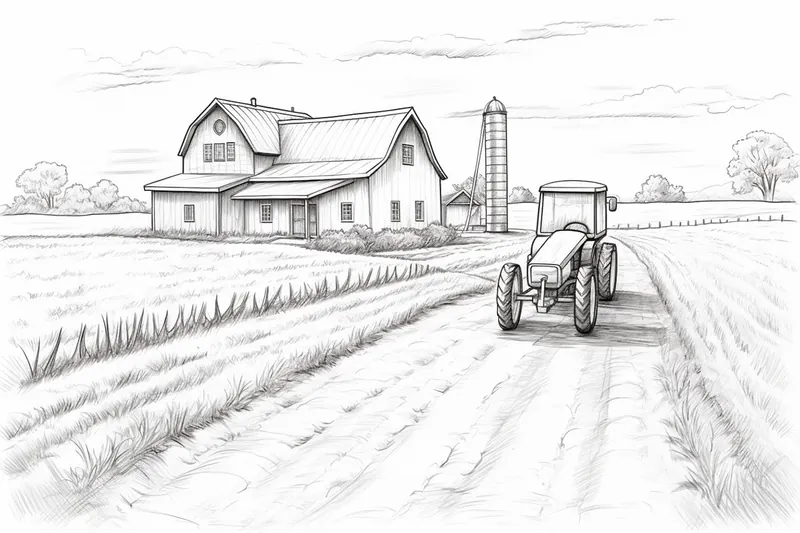
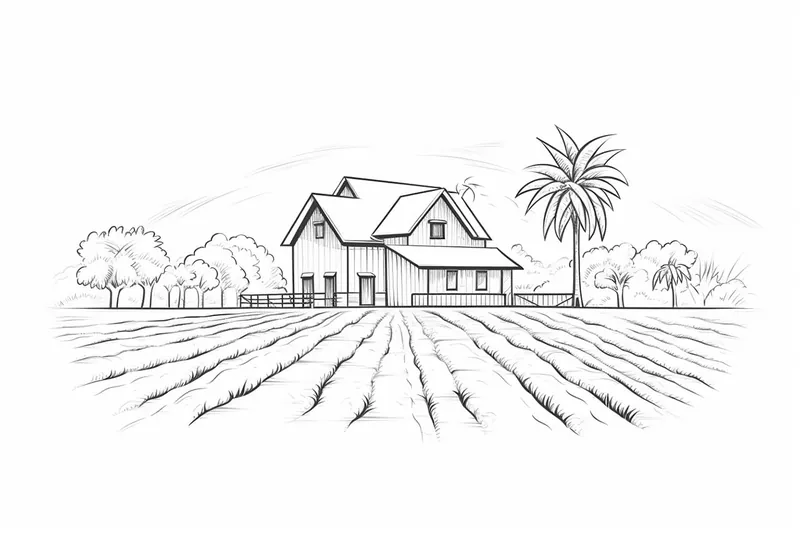
Gallery of Farm Drawings