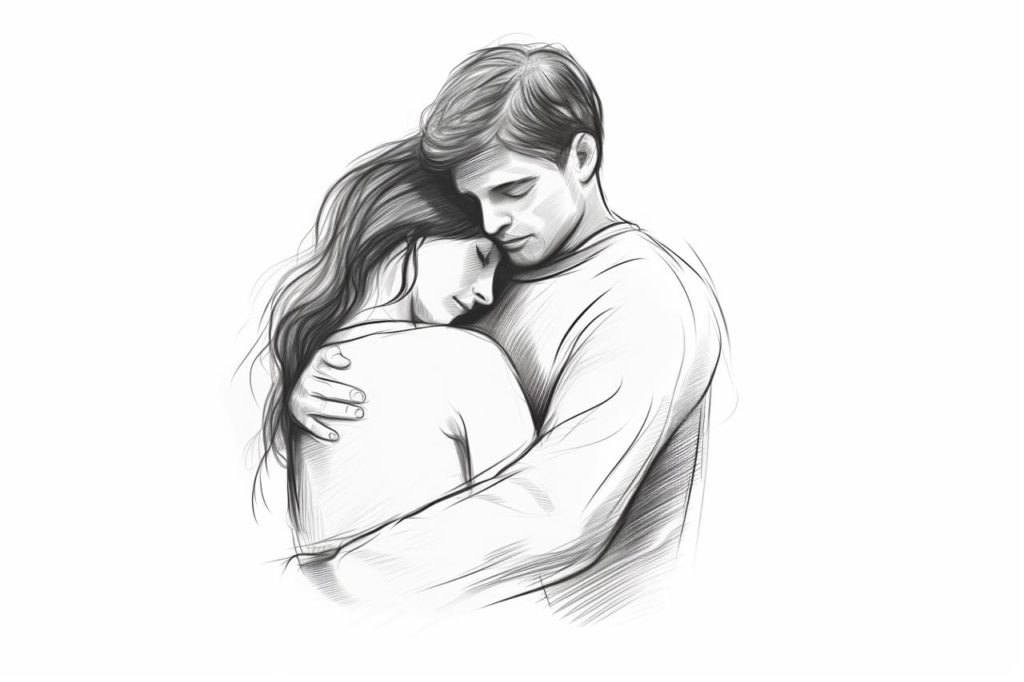
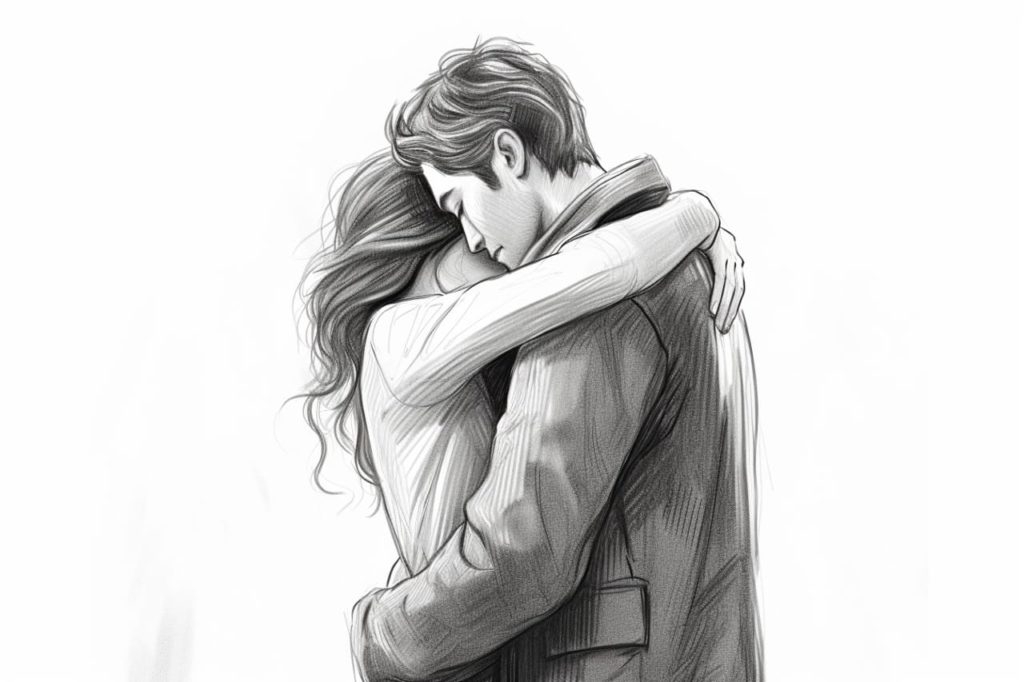
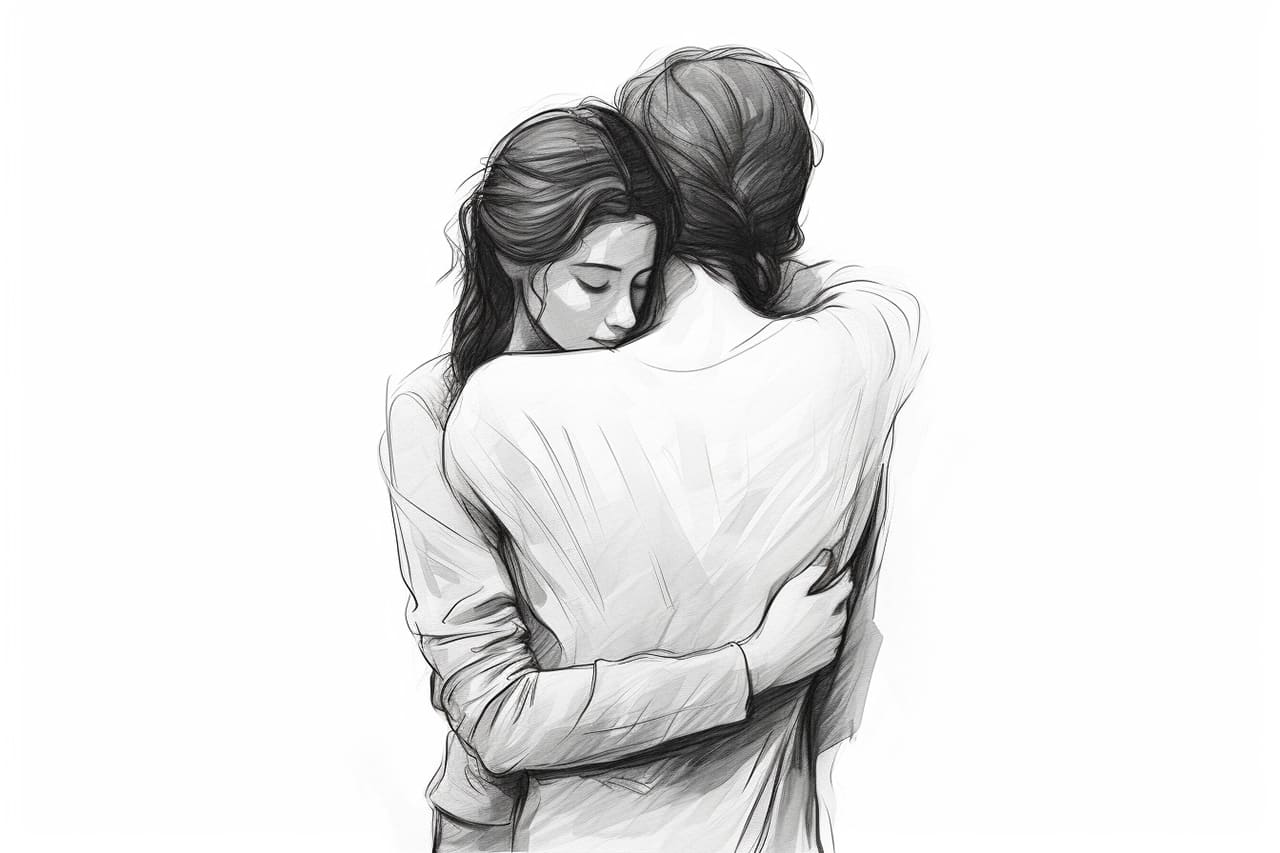
Have you ever wanted to capture the warmth and love of a hug in a drawing? Well, you’re in luck! In this step-by-step tutorial, I’ll show you how to draw a hug that will evoke feelings of comfort and affection. Whether you’re a seasoned artist or just starting out, by following these simple instructions, you’ll be able to create a heartwarming hug on paper.
Materials Required
Before we begin, gather the following materials:
- Drawing paper – You’ll need a smooth surface to work on. Quality paper will prevent smudging and provide a better drawing experience.
- Pencils – Get a variety of graphite pencils ranging from light to dark. This will help you achieve different shades and tones in your drawing.
- Eraser – A kneaded eraser is recommended as it can be easily molded into any shape and removes graphite cleanly without damaging the paper.
- Blending stump – This tool is useful for blending and smudging graphite, creating smooth transitions and softening lines.
- Reference image – Find a photo or use real-life inspiration to guide your drawing. Having a visual reference will help you capture the essence of a hug more accurately.
Now that you’re well-equipped, let’s dive into the steps to draw a heartwarming hug!
Step 1: Sketch the Basic Shapes
Begin by lightly sketching the basic shapes of the figures participating in the hug. Use simple lines and shapes to outline the bodies and position them as desired. Keep in mind the poses, angles, and proportions to maintain a realistic look.
Step 2: Refine the Outline
Once you’re satisfied with the basic shapes, refine the outline of the figures by adding more details and defining their body contours. Pay attention to the curves and folds of the clothing and the overall gesture of the hug.
Step 3: Add Facial Features
Now, focus on the faces of the figures. Carefully draw the eyes, noses, and mouths, ensuring that they reflect the emotion of the hug. Whether it’s a smile, closed eyes, or a look of contentment, capturing the expressions will enhance the overall warmth of your drawing.
Step 4: Emphasize the Arms
The arms play a significant role in a hug, so it’s important to give them attention. Start by adding the general shape of the arms, then refine the details. Pay close attention to the bend of the elbows and the positioning of the hands, which often connect during a hug.
Step 5: Define the Embrace
Now, it’s time to add depth and volume to the hug. Use shading techniques to create shadows that emphasize the embrace. Pay attention to the areas where the figures’ bodies overlap, as these will naturally cast shadows. Gradually build up the shading, starting with lighter tones and gradually adding darker ones.
Step 6: Add Clothing Details
To make the hug more realistic, add some details to the clothing. Draw the folds and creases, following the natural flow of the fabric. This will add dimension and texture to your drawing.
Step 7: Refine and Blend
Take a step back and evaluate your drawing so far. Make any necessary adjustments to the proportions, forms, or details. Once you’re satisfied, use a blending stump to gently blend certain areas. This will soften harsh lines and create a smoother appearance.
Step 8: Final Touches
At this stage, focus on refining any remaining details and enhancing the overall drawing. Pay attention to small areas like hair, jewelry, or additional elements that will add more depth to your artwork. Take your time, and remember, it’s the little details that can make a big difference.
Conclusion
Drawing a hug can be a beautiful way to capture the tender and comforting nature of human connection. By following these step-by-step instructions, you can create a heartwarming hug on paper that will evoke emotions and leave a lasting impression. So, grab your materials, unleash your artistic skills, and start drawing hugs that touch the hearts of others!
Gallery of Hug Drawings


