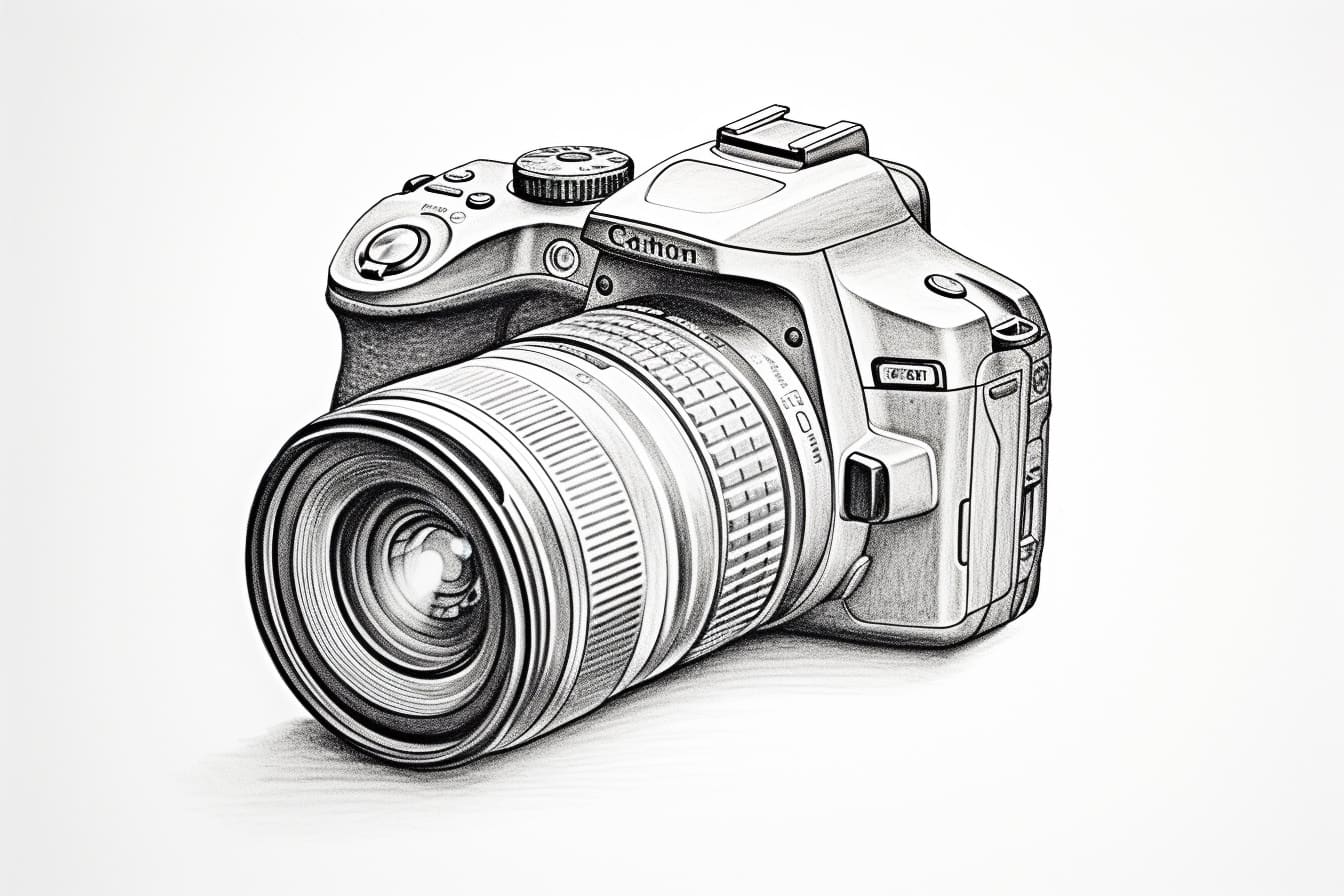
Drawing a DSLR camera might seem challenging at first, but with a step-by-step approach, you’ll be able to capture its intricate details and create a stunning artwork. In this article, I will guide you through the process of how to draw a DSLR camera, from the basic shapes to the final touches. So grab your pencils, erasers, and paper, and let’s get started!
Materials Required
Before we dive into the drawing process, make sure you have the following materials at hand:
- Drawing paper: A good quality paper will ensure smooth lines and preserve your artwork for years to come.
- Pencils: A range of graphite pencils, such as HB, 2B, 4B, and 6B, will give you the versatility to achieve different shades and tones.
- Erasers: Both a kneaded eraser and a white vinyl eraser will be handy for correcting mistakes and adding highlights.
- Ruler: A straight edge will help you maintain precise proportions while drawing straight lines.
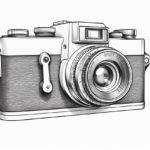
- Reference photo: Find a clear and detailed image of a DSLR camera to aid your drawing process. You can use a photo from the internet or take your own.
Now that you have all your materials ready, let’s begin the step-by-step process of drawing a DSLR camera!
Step 1: Outline the Basic Shapes
Start by lightly sketching the basic shapes that make up the camera. Begin with a rectangular shape for the camera body, slightly wider at the top than the bottom. Then, add a smaller rectangle on top of the body for the viewfinder. Finally, draw a cylindrical shape for the lens, connecting it to the body.
Step 2: Refine the Shapes and Add Details
Using your reference photo as a guide, refine the shapes you sketched in the previous step. Round the corners of the rectangular body, keeping in mind the overall proportions. Add the grip on the right side of the camera body, curving it slightly to fit the hand. Next, work on the viewfinder by adding curves and small buttons around it.
Step 3: Draw the Lens and Buttons
Focus on the lens area of the camera. Add more details to the cylindrical shape, such as ridges and screws, along with the lens cap. Move on to the buttons and dials on the camera body. Pay attention to their placement and size, as they vary from one camera model to another. Use your ruler to keep the lines straight and aligned.
Step 4: Enhance the Viewfinder and Screen
The viewfinder and screen are crucial elements of a DSLR camera. Add more depth to the viewfinder by darkening the surrounding areas and adding shadows. Draw the rectangular screen, taking note of the buttons and symbols around it. It’s important to accurately depict these details to make your drawing more realistic.
Step 5: Add Texture and Shading
To give your drawing a realistic look, focus on adding texture and shading. Observe your reference photo carefully and identify areas of light and shadow. Shade the camera body and lens accordingly, using different graphite pencils to achieve a range of tones. Use hatching and cross-hatching techniques to create texture on buttons, dials, and other intricate parts.
Step 6: Final Touches
Now that your drawing is taking shape, it’s time to add the final details. Pay attention to small features like logos, brand names, and any additional text on the camera body. Use an eraser to lift off some graphite and create highlights where the light hits the camera. Make sure to step back occasionally and assess your drawing as a whole to ensure you’ve captured all the details accurately.
Conclusion
Drawing a DSLR camera may seem intimidating, but by breaking it down into simple steps, you can create a realistic and impressive artwork. From outlining the basic shapes to adding the final touches, the process requires patience and attention to detail. So don’t be afraid to take your time and enjoy the journey of capturing the intricate design of a DSLR camera on paper. Happy drawing!