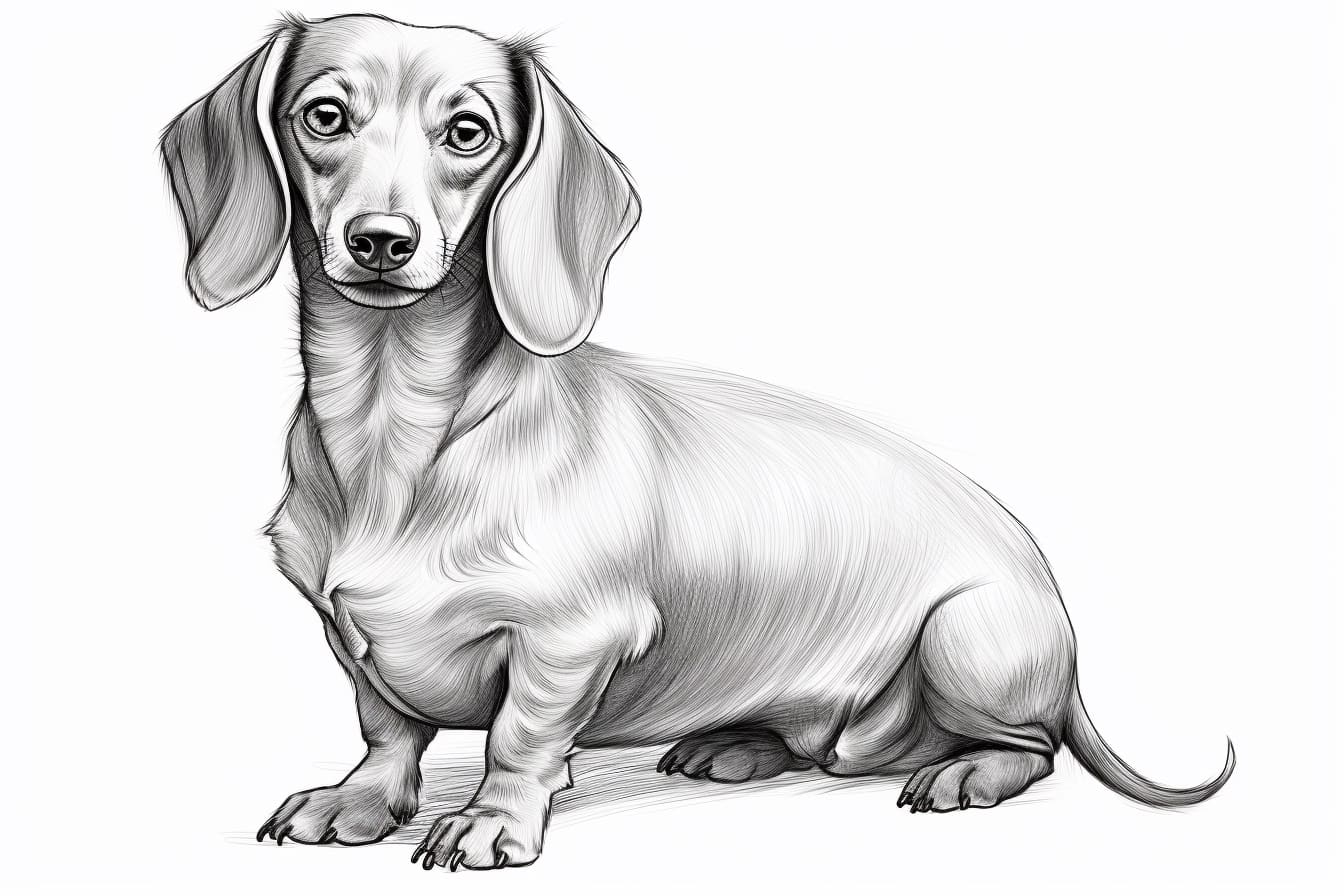
Have you ever wanted to draw a cute and adorable weenie dog? Well, you’re in luck! In this step-by-step guide, I will show you how to draw a weenie dog from scratch. Whether you are a beginner or an experienced artist, this tutorial will help you bring your artistic skills to life. So, grab your pencils and let’s get started!
Materials Required
To begin drawing a weenie dog, you will need the following materials:
- Pencil
- Eraser
- Paper
- Colored pencils or markers (optional)
Now that you have all the necessary materials, let’s dive into the step-by-step process of drawing a weenie dog!
Step 1: Sketch the Body Shape
Start by sketching the basic outline of the weenie dog’s body. Begin with a vertical line for the spine and draw a slightly curved horizontal line intersecting the spine near the top. This will serve as the weenie dog’s back. Next, draw a long oval shape connecting the ends of the horizontal line to create the body.
Step 2: Add the Legs and Tail
Now, draw four short lines extending down from the body to represent the weenie dog’s legs. Make sure to position them evenly on both sides of the body. Afterward, add a curved line at the end of the body to represent the tail. Weenie dogs are known for their long tails, so make sure to give it a slight curve.
Step 3: Draw the Head and Ears
Moving on to the head, draw a circle on top of the body. This will be the basic shape of the weenie dog’s head. Next, add two triangular shapes on either side of the circle to represent the ears. Weenie dogs typically have long floppy ears, so make sure to draw them accordingly.
Step 4: Refine the Face
Now, let’s add some features to the face. Start by drawing two small circles within the head circle for the eyes. Then, draw a small rounded triangle shape for the nose below the eyes. Add a curved line above the eyes to represent the brow line and give the weenie dog a cute expression. Finally, draw a small curved line under the nose to create the mouth.
Step 5: Add Details to the Body
To make our weenie dog look more realistic, let’s add some details to the body. Begin by adding a curved line along the back to create the spine. Then, draw a curved line on the belly to represent the underside of the weenie dog. Finally, add short curved lines along the sides to indicate the ribs.
Step 6: Refine the Legs and Tail
Next, we are going to refine the legs and tail. Start by adding more shape and curves to the legs to make them look more muscular. Weenie dogs have short but strong legs, so make sure to emphasize that in your drawing. For the tail, add some fur-like texture by adding small curved lines along its length.
Step 7: Add Facial Features
Let’s add some detail to the weenie dog’s face. Begin by drawing a small circle within each eye circle to represent the pupils. Then, add some small curved lines around the eyes and nose to indicate fur texture. Don’t forget to draw a mouth line and a tiny tongue peeking out to add some character to the weenie dog’s expression.
Step 8: Finalize the Drawing
Now that we have all the basic elements in place, it’s time to finalize our weenie dog drawing. Go over your sketch and refine any lines that need adjustment. Erase any unnecessary guidelines and sharpen the details. If you want to add more depth and dimension to your drawing, you can use colored pencils or markers to shade and color your weenie dog illustration.
Conclusion
Congratulations, you have successfully learned how to draw a weenie dog! By following these step-by-step instructions, you should now have a delightful illustration of a weenie dog in front of you. Remember, practice makes perfect, so don’t be afraid to experiment and try different techniques, including drawing different types and breeds of dogs. With time and dedication, your artistic skills will continue to grow. Enjoy the process, and keep on drawing!