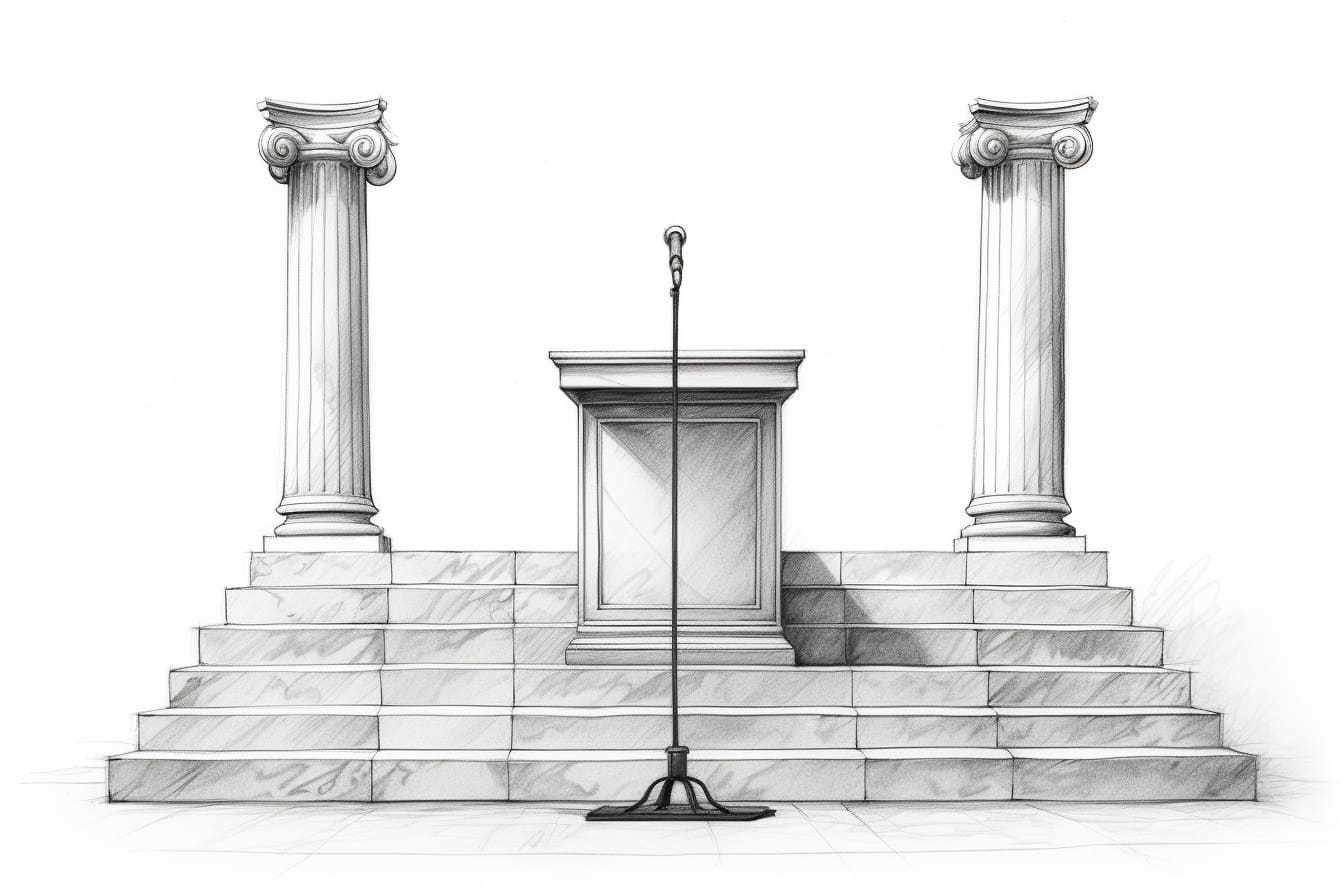
Drawing a podium can be a fun and rewarding experience, whether you’re an aspiring artist or just looking to enhance your drawing skills. In this step-by-step guide, we will walk you through the process of drawing a podium from start to finish. By following these instructions, you’ll be on your way to creating a detailed and realistic drawing of a podium. So let’s get started!
Materials Required
Before beginning, gather the following materials:
- A piece of paper
- A pencil
- An eraser
- A ruler
- Colored pencils or markers (optional)
Now that you have all the necessary materials, it’s time to begin your podium drawing!
Step 1: Outline the Base
Start by drawing a rectangle in the center of your paper. Use your ruler to ensure straight lines and try to make the rectangle about twice as wide as it is tall. This will form the base of the podium.
Step 2: Add the Pillars
From the top corners of the rectangle, extend two vertical lines upwards. These lines will serve as the pillars of the podium. Make sure the height of the pillars is proportionate to the size of the base.
Step 3: Connect the Pillars
At the top of each pillar, draw a horizontal line to connect them. This will create the top surface of the podium. Make sure the line is parallel to the base of the podium to maintain symmetry.
Step 4: Shape the Pillars
To give the pillars more dimension, add depth by drawing two lines vertically along each pillar. These lines should be evenly spaced and parallel to each other. The distance between them should gradually decrease towards the top to create a tapered effect.
Step 5: Draw the Platform
Now, draw a square-shaped platform on top of the pillars. The size of the platform should be slightly smaller than the top surface of the podium. Connect each corner of the platform to the corresponding pillar by drawing diagonal lines.
Step 6: Create the Podium’s Front
At the front of the base, draw a curved line connecting the two pillars. This will form the front of the podium and give it a more appealing design. Make sure the curve is symmetrical and follows the shape of the pillars.
Step 7: Add Detail to the Base
To add more visual interest to the base of the podium, draw some decorative patterns or motifs. This can be anything from intricate designs to simple shapes. Use your imagination to make the podium truly unique.
Step 8: Enhance the Pillars
To make the pillars more realistic, add details such as vertical lines or grooves to represent the texture. This will give them a more three-dimensional look. Take your time and be patient with this step, as it can greatly affect the overall appearance of your drawing.
Step 9: Refine the Platform
Add additional details to the platform, such as a border or patterns. You can also draw a microphone or any other objects you envision on the podium. Be creative and use your artistic skills to make it visually appealing.
Step 10: Add Shadows and Highlights
To make your podium drawing more realistic, add shadows and highlights. Imagine a light source coming from one direction and use shading techniques to add depth and dimension. Darken areas that would be in shadow and lighten areas that would catch the light. This will bring your podium to life.
Conclusion
Drawing a podium may seem challenging, but by following these step-by-step instructions, you can create a detailed and realistic drawing. Remember to take your time, practice, and have fun with your artwork. With dedication and patience, you’ll be amazed at what you can achieve. So grab your materials and start drawing your own stunning podium today!