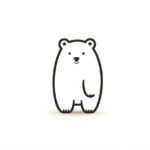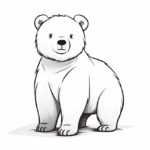
Welcome to this step-by-step guide on how to draw a bear cub. Whether you are an aspiring artist or just looking for a fun and creative activity, this tutorial will walk you through the process of drawing a cute and adorable bear cub. So, grab your art supplies and let’s get started!
Materials Required
Before we begin, make sure you have the following materials handy:
- Pencil
- Eraser
- Drawing paper
- Colored pencils or markers (optional)
Now that you have everything you need, let’s begin our artistic journey!
Step 1: Sketch the Basic Shapes
To start, lightly sketch the basic shapes that will form the foundation of your bear cub. Begin with a small oval for the head and a large oval for the body. Then, add two small circles for the ears on top of the head.
Step 2: Outline the Face and Ears
Using the basic shapes as a guide, carefully outline the face of the bear cub. Define the shape of the snout by drawing a small curve that connects the head and the body. Next, shape the ears by following the outline of the circles, making them slightly pointed at the top.
Step 3: Add Facial Features
Now, let’s bring our bear cub to life by adding its facial features. Draw two small circles for the eyes and add a dot inside each eye to represent the pupils. Beneath the eyes, draw a small curved line for the nose. Then, add a smiling curve-shaped line for the mouth.
Step 4: Outline the Body and Limbs
Next, outline the body and limbs of the bear cub. Start by connecting the head and body with curved lines. Then, draw the front legs as slightly curved lines extending from the body. Add small oval shapes at the end of each leg for the paws. Repeat this process for the back legs, making them slightly longer than the front legs.
Step 5: Add Details to the Face
To give our bear cub some personality, let’s add some details to its face. Draw small ovals within the eyes to depict highlights and add curved lines above the eyes to represent eyebrows. Next, add two curved lines on the snout to create the bear cub’s nostrils.
Step 6: Define the Body and Limbs
Now, let’s define the body and limbs of our bear cub. Add curved lines on the bear cub’s body to show fur texture. Use curved lines to outline the paws and add small curved lines within the paws to represent the toes. Add some curved lines on the back legs to indicate muscle definition.
Step 7: Refine the Features
Take a moment to refine the features of the bear cub. Erase any unnecessary lines or overlapping shapes and smooth out the contours. Darken the facial features, such as the eyes, nose, and mouth.
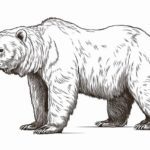
Step 8: Add Fur Texture
To make our bear cub look more realistic, let’s add some fur texture. Use short and quick strokes to create fur lines on the body and limbs, following the overall shape of the bear cub. Start from the head and work your way down, paying attention to the direction of the fur.
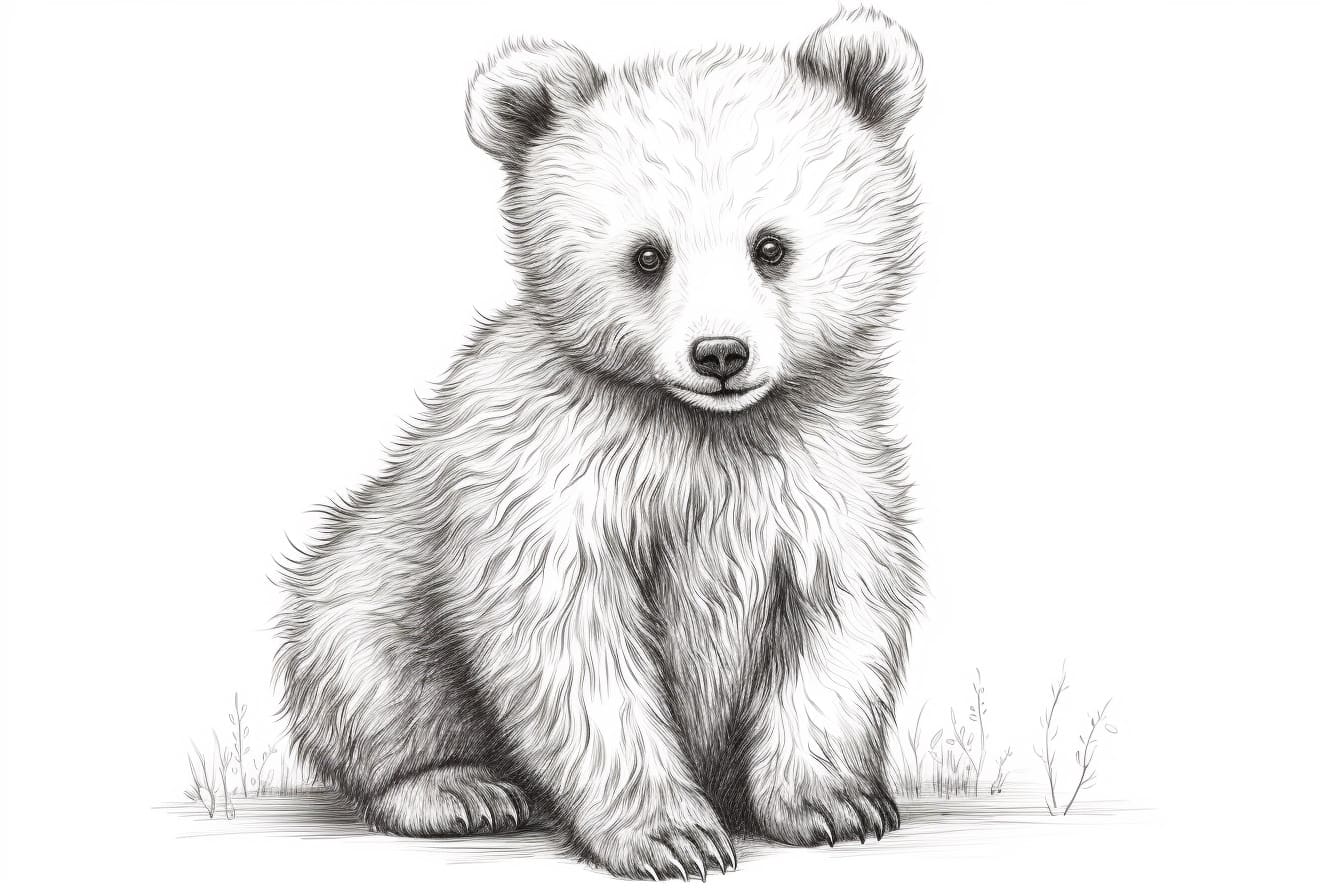
Step 9: Finalize and Color (optional)
Now that you have completed the basic sketch of your bear cub, you can finalize the drawing by going over the lines with a pen or marker. This will give your drawing a bold and finished look. If you like, you can also add color to your bear cub using colored pencils or markers. Feel free to get creative with your color choices!
Conclusion
Congratulations! You have successfully drawn a bear cub. Drawing is a wonderful way to express your creativity and improve your artistic skills. Remember, practice makes perfect, so keep sketching and experimenting with different subjects. We hope you enjoyed this tutorial and found it helpful. Happy drawing!