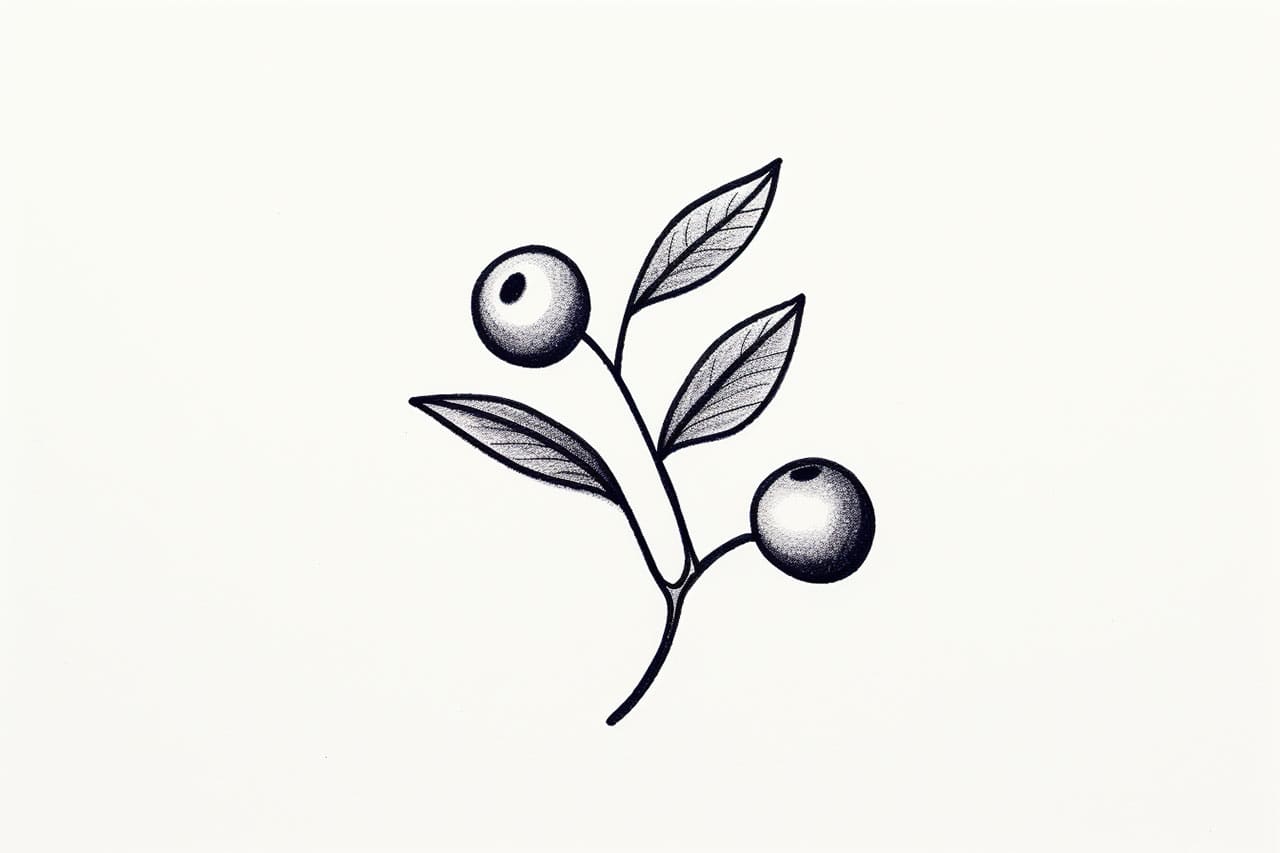
Welcome to this step-by-step tutorial on how to draw a blueberry! Whether you are a beginner or an experienced artist, this guide will take you through the process of creating a realistic and vibrant blueberry illustration. So, let’s get started!
Materials Required:
Before we begin, let’s gather the materials that you will need for this drawing:
- Drawing paper or sketchbook
- Pencil (preferably an HB or 2B)
- Eraser
- Colored pencils (blue, purple, and green)
- Blending stump (optional)
- Reference image of a blueberry
Now that you have all the necessary materials, let’s dive into the step-by-step instructions to draw a blueberry.
Step 1: Sketch the Basic Shape
Start by lightly sketching a rough oval shape on your drawing paper to represent the body of the blueberry. This will serve as a guide for the proportions and overall structure of the blueberry.
Step 2: Add the Stem
Using your pencil, add a small curved line at the top of the blueberry to depict the stem. The stem should be thinner and lighter in color compared to the body of the blueberry.
Step 3: Outline the Blueberry
Now, carefully outline the shape of the blueberry using a slightly darker and more defined line. Make sure to follow the contour of the oval shape, adding subtle curves and bumps to mimic the natural texture of a blueberry.
Step 4: Create Highlights
To give your blueberry dimension and a glossy appearance, it’s essential to add highlights. Using your eraser, gently remove small sections of the pencil lines within the blueberry’s shape. Focus on areas that would catch the light, such as the top and sides. This will create a sense of roundness and shine.
Step 5: Shade the Blueberry
Next, we will begin shading the blueberry to give it depth and color variation. Start by lightly coloring the entire body of the blueberry using a blue colored pencil. Apply more pressure as you move towards the bottom to create a gradual transition of color.
Step 6: Add Purple Undertones
Now, take a purple colored pencil and begin layering it over the blue areas of the blueberry. Use light, circular motions to build up the color and create a realistic texture. Focus on darkening the bottom part of the blueberry to enhance the shading and volume.
Step 7: Blend the Colors
If you want to achieve a smoother look, you can use a blending stump or a cotton swab to blend the blue and purple colors together. This will help to create a seamless transition and bring out the subtle tones in the blueberry.
Step 8: Enhance the Texture
To make the blueberry look more realistic, we need to add texture. Using a sharp pencil, lightly sketch some tiny dots and speckles throughout the blueberry. These irregular marks will mimic the rough surface of a blueberry and add visual interest.
Step 9: Details and Shadows
Now, it’s time to add some finishing touches. Use a darker shade of blue or purple to create the shadows within the creases and folds of the blueberry. Pay attention to areas where the blueberry’s shape overlaps or curves inward, as these areas tend to be darker.
Step 10: Final Touches
To complete your blueberry illustration, take a green colored pencil and lightly shade the stem. Add a few strokes to show the texture and depth of the stem. You can also darken some areas of the blueberry’s body to create more contrast and make it appear more realistic.
And there you have it! You’ve successfully drawn a mouth-watering blueberry. With practice, you’ll be able to recreate this delicious fruit with even more accuracy and detail.
Conclusion
In this step-by-step tutorial, we learned how to draw a blueberry using simple materials and techniques. From sketching the basic shape to adding shading and texture, each step brought us closer to creating a realistic illustration. Remember to take your time, observe the details, and have fun with the process.
So, grab your pencils and let your creativity flow as you draw your own beautiful blueberries. Enjoy the journey of capturing nature’s wonders through art!