Welcome to this step-by-step guide on how to draw a Care Bear! Care Bears are adorable characters that bring joy and happiness to people of all ages. Whether you are a beginner or an experienced artist, this tutorial will provide easy-to-follow instructions that will help you create your very own Care Bear masterpiece. So, let’s get started!
Materials Required
Before we begin, make sure you have the following materials ready:
- Paper: A clean sheet of paper or a sketchbook.
- Pencil: A regular HB pencil or any drawing pencil of your choice.
- Eraser: A soft eraser for making corrections.
- Colored pencils or markers: Choose colors that match the Care Bear you want to draw.
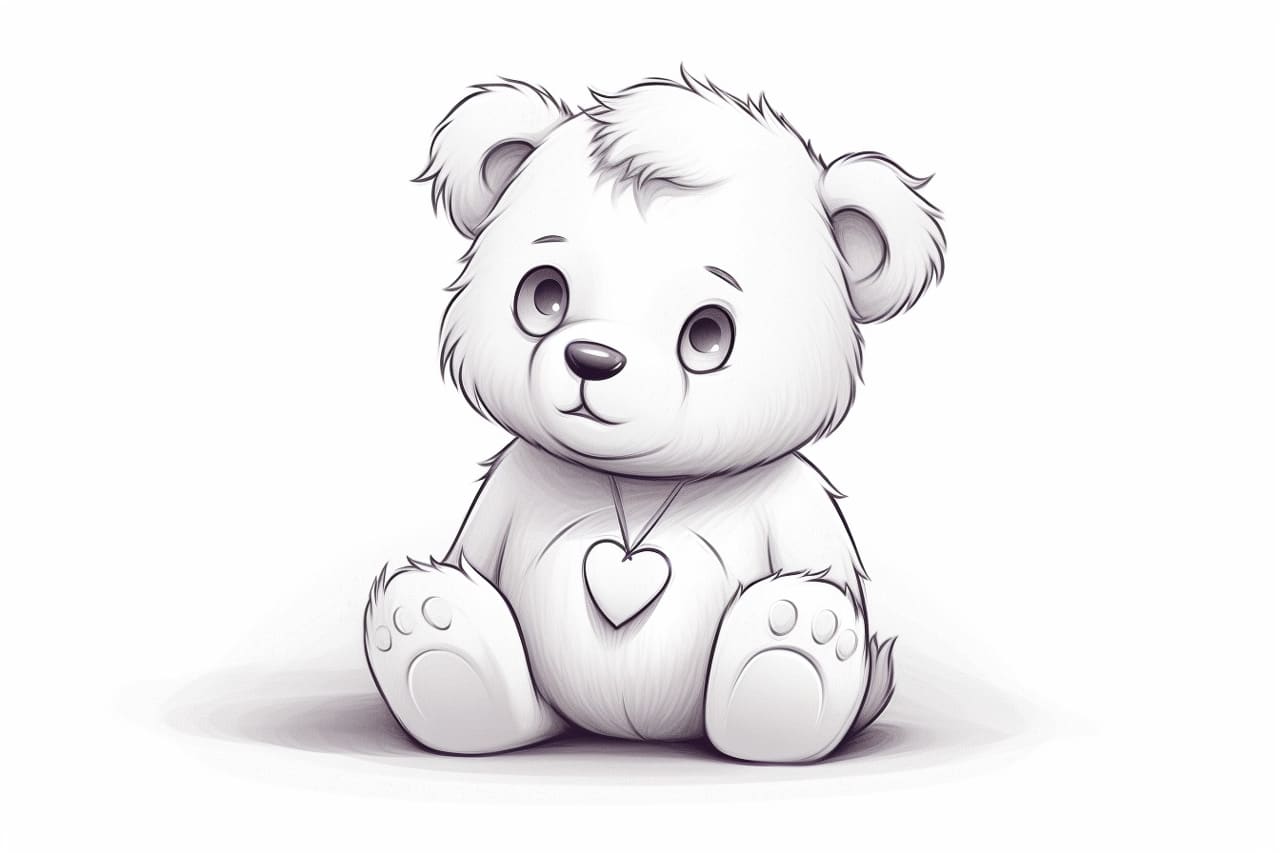
- Reference image: It’s always helpful to have a reference image to guide you during the drawing process. You can find pictures of Care Bears online or use a coloring book as a reference.
Now that you have all the materials you need, let’s dive into the step-by-step process of drawing a Care Bear.
Step 1: Sketch the Outline
Start by lightly sketching the basic outline of your Care Bear using a pencil. Begin with a large oval shape for the body and a smaller circle on top for the head. Care Bears have round bodies, so keep that in mind as you sketch.
Step 2: Add Facial Features
Now it’s time to bring your Care Bear to life by adding the facial features. Draw two large round eyes in the middle of the head. Add a small oval-shaped nose below the eyes and a smiling mouth in between. Don’t forget to draw the iconic heart-shaped symbol on the tummy of your Care Bear!
Step 3: Draw the Ears
Care Bears have adorable ears that make them even more lovable. Draw two curved lines extending upwards from the sides of the head. Connect these lines at the top with a curved line to complete the ears.
Step 4: Sketch the Arms and Legs
Care Bears have short, chubby arms and legs. Begin by drawing two short lines extending downwards from the sides of the body for the arms. Add round shapes at the ends for the paws. Now, draw two slightly longer lines extending downwards from the bottom of the body for the legs. Again, add round shapes at the ends for the feet.
Step 5: Add Details to the Face and Body
To make your Care Bear look irresistibly cute, add some details to the face and body. Draw small ovals inside the eyes for pupils and add small curved lines above the eyes to create eyebrows. Use curved lines to define the shape of the arms and legs. Also, draw small curves near the paws and feet to represent the fingers and toes.
Step 6: Refine the Outline
Now that the basic structure and details are in place, it’s time to refine the outline. Go over your sketch with a darker pencil or pen to make the lines more defined. Pay close attention to the curves and contours of your Care Bear, ensuring that they are smooth and clean.
Step 7: Color Your Care Bear
Here comes the fun part! Use your colored pencils or markers to bring your Care Bear to life with vibrant colors. Care Bears are known for their bright and cheerful appearance, so choose colors that reflect their personality. Color the body, face, paws, and feet in the desired shades. Don’t forget to color the heart-shaped symbol on the tummy as well!
Step 8: Add Shadows and Highlights (Optional)
To add depth and dimension to your drawing, you can optionally add shadows and highlights. Shade slightly darker areas on the body, such as the sides and underneath the head, to create the illusion of volume. Use a lighter shade or leave some areas white to represent highlights, giving your Care Bear a shiny and three-dimensional look.
Conclusion
Congratulations! You have successfully learned how to draw a Care Bear. By following these step-by-step instructions and using your creativity, you can create adorable Care Bear drawings that will bring joy to everyone who sees them. Remember to have fun throughout the process and don’t be afraid to experiment with different colors and poses. Happy drawing!