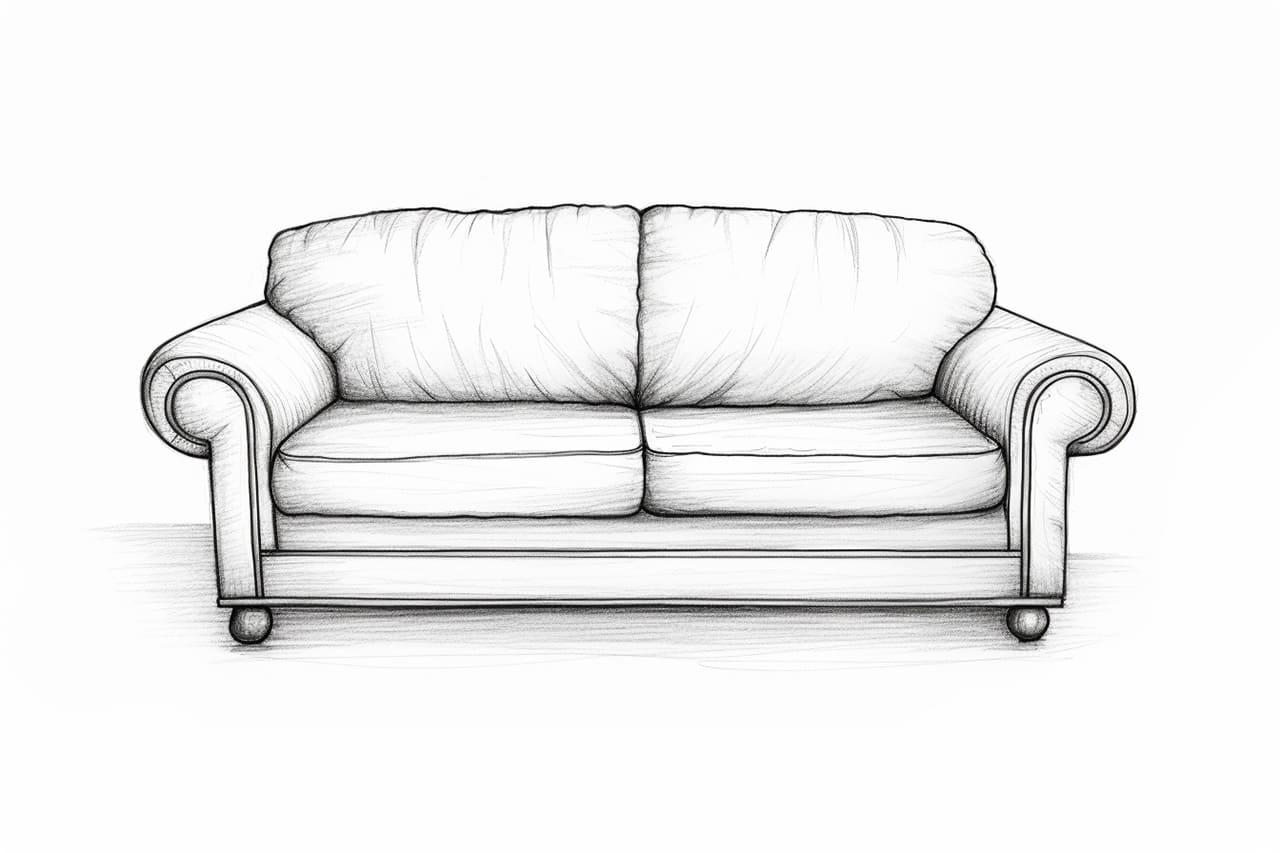
Welcome to this step-by-step guide on how to draw a couch! Whether you’re an aspiring artist or just looking to enhance your drawing skills, this tutorial will help you create a realistic and detailed representation of a couch. By following these simple steps, you’ll be able to capture the essence of this common household item on paper. So let’s get started and bring your artistic vision to life!
Materials Required
Before we jump into the step-by-step process, let’s gather the materials you’ll need for this drawing:
- Drawing paper or sketchbook
- Pencil
- Eraser
- Ruler
- Colored pencils or markers (optional)
Make sure to have all these materials ready before you begin. Once you have everything in place, we can start drawing!
Step 1: Create the Basic Outline
To start, let’s sketch the basic shape of the couch. Begin by drawing a rectangular shape for the main body of the couch. Use light, gentle strokes with your pencil, as we’ll be refining this outline later on. Remember to keep the proportions and measurements in mind as you go.
Step 2: Add the Armrests
Next, let’s add the armrests to our couch. Extend two lines outward from the sides of the rectangular shape. These lines will serve as the framework for the armrests. You can make them as thin or thick as you prefer, depending on the type of couch you want to draw.
Step 3: Outline the Cushions
Now, let’s outline the cushions of the couch. Starting from the top of the rectangular shape, draw horizontal lines at regular intervals to represent the cushions. Ensure that the lines are parallel and evenly spaced. This will give the couch a more realistic and comfortable look.
Step 4: Define the Details
Once you have the basic structure in place, it’s time to add some details to make your drawing more interesting. Begin by refining the outline of the couch, giving it a clean and polished look. Pay attention to the curves and edges, making sure they’re smooth and well-defined.
Step 5: Draw the Legs
Now, let’s draw the legs of the couch. Extend vertical lines downward from the corners of the rectangular shape. These lines will serve as the framework for the legs. You can adjust the length and shape of the legs based on your preference and the style of couch you’re drawing.
Step 6: Add Texture and Shadows
To give your drawing depth and dimension, it’s important to add texture and shadows. Use shading techniques to create the illusion of different materials, such as fabric or leather, on the couch. Pay attention to the areas where shadows would naturally appear, such as underneath the cushions and along the edges.
Step 7: Refine and Add Details
At this stage, take a step back and assess your drawing. Make any necessary adjustments to the proportions and details. Add any additional elements, such as buttons or decorative patterns, to make your couch more unique and personalized.
Step 8: Color (Optional)
If you prefer to add color to your drawing, now is the time to do so. Use colored pencils or markers to bring your couch to life. Take note of the materials and colors you want to depict, and apply them accordingly. This step is optional, but it can add an extra layer of vibrancy and realism to your artwork.
Conclusion
Congratulations! You have successfully learned how to draw a couch. By following these step-by-step instructions, you can create a detailed and realistic representation of this common household item. Remember to practice and experiment with different styles and techniques to further enhance your drawing skills. So grab your pencil and paper, and start sketching your very own couch masterpiece!


