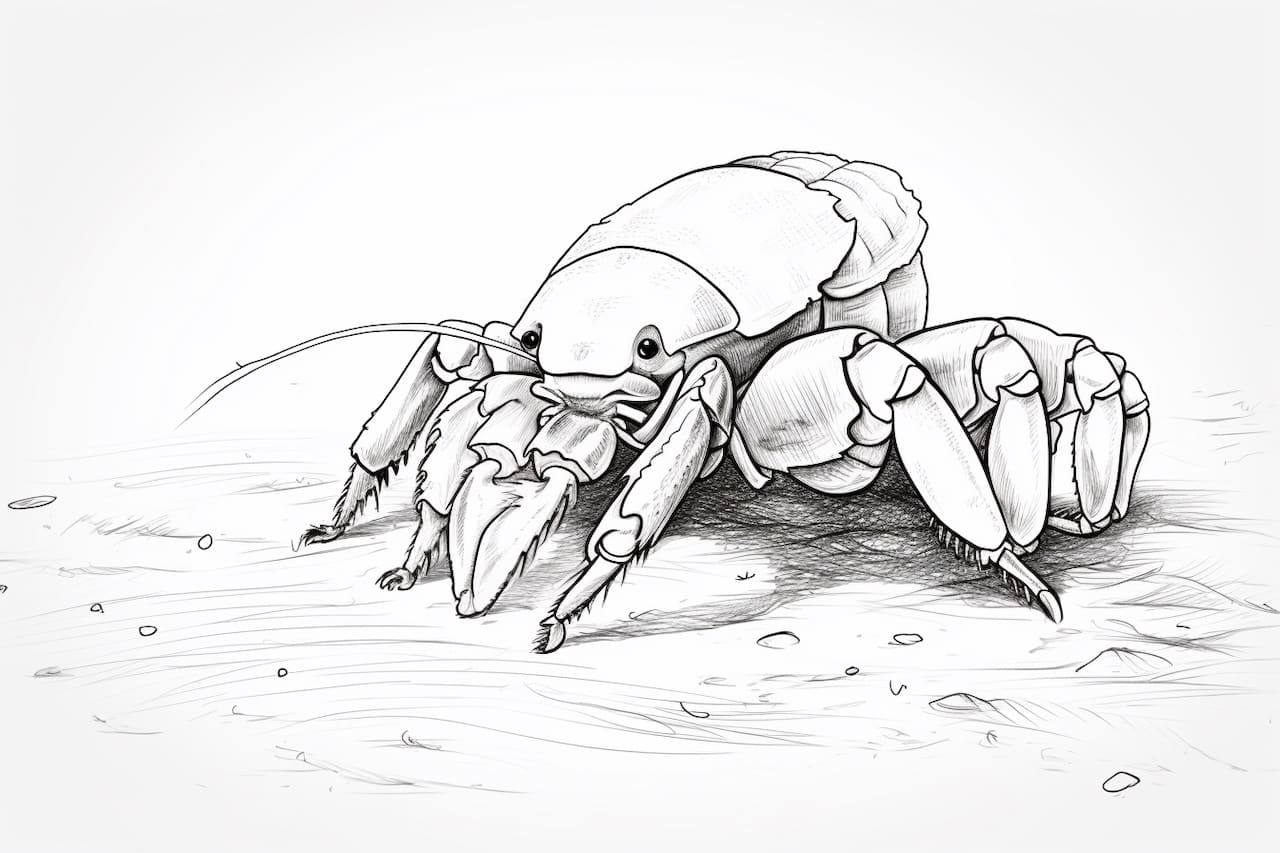
Welcome to this step-by-step tutorial on how to draw a hermit crab. Whether you’re an experienced artist or just a beginner, this guide will help you create a realistic and detailed representation of this fascinating crustacean. By following these simple instructions, you’ll be able to capture the essence of a hermit crab’s unique shape and features. So, let’s grab our drawing materials and get started!
Materials Required
To begin with, let’s gather all the necessary materials for this drawing. You’ll need:
- A pencil
- An eraser
- Paper
- Colored pencils or markers (optional)
Now that we have everything we need, let’s jump right into the drawing process.
Step 1: Start with Basic Shapes
Begin by lightly sketching a circle for the hermit crab’s body. Then, draw a larger oval shape adjacent to the circle for the crab’s shell.
Step 2: Add the Legs
Next, draw four pairs of small, curved lines extending out from the body circle. These lines will serve as the crab’s legs. Remember, hermit crabs have asymmetrical claws, so make sure to draw one larger pair of claws in the front of the body.
Step 3: Outline the Shell
Now that we have the basic structure in place, it’s time to outline the shell in more detail. Using the oval shape as a guide, draw irregular lines to depict the texture and contours of the shell. Don’t forget to include the spirals on the shell, which are characteristic of hermit crabs.
Step 4: Define the Body
Moving on to the body, carefully sketch out the crab’s thorax and abdomen. Use curved lines to show the segmentation and add small, curved lines on the abdomen to represent the legs tucked inside.
Step 5: Enhance the Legs and Claws
Refine the shape and details of the legs, making sure they appear jointed and textured. Add small lines to represent the segments on each leg. For the front claws, draw curved lines to create a jagged and rugged appearance.
Step 6: Bring the Eyes to Life
To give the hermit crab some personality, draw two small circular shapes near the front of the body circle. These will serve as the crab’s eyes. Inside each eye, add a smaller circle to represent the pupil. You can also add some lines to indicate a sense of depth.
Step 7: Add the Face
Just below the eyes, draw a small curved line to represent the hermit crab’s mouth. Then, add a few curved lines extending from the mouth to create the illusion of a smiling expression.
Step 8: Refine the Shell Details
Now, it’s time to add more definition to the shell. Draw additional lines and curves to highlight the texture and patterns. Remember to follow the general shape of the shell and emphasize the spirals.
Step 9: Finalize the Outline
Carefully go over your drawing, refining any lines that need cleaning up. Erase any unnecessary guidelines or overlapping lines. Take your time during this step to ensure a clean and crisp outline.
Step 10: Add Color (Optional)
If you prefer, you can now add color to your hermit crab drawing. Hermit crabs come in a variety of colors, so feel free to get creative! Use colored pencils or markers to bring your drawing to life. Consider blending colors to achieve a more realistic appearance.
Conclusion
Congratulations! You’ve successfully learned how to draw a hermit crab step-by-step. With a little practice, you’ll be able to capture the intricate details and unique characteristics of these fascinating creatures. Whether you choose to keep your drawing in black and white or bring it to life with color, remember to have fun and enjoy the process. Happy drawing!


