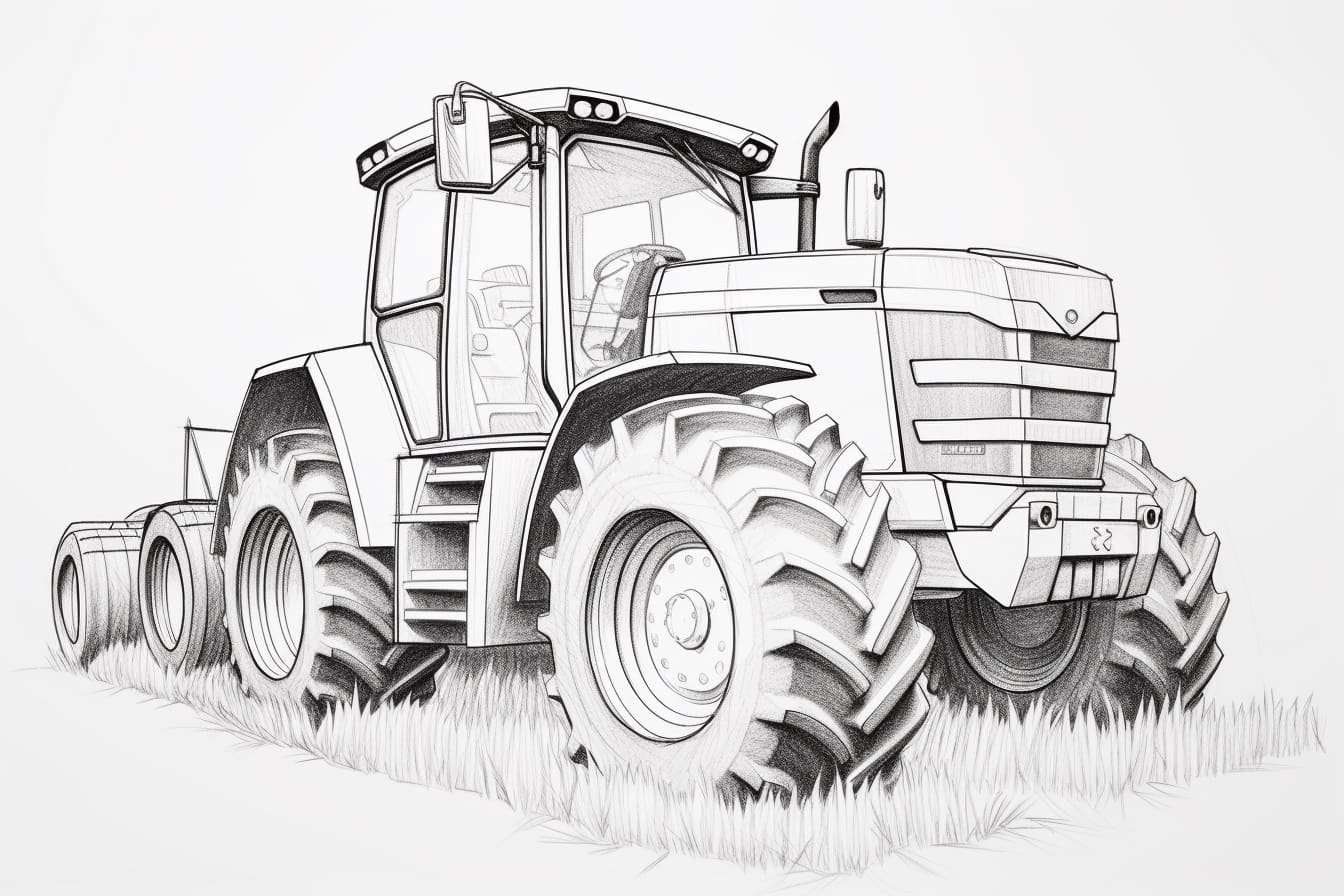
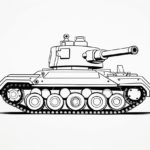
Welcome to this step-by-step guide on how to draw a combine! Combines are powerful agricultural machines used to harvest crops such as wheat, corn, and soybeans. By following these simple instructions, you’ll be able to create a detailed and accurate drawing of a combine. So grab your sketchbook and let’s get started!
Materials Required
Before we begin, make sure you have the following materials at hand:
- Sketchbook or drawing paper
- Pencil and eraser
- Ruler
- Colored pencils or markers (optional)
Now that you have everything you need, let’s move on to the next step.
Step 1: Basic Shapes
Start by drawing the basic shape of the combine. Begin with a rectangular shape for the main body of the machine. Then, add a smaller rectangle on top of the first one to represent the operator’s cab. Remember to keep your lines light and loose so you can easily make adjustments as you go along.
Step 2: Wheels and Tires
Next, draw the wheels and tires of the combine. Add two large circles on either side of the main body, slightly overlapping the bottom rectangle. These will serve as the rear wheels. Then, draw two smaller circles towards the front of the combine for the front wheels. Make sure the wheels are evenly spaced and aligned.
Step 3: Detailing the Main Body
Now it’s time to add some details to the main body of the combine. Start by drawing a curved line towards the bottom of the main body to represent the threshing mechanism. Then, add a rectangular shape towards the front of the combine to indicate the grain tank. Use your ruler to ensure straight lines and proper proportions.
Step 4: Connecting the Cab
Connect the operator’s cab to the main body of the combine. Draw two diagonal lines extending from the top rectangle towards the front of the combine. Then, add a rectangular shape at the end of these lines to represent the windshield. Connect the windshield to the main body with two curved lines, forming the cab.
Step 5: Adding Details
To make your combine drawing more realistic, it’s time to add some additional details. Draw small rectangular shapes and lines on the body of the combine to represent vents, doors, and other features. Pay attention to the reference image or your own observations of a combine to capture these details accurately.
Step 6: Enhancing the Wheels
To make the wheels of the combine more realistic, add some details. Draw a pattern of rectangular shapes on the tires, representing treads. This will give the impression of traction. You can also add some shading and highlights to make the wheels appear more three-dimensional.
Step 7: Shading and Texturing
Now that your combine drawing is complete, it’s time to add shading and texture to give it depth and dimension. Use your pencil to lightly shade areas that would be in shadow, such as underneath the combine or on the sides of the wheels. You can also use cross-hatching or stippling techniques to create texture on the body of the machine.
Conclusion
Congratulations! You have successfully completed a step-by-step guide on how to draw a combine. With just a few simple shapes and some attention to detail, you’ve created a realistic and impressive drawing of this powerful agricultural machine. Remember to practice and experiment with different techniques to further enhance your drawing skills. Happy drawing!

