Welcome to this step-by-step guide on how to draw a cow face! Whether you’re an aspiring artist or just looking to have some fun with doodling, learning how to draw a cow face can be an enjoyable and rewarding experience. In this tutorial, we will break down the process into simple steps, making it easy for anyone to follow along.
Materials Required
Before we begin, let’s gather the materials you will need for this drawing:
- A pencil (check out the best pencils we recommend)
- Paper
- Eraser
With these basic materials in hand, you’re ready to get started on your cow face drawing!
Step 1: Start with Basic Shapes
To begin, let’s start by drawing a large oval shape in the center of the paper. This will form the cow’s head. Next, add a smaller oval shape below it, slightly overlapping the first oval. This will be the cow’s snout.
Step 2: Add Details to the Head
Now that we have the basic shapes in place, let’s add some details to the cow’s head. Start by drawing two small, almond-shaped eyes near the top of the head. Leave a small space between them. Next, draw two small, curved lines inside the snout to represent the nostrils. Finally, add two small curved lines for the mouth, starting from the bottom of the snout and curving slightly upward.
Step 3: Draw the Ears
Moving on to the ears, draw two long, curved shapes on either side of the head. The ears should be wider at the base and taper to a point at the top. Take your time to get the shape and proportions right, as the ears play an important role in capturing the cow’s likeness.
Step 4: Add Horns
Now it’s time to give our cow some horns! Start by drawing two curved lines on top of the head, starting from the base of the ears and curving outward. Then, draw a series of shorter, curved lines along the length of each horn to represent the texture. Make sure the horns are roughly symmetrical.
Step 5: Outline the Face
With the main features in place, it’s time to outline the cow’s face. Start by tracing the shape of the head using smooth, curved lines. Then, connect the snout to the head by drawing a curving line on the sides. Next, outline the eyes, making them slightly rounded. Finally, carefully outline the ears, following the basic shape that we drew earlier.
Step 6: Add Details to the Face
To make our cow face drawing more realistic, let’s add some additional details. Start by drawing small, curved lines on the ears to represent the fur. Then, add some eyelashes to the eyes by drawing short, curved lines at the outer corners. You can also enhance the texture of the horns by adding more curved lines along their length.
Step 7: Shade and Texture
Now that the basic structure of the cow face is complete, let’s add some shading and texture to bring it to life. Start by shading the areas around the eyes and inside the ears to create depth. Use gentle, light strokes to build up the shading gradually. Next, add some subtle shading to the horns, using curved lines to mimic the texture. Finally, use a darker pencil or a pen to outline the main features and add any final details.
Conclusion
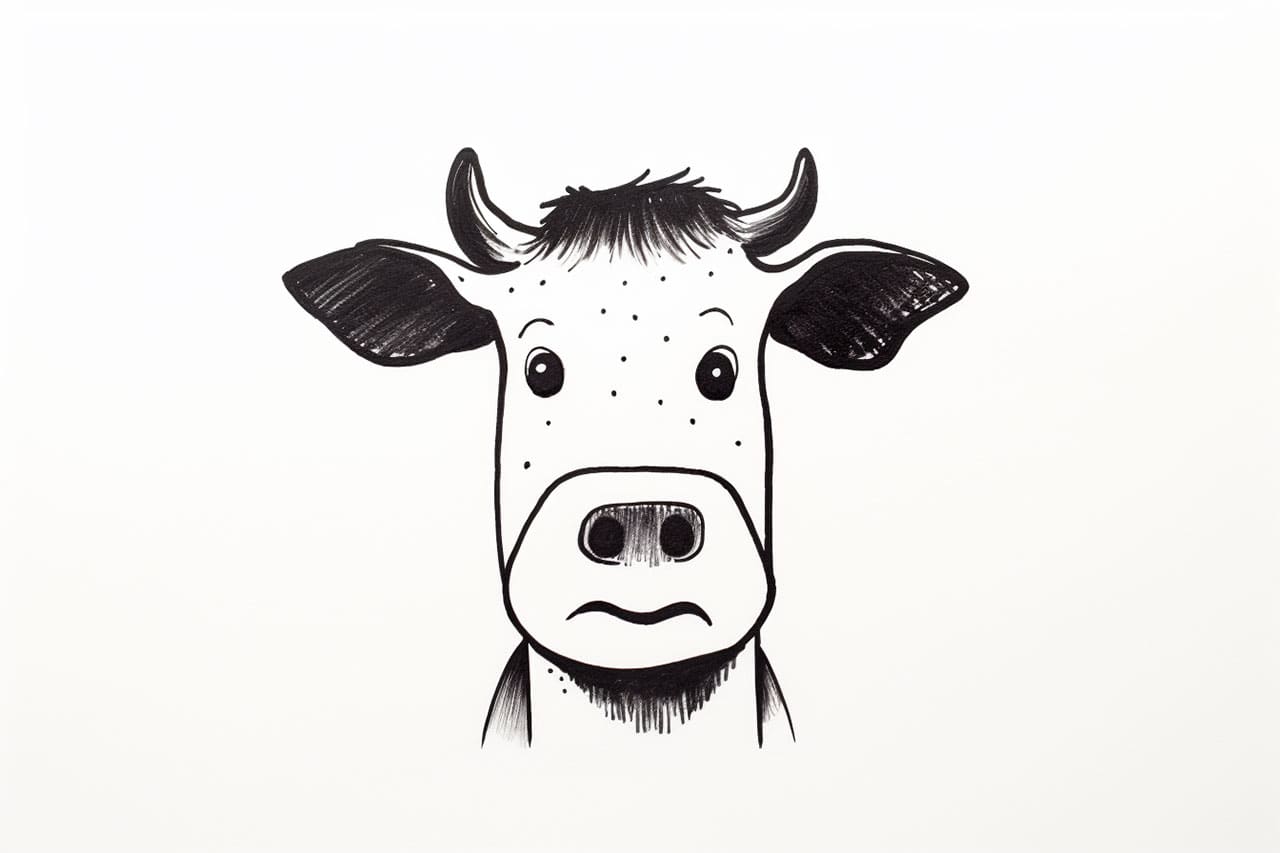
Congratulations! You’ve successfully completed your cow face drawing. By following these step-by-step instructions and taking your time to observe and practice, you’ve learned how to draw a cow face with confidence. Remember, the key to improving your drawing skills is patience and practice. So keep drawing, and don’t be afraid to experiment and add your own creative touch to your artwork. Happy drawing!
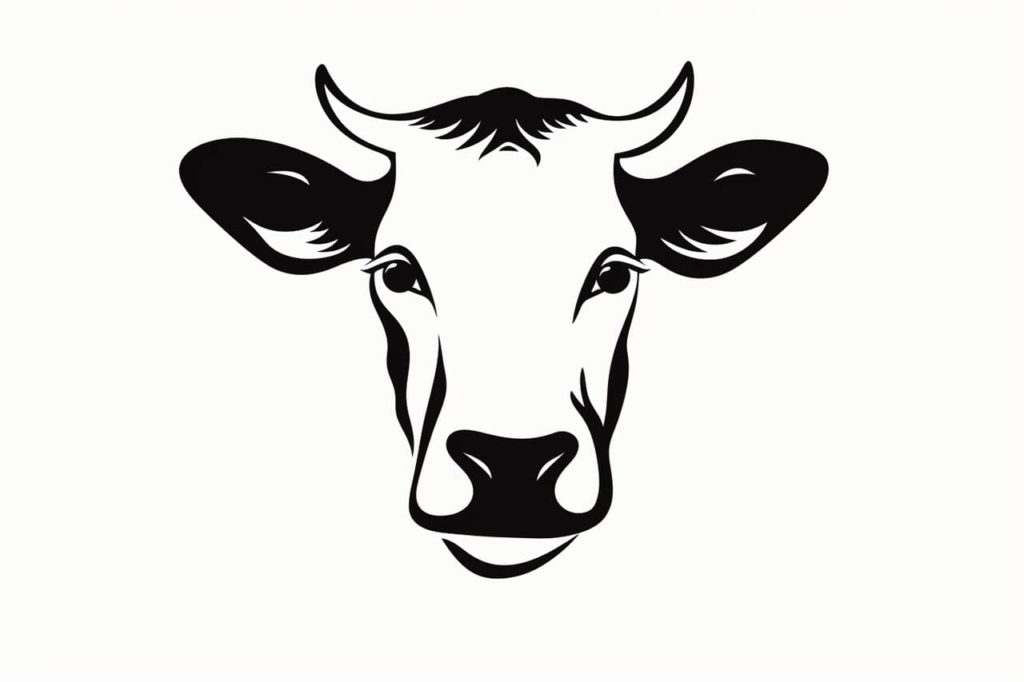
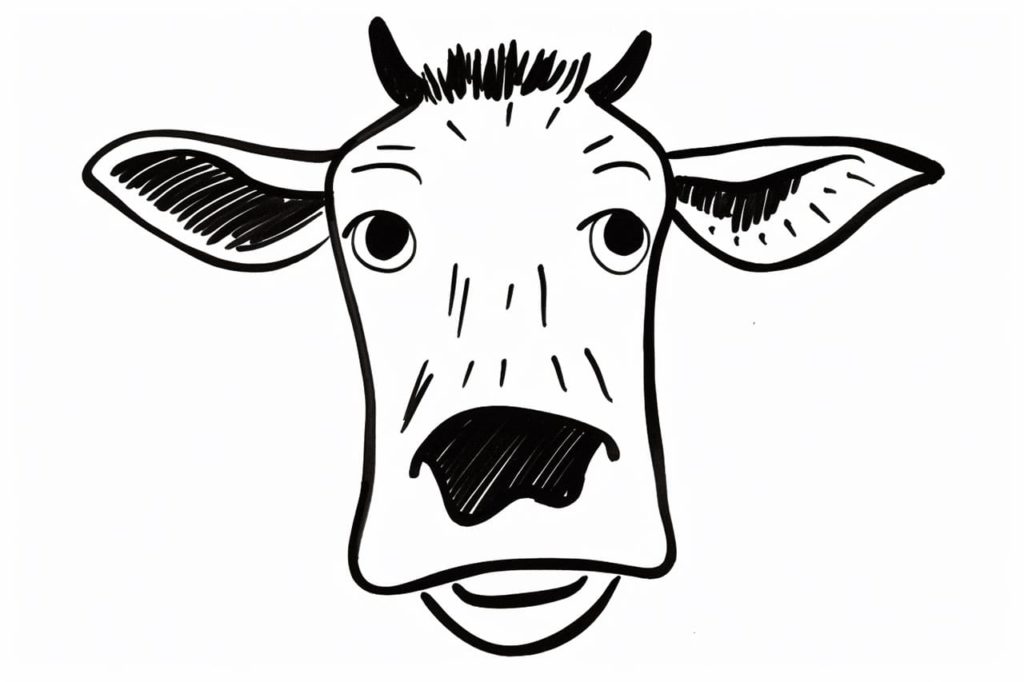
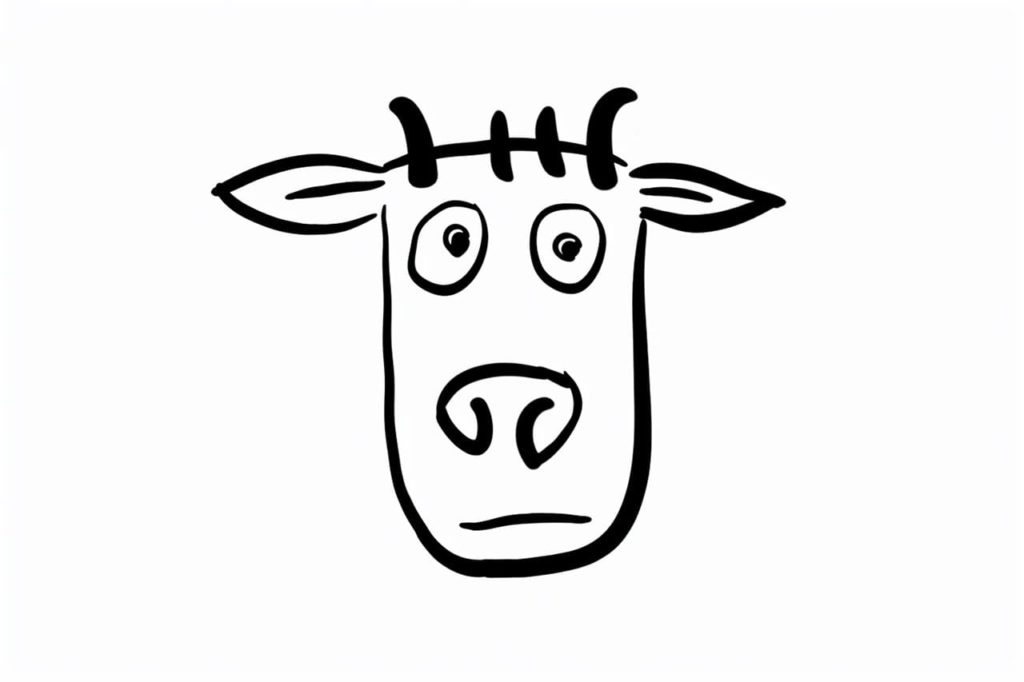
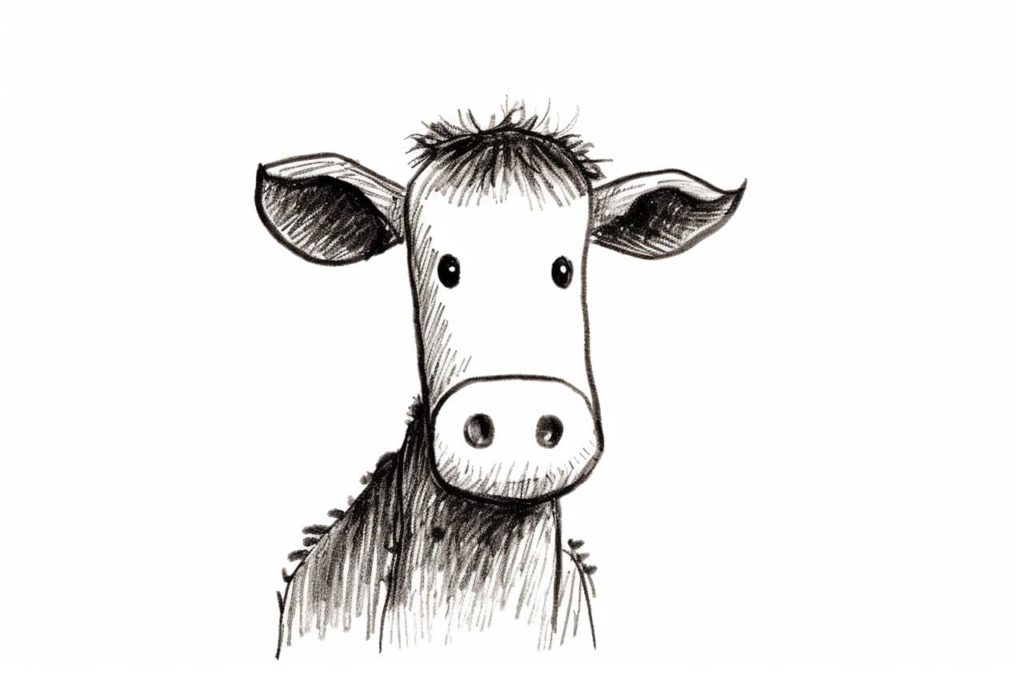
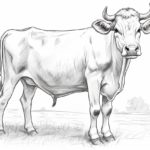
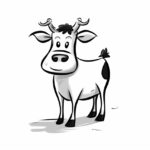
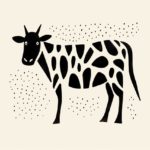
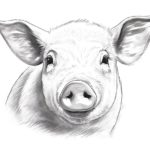
Gallery of Cow Face Drawings