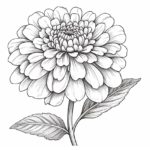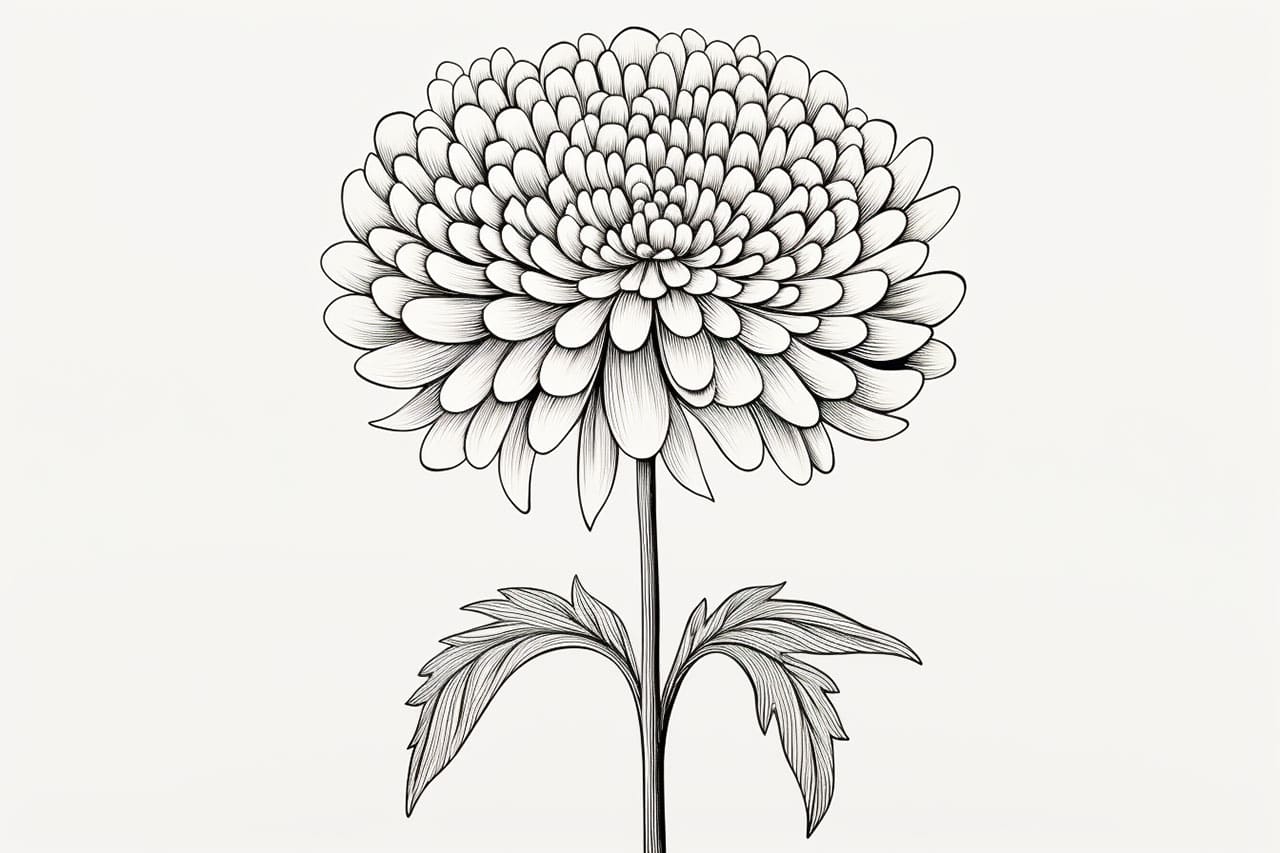
Welcome to this comprehensive step-by-step tutorial on how to draw a chrysanthemum. Chrysanthemums are flowers known for their exquisite petals and vibrant colors, making them a captivating subject for any artist. In this guide, you’ll learn the detailed process of creating a realistic chrysanthemum drawing. By following these thorough steps and practicing your technique, you’ll be able to capture the intricate beauty of this flower and create an artwork that truly stands out. Let’s delve into the world of drawing a chrysanthemum.
Materials Required
Before we begin, make sure you have the following materials ready:
- Pencil
- Eraser
- Drawing paper
- Reference image of a chrysanthemum
Step 1: Draw the Center
To start, lightly sketch a small circle in the center of your paper. This circle will act as the focal point and central part of the chrysanthemum. It serves as the base from which the petals will radiate outward.
Step 2: Outline the Petal Shape
Around the central circle, begin sketching the petal shapes. Chrysanthemum petals are elongated and slightly pointed at the ends. Aim to draw around 8-10 petals, evenly spaced around the circle. These preliminary shapes will serve as the foundation for the flower’s petals.
Step 3: Add Petal Details
Within each petal shape, add gentle curves to create a natural and soft appearance. Study a reference image of a chrysanthemum to understand the subtle curvature of the petals. This attention to detail will lend authenticity to your drawing.
Step 4: Draw the Outer Layer
Around the first layer of petals, draw another layer of slightly larger petals. These petals should overlap with the inner layer, creating depth and dimension. Position them strategically to maintain a balanced composition.
Step 5: Continue Adding Layers
Continue adding layers of petals, each slightly larger than the previous one. As you progress outward, the petals should gradually increase in size. Focus on creating a harmonious arrangement with overlapping petals.
Step 6: Shade the Center
Using your pencil, gently shade the central circle to give it depth and dimension. Apply a light layer of shading, focusing on making the center slightly darker and gradually transitioning to lighter tones as you move outward.
Step 7: Add Details to the Petals
Enhance the realism of your chrysanthemum by adding delicate lines and curves to simulate the texture of the petals. These subtle details capture the organic quality of the flower and contribute to its overall authenticity.
Step 8: Shade the Petals
To bring your chrysanthemum to life, begin shading the petals. Identify the areas where shadows naturally fall, often at the base of the petals where they overlap or curve away from the light source. Use light hatching strokes to establish volume and form.
Step 9: Refine the Shape
Take a step back and assess the overall shape of your chrysanthemum. Make any necessary adjustments to ensure that the proportions of the flower are balanced, and the layers of petals are well-defined and harmonious.
Step 10: Final Touches
Before concluding, carefully examine your drawing. Add any final touches, subtle highlights, or extra details that you believe will elevate your chrysanthemum artwork. This is your opportunity to refine the drawing to your satisfaction.
Conclusion
Congratulations! By following this detailed tutorial, you’ve successfully brought a chrysanthemum to life on paper. Your drawing captures the intricate layers and textures that make this flower truly special. Remember, practice is key to mastering the art of drawing chrysanthemums and other botanical subjects. Keep honing your skills, experimenting with techniques, and infusing your personal creativity to create stunning floral artworks that leave a lasting impression.
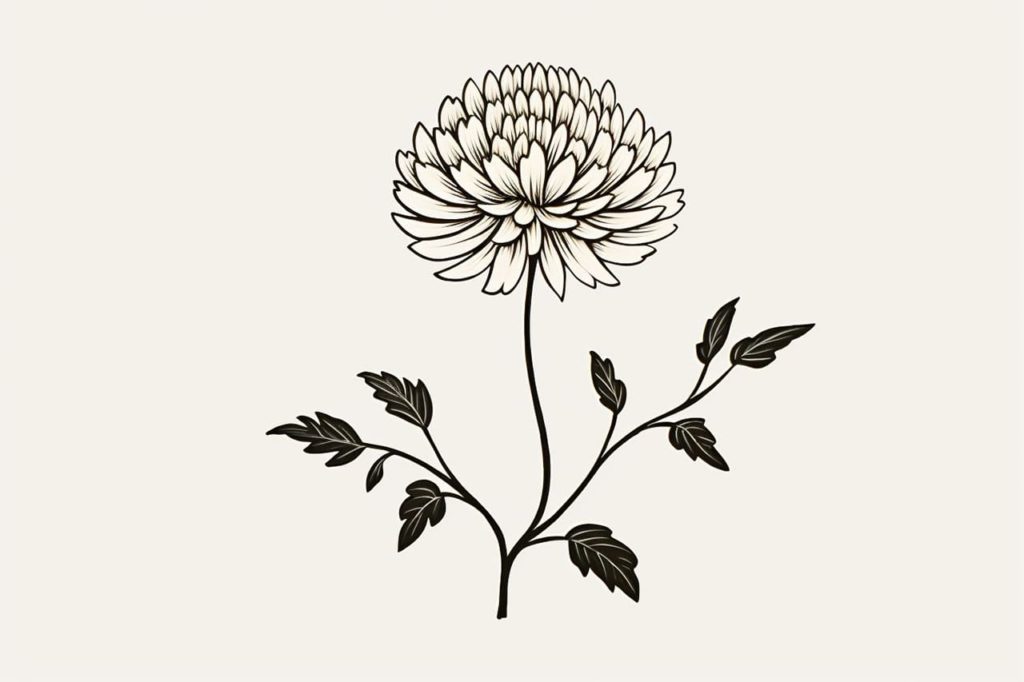
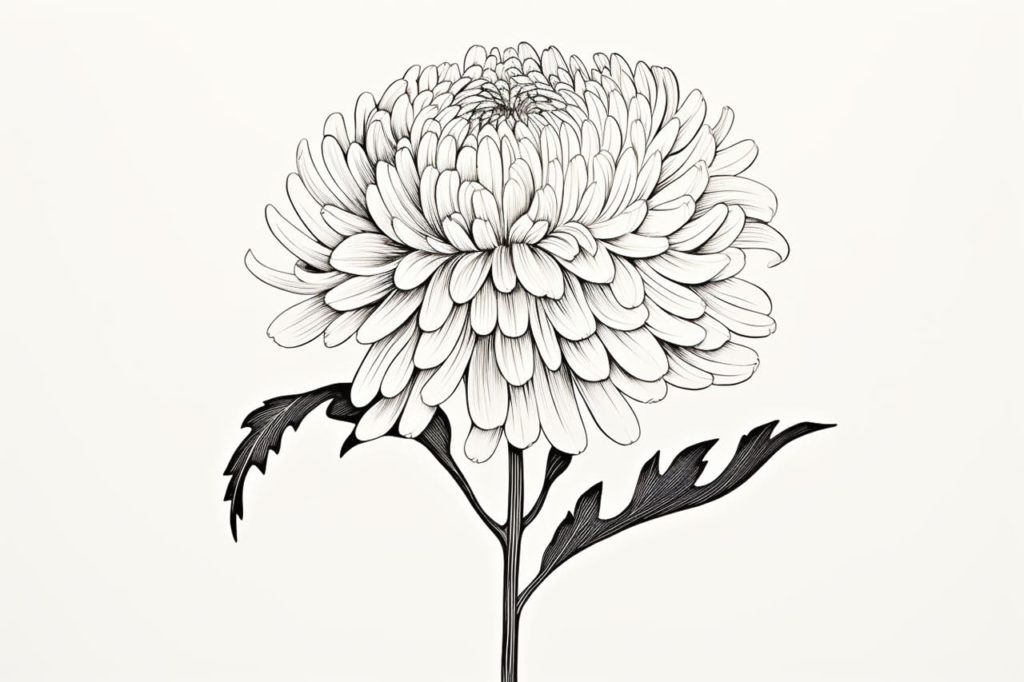
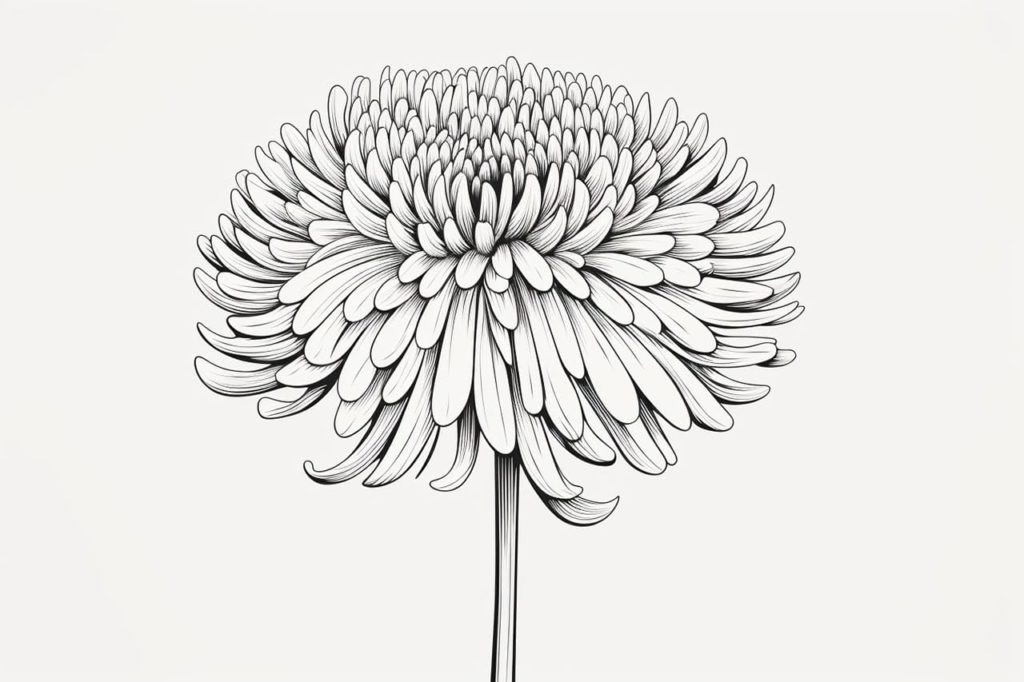
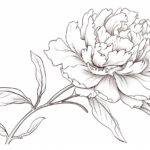
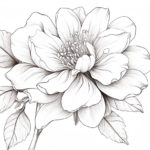
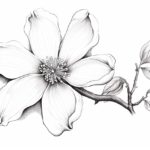
Gallery of Chrysanthemum Drawings