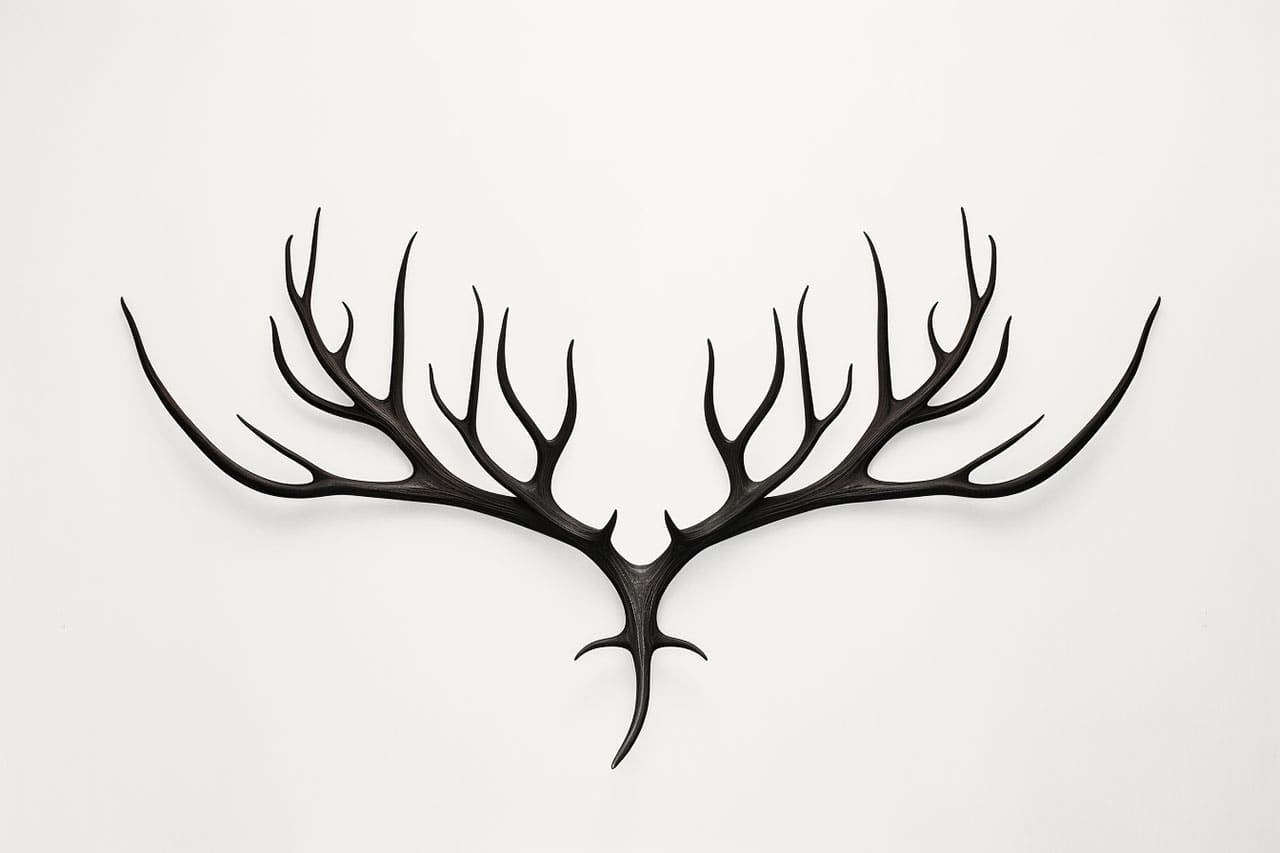
If you’ve ever wanted to learn how to draw antlers, you’re in luck! In this step-by-step guide, I will teach you the techniques and skills needed to create realistic and stunning antler drawings. Whether you’re a beginner or an experienced artist, this tutorial will provide you with all the guidance you need to bring these majestic features to life on paper. So grab your pencil and let’s get started!
Materials Required
Before we begin, let’s gather all the materials you’ll need for this drawing tutorial. You’ll want to make sure you have the following items:
- Pencil: Choose a medium-soft graphite pencil for sketching and shading.
- Eraser: A kneaded eraser works best for lifting and correcting mistakes.
- Paper: Select a smooth, heavyweight paper that can handle shading and blending.
- Reference Image: Find a clear and detailed photo of antlers to use as a reference. You can use a book, magazine, or search online.
Now that we have everything we need, let’s dive into the steps required to draw antlers.
Step 1: Basic Outline
To start, lightly sketch a basic outline of the antlers using simple shapes. Begin by drawing a large oval shape at the base of the antlers, representing the deer’s head. Then, draw two curved lines extending upwards from the oval to create the main branches of the antlers. Keep the lines loose and fluid, as we will be refining them later.
Step 2: Branch Structure
Next, carefully observe your reference image and study the structure of the antlers. Antlers are composed of multiple branches that grow off the main branches. Begin adding these branch structures, starting from the bottom and working your way up. Use light, curved lines to create the general shape of each branch.
Step 3: Adding Details
Now it’s time to add more details to the antlers. Take a closer look at your reference image and notice any bumps, curves, or unique features on the antlers. Use these details to refine the shapes and lines you have already drawn. Pay attention to the thickness and length of each branch, making them more accurate and realistic.
Step 4: Shading and Texture
To bring the antlers to life, we need to add shading and texture. Begin by identifying the main light source in your reference image. This will determine where the highlights and shadows fall on the antlers. Use a combination of light and dark pencil strokes to create the illusion of depth and form. Add fine details, such as cracks, lines, and rough textures, to enhance the realism of the antlers.
Step 5: Refining and Smoothing
At this stage, take a step back and evaluate your drawing. Look for any areas that need refinement or smoothing. Use an eraser to lift any unwanted lines or mistakes. Pay attention to the overall shape and balance of the antlers, making any necessary adjustments to achieve a pleasing composition.
Step 6: Final Touches
Lastly, add any final touches to your drawing to make it truly shine. This could include adjusting the contrast, darkening certain areas, or adding highlights to create more depth and dimension. Take your time during this step and experiment with different techniques to achieve the desired effect.
Conclusion
Congratulations! You have successfully learned how to draw antlers. By following these step-by-step instructions and practicing regularly, you can continue to improve your skills and create stunning antler drawings. Remember to be patient with yourself and enjoy the process of learning and creating art. Happy drawing!

