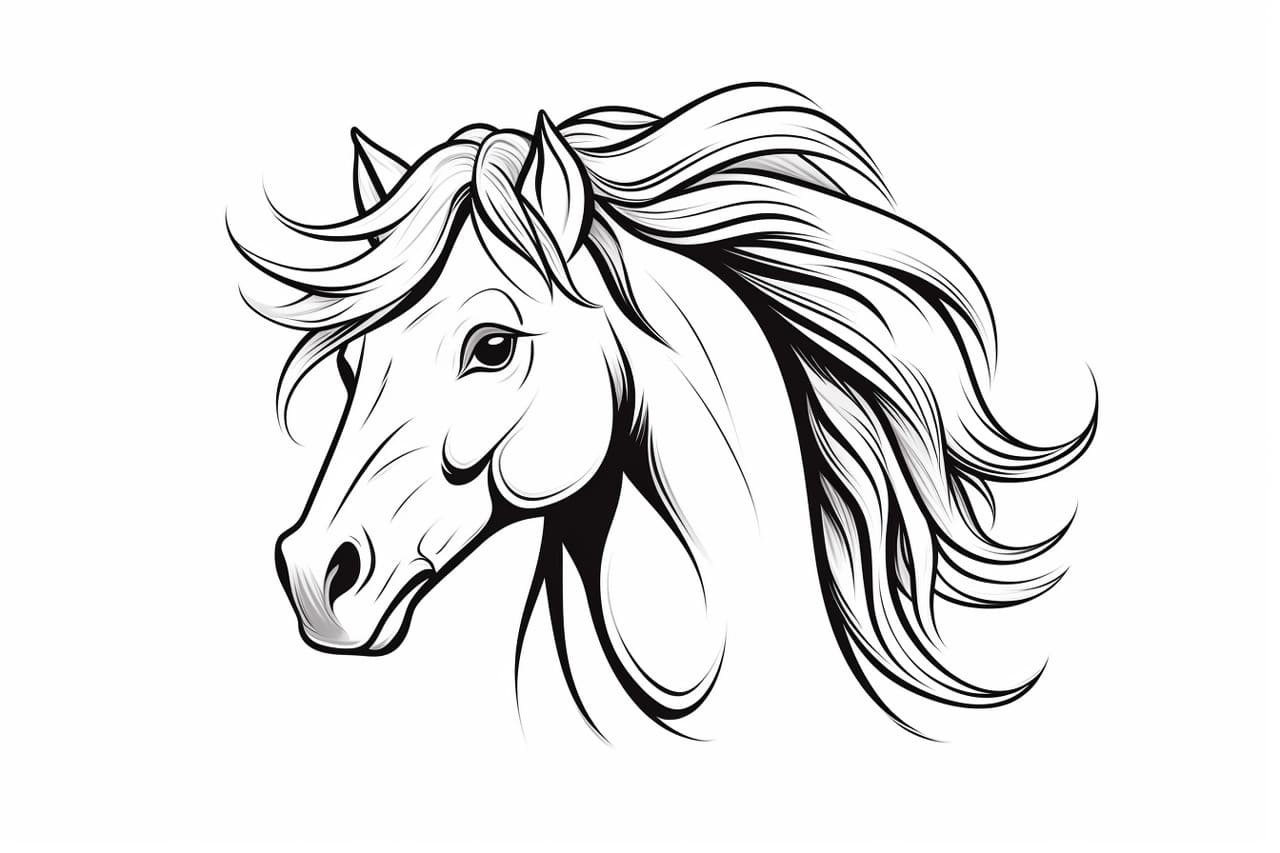
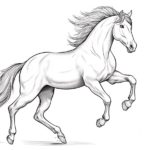
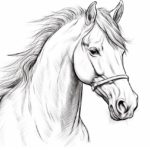
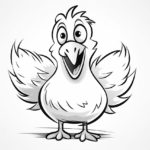
Are you interested in learning how to draw a cartoon horse? Horses are majestic creatures that captivate the imagination, and being able to draw them can be a rewarding and enjoyable skill to have. In this step-by-step tutorial, I will guide you through the process of drawing a cartoon horse in a clear, clean, and concise style.
Materials Required
Before we begin, let’s gather the materials you will need for this drawing tutorial. Don’t worry, you won’t need anything fancy or expensive. Here’s a list of the materials you will need:
- Pencil
- Eraser
- Paper
- Colored pencils or markers (optional)
Now that we have everything we need, let’s dive into the steps to draw a cartoon horse!
Step 1: Draw the Head
Start by drawing a large oval shape for the head. This will be the main structure of your cartoon horse. Make sure the oval is proportionate to the size you want your horse to be. Leave a gap towards the bottom of the oval for the neck.
Step 2: Add the Facial Features
Within the oval shape, draw two large circles for the eyes. Add smaller circles inside the eyes for the pupils. Just below the eyes, draw a small curved line for the nose. Extend this line to form the mouth. Add a tiny curved line above the mouth for the upper lip.
Step 3: Outline the Shape of the Horse
From the bottom of the oval, draw a long, curved line downwards for the neck. Continue the line to create the back of the horse and then bring it upwards for the hindquarters. Add a slightly curved line to form the belly of the horse.
Step 4: Draw the Legs
Next, draw four long, straight lines extending down from the belly of the horse. These will be the legs. For the front legs, make the lines slightly shorter than the hind legs to create perspective. At the end of each leg, add a small oval shape for the hooves.
Step 5: Add the Tail and Mane
Draw a long, flowing line extending from the back of the horse to create the tail. Make it wavy and add some detail by drawing short lines at the end. To create the mane, draw a series of curved lines that extend from the top of the horse’s neck and flow towards the back.
Step 6: Define the Details
Now it’s time to add some details to your cartoon horse. Draw a small ear on top of the head by adding a curved line. Add a curved line within each ear to give it some shape. Draw a short line for the mouth and add a small oval for the nostril. Add a few curved lines on the legs to represent the muscles.
Step 7: Erase Unnecessary Lines
Take your eraser and carefully erase the unnecessary pencil lines. Use light strokes to avoid erasing the main outlines and important details of your cartoon horse.
Step 8: Color Your Horse (optional)
If you want to add some color to your cartoon horse, now is the time! Use colored pencils or markers to bring your horse to life. You can choose any color you like, but a brown or tan color is commonly associated with horses.
Conclusion
Congratulations! You have successfully learned how to draw a cartoon horse. By following these step-by-step instructions, you were able to create a cute and lively horse on paper. Remember, practice makes perfect, so don’t be discouraged if your first attempt doesn’t turn out exactly as you imagined. Keep practicing, and soon you’ll be able to draw cartoon horses with ease.

