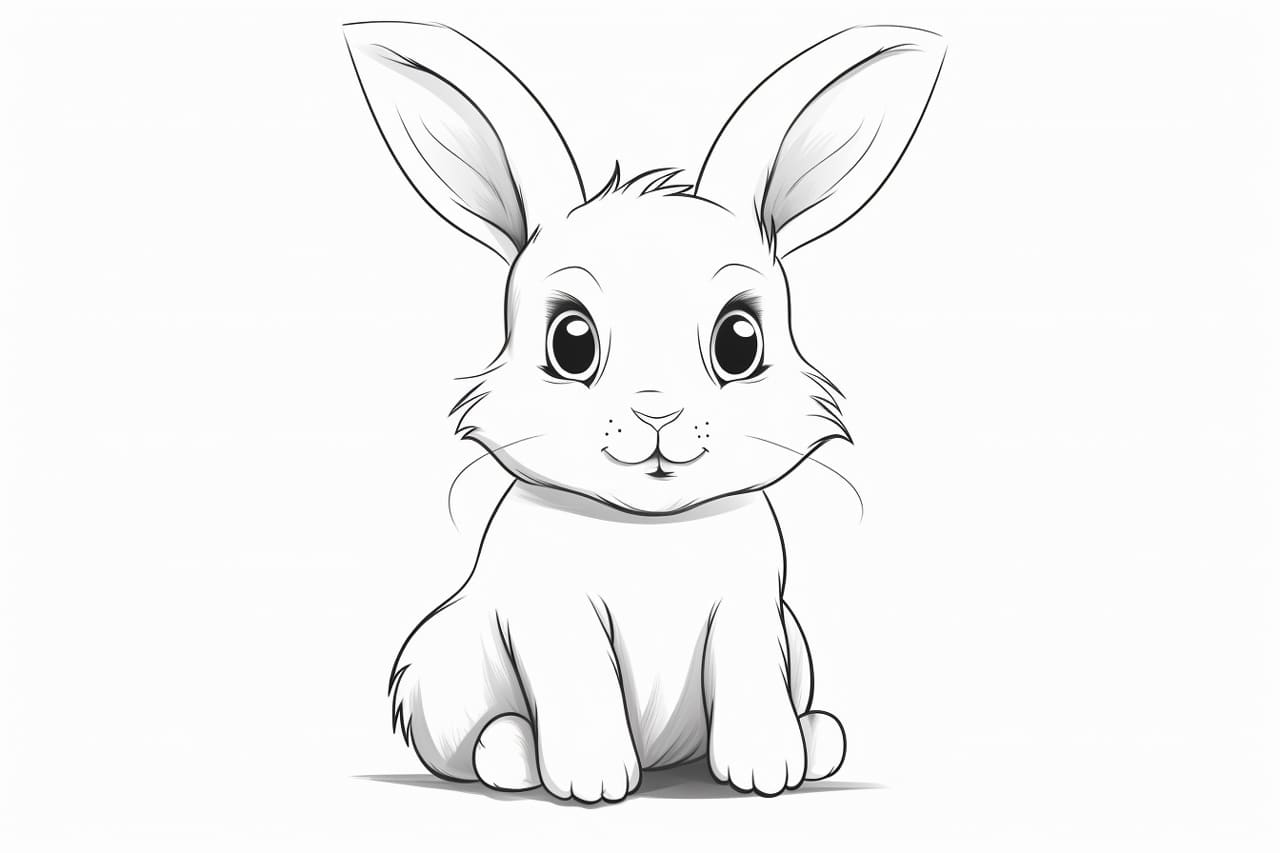
Welcome to this step-by-step guide on how to draw a cartoon bunny. Whether you’re a beginner artist or just looking to have some fun, this tutorial will walk you through the process of creating an adorable bunny character. By following these simple instructions, you’ll be able to bring your bunny to life on paper. So let’s get started!
Materials Required
Before we begin, let’s gather the materials you’ll need for this drawing tutorial. Make sure you have the following items:
- Paper: Any type of drawing paper will work. You can use regular printer paper or sketch paper.
- Pencil: A mechanical pencil or any soft lead pencil will do. It’s always a good idea to have an eraser handy too.
- Colored pencils or markers: If you want to color your bunny, have some colored pencils or markers ready. You can use any colors you like.
Now that you have your materials prepared, let’s dive into the step-by-step instructions.
Step 1: Outline the Head
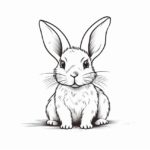
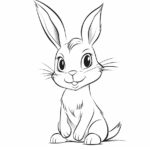
Start by drawing a circle near the top center of your paper. This will be the basic shape for your bunny’s head. Make sure to leave enough space below the circle for the body.
Step 2: Add the Ears
On top of the head, draw two long ears. You can make them as tall or as short as you’d like. Add some curved lines inside the ears to give them a bit of texture.
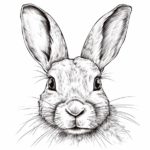
Step 3: Draw the Face
Using the circle as a guide, draw two large oval shapes for the eyes. Leave some space in between them for the nose. Add a small oval for the nose below the eyes. To complete the face, draw a smiling mouth just below the nose.
Step 4: Create the Body
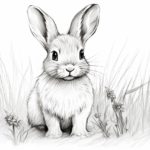
Extend two curved lines from the bottom of the head to create the body. The body should be wider at the bottom and narrower at the top. Leave a small gap near the bottom for the bunny’s feet.
Step 5: Add the Feet and Tail
Draw two ovals at the bottom of the body to represent the bunny’s feet. On the back of the body, draw a small fluffy tail. You can make the tail round or fluffy, depending on the style you prefer.
Step 6: Define the Features
Now it’s time to add some details to your bunny. Draw small circles inside the eyes and shade them in, leaving tiny white highlights to make them look shiny. Add eyelashes above the eyes to make your bunny look more expressive. You can also draw whiskers on the sides of the nose.
Step 7: Finalize the Outline
Go over your pencil lines with a pen or a darker pencil to finalize the outline of your bunny. Erase any unnecessary pencil marks to clean up the drawing.
Step 8: Add Color (Optional)
If you want to add color to your bunny, now is the time. Use colored pencils or markers to bring your character to life. Choose any color palette you like, from realistic browns and grays to vibrant and imaginative hues.
Congratulations! You have successfully drawn a cartoon bunny. With practice, you can experiment with different styles and create your unique bunny characters. Remember, the key to improving your drawing skills is to keep practicing and having fun along the way.
Conclusion
In this tutorial, we explored the step-by-step process of drawing a cartoon bunny. From outlining the head to adding the final touches, you learned how to create an adorable bunny character on paper. Remember to gather the necessary materials, have patience, and enjoy the process.
Now it’s your turn to grab your paper, pencils, and markers. Start drawing your very own cartoon bunny today!