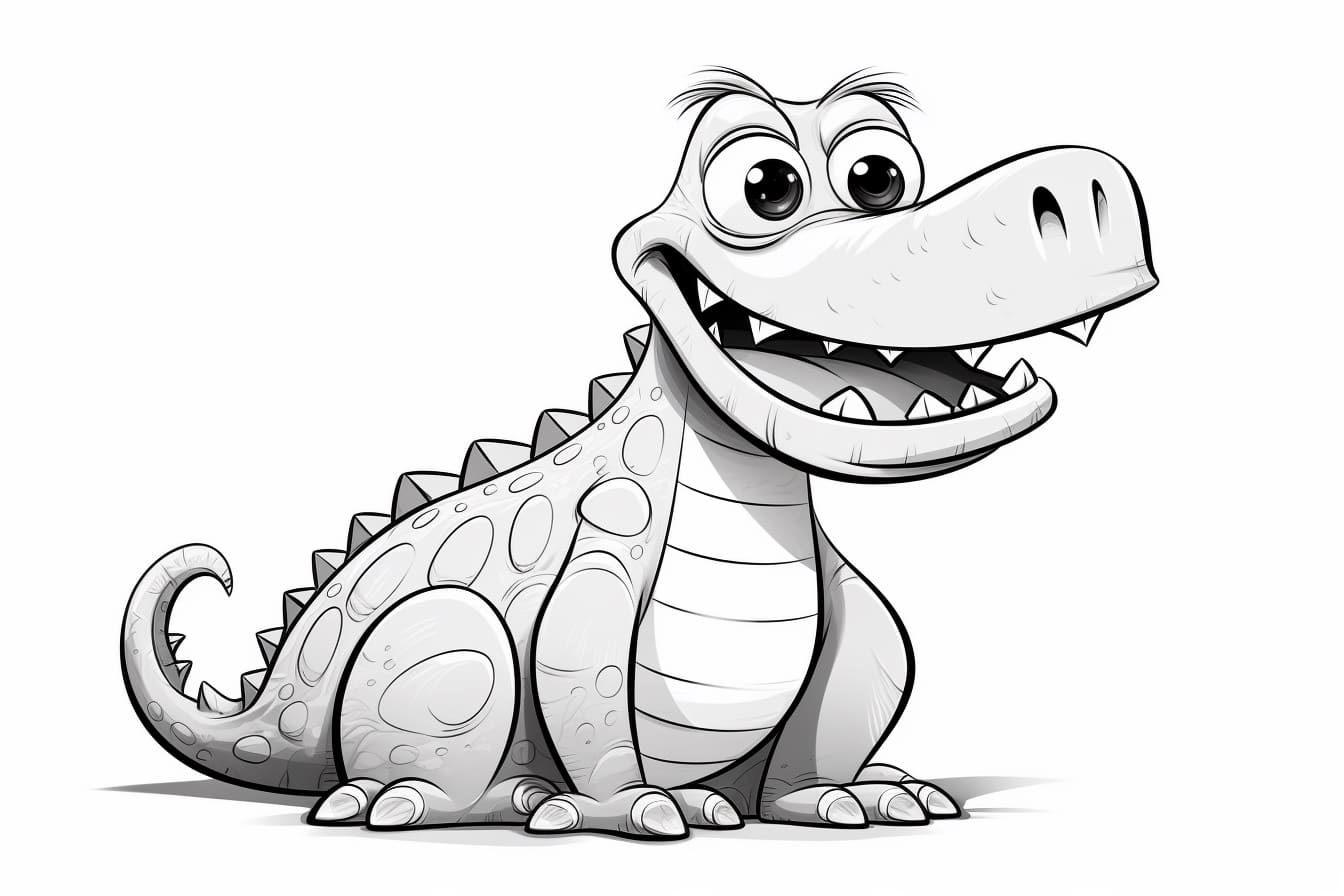
Drawing cartoons can be a fun and creative way to express yourself. If you’ve ever wanted to draw a cartoon alligator, this tutorial is for you! In this step-by-step guide, we’ll walk you through the process of how to draw a cartoon alligator from start to finish. So grab your pencils and let’s get started!
Materials Required
Before we begin, make sure you have the following materials handy:
- Drawing paper or sketchbook
- Pencil
- Eraser
- Black marker or pen
- Colored pencils or markers (optional)
Now that we have everything we need, let’s dive into the step-by-step process of drawing a cartoon alligator.
Step 1: Shape the Body
To start, draw a slightly curved line across the center of your paper. This will serve as the alligator’s back. Next, draw a smaller curved line below it, parallel to the first line. This line will be the alligator’s belly. Connect the two lines with curved lines on each end to complete the body shape.
Step 2: Add the Head and Tail
At the front end of the body shape, draw a circle that slightly overlaps the body line. This will be the alligator’s head. Then, extend a long, curved line from the back end of the body shape to create the alligator’s tail.
Step 3: Draw the Limbs
To add limbs to your cartoon alligator, start by drawing two short, curved lines on each side of the body near the front. These will be the alligator’s front legs. Next, draw two longer curved lines on each side of the body near the back. These will be the alligator’s hind legs. Make sure to add small, round toes at the end of each leg.
Step 4: Detail the Head
Now it’s time to add some features to the alligator’s head. Draw two small circles for the eyes, leaving some space in between for the snout. Inside each eye, draw a smaller circle for the pupils. Below the eyes, draw a curved line for the smile. You can make it as big or small as you’d like to give your alligator a unique expression. Add a couple of small, triangular teeth on each side of the mouth for a bit of extra detail.
Step 5: Define the Alligator’s Skin
To give your alligator some texture, draw small, jagged lines all over its body, head, and tail. These lines should be placed randomly and vary in length and direction. Don’t worry about making them perfect – the more irregular, the better!
Step 6: Add Details
Now it’s time to add the finishing touches to your cartoon alligator. Draw a small, curved line above each eye to create the eyelids. Then, draw two small humps near the back of the alligator’s body to represent its back scales. Use your black marker or pen to trace over your pencil lines and darken the final drawing. You can also add some color using colored pencils or markers if you’d like.
And there you have it – your very own cartoon alligator! With a little practice, you can customize your alligator by experimenting with different shapes, colors, and expressions to make it truly unique.
Conclusion
Drawing a cartoon alligator is a fun and rewarding activity that allows you to exercise your creative skills. By following the step-by-step instructions in this guide and using your imagination, you can create a lovable and amusing cartoon alligator. Remember to practice regularly and explore different techniques to further enhance your drawing abilities. So grab your pencils, let your creativity flow, and have fun drawing your own cartoon alligator!


