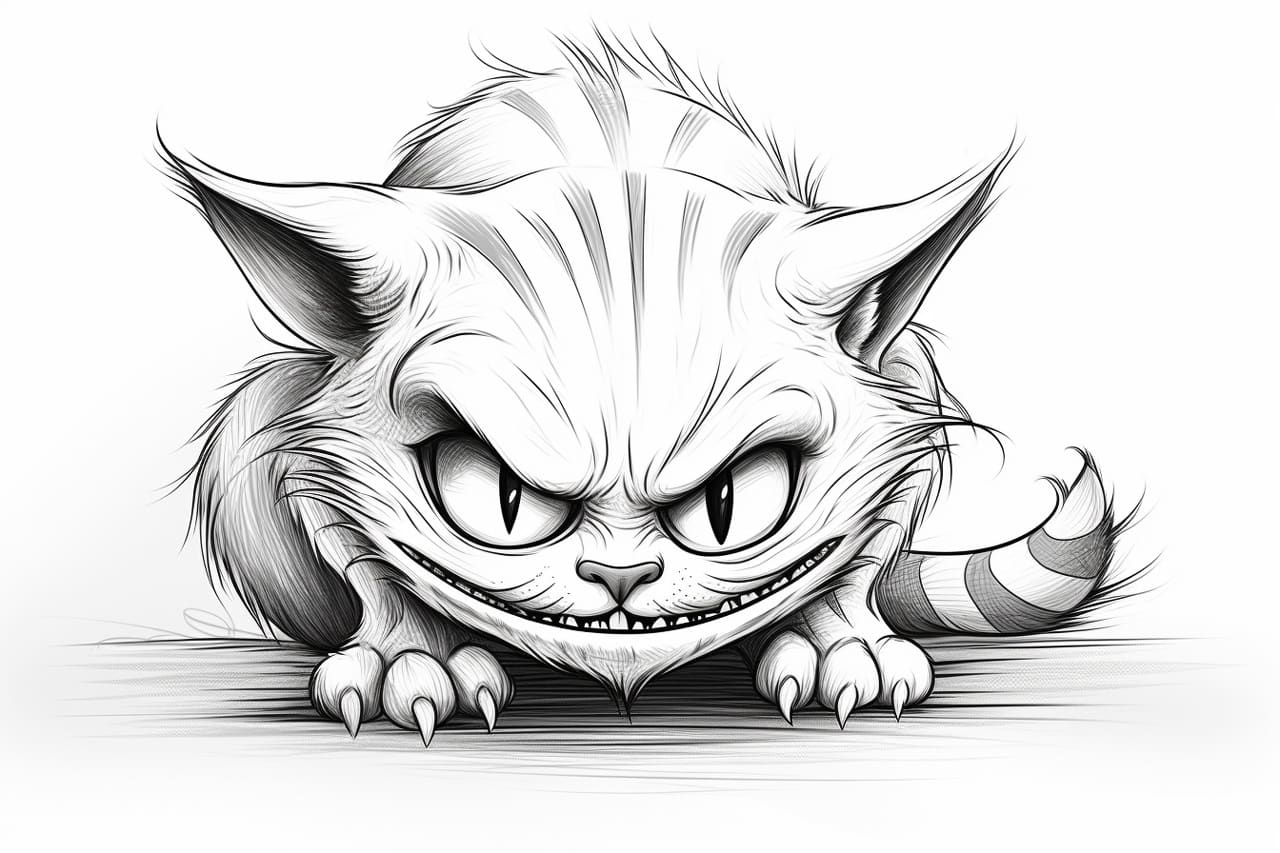
Welcome to this step-by-step guide on drawing a Cheshire Cat! Known for its mischievous grin and disappearing act, the Cheshire Cat is a beloved character from Lewis Carroll’s “Alice’s Adventures in Wonderland.” In this tutorial, I will walk you through the process of creating your very own Cheshire Cat drawing. So grab your art supplies and let’s get started!
Materials Required
Before we begin, make sure you have the following materials:
- Drawing paper
- Pencil
- Eraser
- Fine-tip black marker or pen
- Colored pencils or markers (optional)
Now that you have everything you need, let’s dive into the step-by-step instructions!
Step 1: Outline the Head
Start by drawing a circle in the center of your paper. This will be the outline of the Cheshire Cat’s head. Use light, gentle strokes so it’s easier to make changes if needed.
Step 2: Draw the Facial Features
Next, add two large oval shapes for the eyes. Place them slightly lower on the head, leaving some space in between. Inside each eye, draw a smaller circle for the iris and a smaller dot for the pupil.
Now, draw a curved line for the Cheshire Cat’s smiling mouth. Make sure the ends of the smile extend beyond the edges of the circle. Add two small triangles on top of the head for the ears.
Step 3: Add Details to the Face
To give the Cheshire Cat its signature look, draw a series of curved lines around the eyes to represent fur. These lines should be spaced evenly and extend outward from the eyes.
Next, add some texture to the ears by drawing small triangular shapes within them. You can also draw some whiskers extending out from each side of the mouth.
Step 4: Define the Body
Extend two curved lines from the bottom of the head to create the sides of the Cheshire Cat’s body. Connect these lines with a slightly curved line at the bottom to form the belly.
Draw two front legs and two hind legs, making them slightly curved to give the impression of movement. Add small triangular shapes for the paws at the end of each leg.
Step 5: Refine the Details
Now it’s time to add more details to make your Cheshire Cat drawing come to life. Add some fur texture by drawing short, curved lines along the body.
For the tail, draw a long, curved line that starts from the back and extends slightly above the head. Add stripes to the tail by drawing thin, horizontal lines across it.
Step 6: Ink and Erase
Once you are satisfied with your sketch, trace the final lines with a fine-tip black marker or pen. This will make your drawing stand out and give it a clean and polished look.
After the ink has dried, carefully erase any visible pencil lines to clean up your drawing.
Step 7: Add Color (Optional)
If you prefer a colored Cheshire Cat, feel free to use colored pencils or markers to bring your drawing to life. Use shades of purple, pink, and blue for the body, and add details like stripes, spots, or even a gradient effect.
Conclusion
Congratulations on completing your Cheshire Cat drawing! I hope you enjoyed this step-by-step tutorial and that it helped you bring this iconic character to life on paper. Remember, practice makes perfect, so don’t be discouraged if your first attempt isn’t exactly what you envisioned. Keep experimenting, honing your skills, and most importantly, have fun with your art!
So go ahead and share your amazing Cheshire Cat artwork with others. They’ll surely be impressed by your artistic talent and creativity! And who knows, maybe your drawing will inspire others to dive into the whimsical world of Wonderland. Happy drawing!