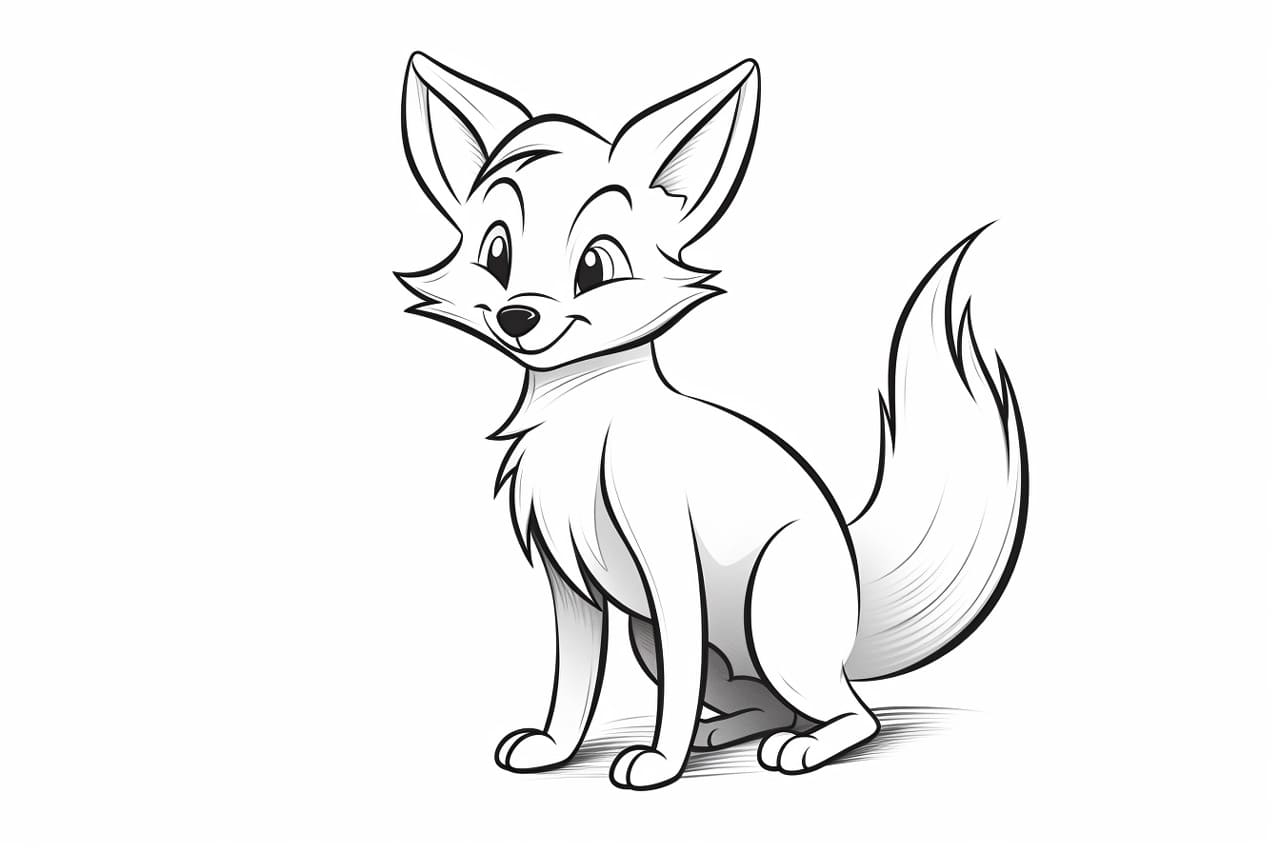
Welcome to this step-by-step guide on how to draw a cartoon fox! Whether you’re a beginner or an experienced artist, this tutorial will help you create a cute and playful fox character. By following these simple instructions, you’ll be able to bring your own unique fox to life in no time.
Materials Required:
Before we get started, make sure you have the following materials:
- Paper: Choose a size that suits your preference, such as letter or A4.
- Pencil: Use a regular HB pencil for sketching.
- Eraser: Have a good quality eraser on hand to easily correct any mistakes.
- Pens or Markers: You can either use colored markers or ink pens to outline and add details to your drawing.
- Colored Pencils or Markers: If you want to add color to your fox, have some colored pencils or markers ready in your preferred shades.
Now that you have your materials ready, let’s begin drawing our cartoon fox!
Step 1: Basic Shape
Start by drawing a large circle in the center of your paper. This circle will be the fox’s head. Make sure it’s big enough to leave room for the ears and body.
Step 2: Ears
On top of the head circle, draw two triangle shapes that point upwards. These will be the fox’s ears. Make them slightly curved to give the drawing a more playful look.
Step 3: Face Details
Inside the head circle, draw two large circular shapes for the fox’s eyes. You can make them as big or as small as you like, depending on the expression you want to create. Add smaller circles inside the eyes to represent the pupils. Then, draw a rounded triangle shape below the eyes to serve as the fox’s snout.
Step 4: Nose and Mouth
At the bottom of the snout, draw a small oval shape for the fox’s nose. Make it slightly curved and centered. Just below the nose, draw a curved line to represent the mouth. Add a small curve on each side of the mouth to indicate a smile.
Step 5: Facial Features
To give your fox more personality, draw a line from the snout towards the eyes on each side. These lines will serve as the fox’s cheek fur. Then, add two short lines on top of each eye to represent the eyebrows.
Step 6: Body Outline
From the bottom of the head, draw a curved line that extends towards the right. This line will be the fox’s back. Then, draw another curved line from the back towards the left to create the underside of the body. Connect the lines at the end to form the tail.
Step 7: Legs and Paws
From the bottom of the body, draw two straight lines extending downwards. These lines will be the front legs. Connect the ends of the lines with a curved line to create the paws. Repeat this step to draw the hind legs on the other side of the body.
Step 8: Tail Details
To add some texture and volume to the tail, draw a series of curved lines along its length. These lines can be slightly wavy to make the tail look more fluffy and playful.
Step 9: Final Outline
Now that you have the basic structure of your cartoon fox, go over your pencil lines with a pen or marker. Be careful not to ink any unwanted lines, and let the ink dry completely before erasing any pencil marks.
Step 10: Coloring
If you want to add color to your drawing, now is the time! Use colored pencils or markers to bring your cartoon fox to life. You can choose realistic colors or get creative with some bright and vibrant shades. Experiment and have fun!
Congratulations on successfully drawing a cartoon fox! With a little practice, you’ll be able to create all sorts of adorable and unique fox characters. Remember, each drawing is an opportunity to develop your skills and add your personal touch. Enjoy the process!
Conclusion
In this step-by-step guide, we’ve walked through the process of drawing a cartoon fox from start to finish. By following these instructions and using your imagination, you can create your own lovable fox character. Remember to enjoy the process and have fun with your artwork.
So grab your materials, sit down with a blank sheet of paper, and let your creativity soar as you draw a cartoon fox!