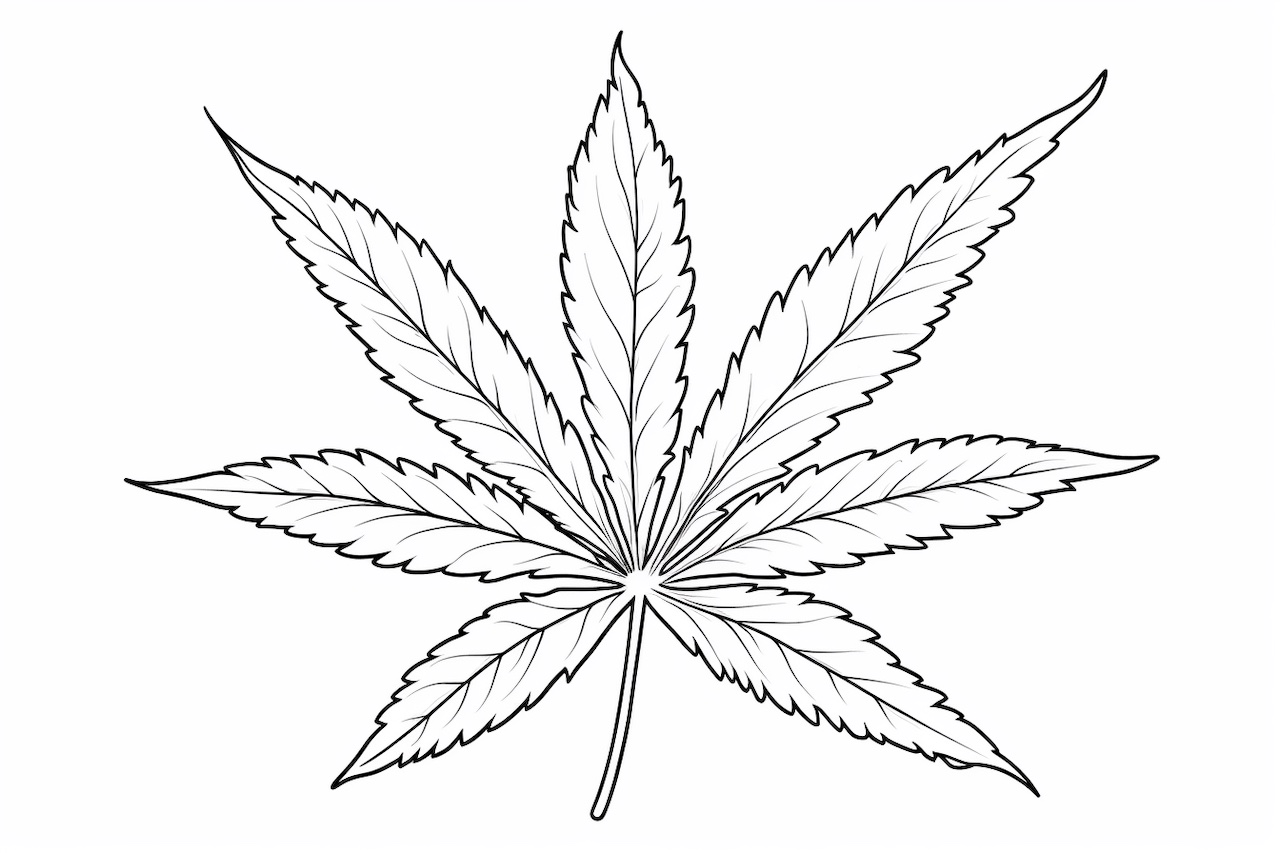
Welcome to this step-by-step guide on how to draw a marijuana leaf. Whether you are an experienced artist or just starting out, this tutorial will help you create a vibrant and realistic representation of this iconic symbol. By following these easy-to-follow instructions, you will be able to capture the essence of a marijuana leaf in no time. So grab your art supplies and let’s get started!
Materials Required
Before we begin, make sure you have the following materials ready:
- Drawing paper or sketchbook
- Pencil (preferably a HB or 2B)
- Eraser
- Fine-tipped black marker or pen
- Colored pencils or markers (optional)
Having these materials on hand will ensure that you have everything necessary to complete your drawing with ease and precision.
Step 1: Start with the Stem
To begin, draw a straight vertical line in the center of your paper. This line will serve as the stem of the marijuana leaf.
Step 2: Draw the First Set of Leaflets
Starting from the top of the stem, draw two curved lines branching out in opposite directions. These lines will form the first set of leaflets on the marijuana leaf.
Step 3: Add the Second Set of Leaflets
Continuing from the tips of the leaflets in Step 2, draw two more curved lines that are slightly longer. These lines will create the second set of leaflets, giving the leaf a fuller appearance.
Step 4: Draw the Third Set of Leaflets
Repeat Step 3 to add a third set of leaflets below the second set. Remember to make them slightly longer than the previous set.
Step 5: Create the Fourth Set of Leaflets
Similarly, draw a fourth set of leaflets that are longer than the previous ones. This will add more depth and dimension to your marijuana leaf.
Step 6: Refine the Shape of the Leaflets
Take your pencil and gently refine the shape of each leaflet, smoothing out any rough edges or uneven curves. Pay attention to the overall symmetry of the leaf and make necessary adjustments as needed.
Step 7: Add Veins to the Leaflets
Using short, curved lines, draw veins on each leaflet. Start from the stem and fan out towards the edges of the leaf. These veins will enhance the realism of your drawing and make it more visually appealing.
Step 8: Outline the Leaf with a Marker
Once you are satisfied with the shape and details of the leaf, trace over the pencil lines with a fine-tipped black marker or pen. This will give your drawing a bold and defined appearance.
Step 9: Erase Unwanted Guidelines
Carefully erase any remaining pencil guidelines that are visible, ensuring that only the marker lines of the leaf are left. Take your time during this step to avoid smudging or damaging your drawing.
Step 10: Color the Leaf (Optional)
If desired, you can add color to your marijuana leaf using colored pencils or markers. Green is the traditional color for the leaf, but feel free to experiment with different shades and textures to make your drawing unique.
Conclusion
Congratulations! You have successfully learned how to draw a marijuana leaf step-by-step. By following these instructions and using your artistic skills, you can create a beautiful representation of this iconic symbol. Remember, practice makes perfect, so keep honing your skills and exploring different techniques to improve your drawings. Have fun and enjoy the creative process!


