How to Draw a Cardinal in 7 Simple Steps
Learn how to draw with this step-by-step tutorial.
Materials You'll Need
- Drawing paper
- Pencil (HB or 2B)
- Eraser
- Colored pencils
- Markers
Few birds are as striking and recognizable as the cardinal—a stunning songbird known for its vivid red feathers, bold crest, and distinctive black mask. Whether perched on a snowy branch in winter or singing from the treetops in spring, the cardinal is a favorite subject for artists of all skill levels.
In this step-by-step tutorial, we will guide you through the process of how to draw a cardinal, from sketching the basic shapes to adding intricate feather details. Whether you're a beginner looking to practice bird anatomy or an experienced artist hoping to refine your wildlife drawing skills, this tutorial will help you bring this beautiful bird to life on paper.
So, grab your pencils, sketchbook, and creativity, and let's get started!
Materials Required
-
Pencil
-
Eraser
How to Draw a Cardinal: Step-by-Step Guide
Cardinals are among the most striking and recognizable birds due to their vibrant red plumage, distinctive crest, and black mask around the face. Whether you're a beginner artist or an experienced sketcher, this step-by-step tutorial will help you capture the beauty and elegance of a cardinal with simple techniques.
So, sharpen your pencils, grab your sketchbook, and let's bring this beautiful bird to life on paper!
Step 1: Sketch the Basic Shapes ✏️
Begin by lightly sketching the basic shapes that will form the foundation of your cardinal drawing. Start with:
✅ A small circle for the head. ✅ A larger oval below it for the body. ✅ A tiny oval for the eye and a short triangular shape for the beak.
These simple guidelines will help ensure correct proportions before adding finer details.
Tip: As you progress through each step of drawing the cardinal, consider using a light hand with your pencil for the initial shapes and outlines; this will allow for easier adjustments and erasing as you refine details. Once you're satisfied with the basic structure, you can go over your lines with more pressure to define the final details, making your drawing cleaner and more polished.
Step 2: Define the Body and Posture
Now that the foundation is in place, begin shaping the cardinal's body and posture:
✅ Extend the body shape downward to form the tail. ✅ Sketch slightly curved wings on both sides of the oval. ✅ Pay attention to the cardinal's upright stance—they are small but poised birds!
The tail should be long and slightly pointed, as it plays a significant role in balancing the bird when perched.
Step 3: Shape the Head and Beak ️
Next, refine the head shape and focus on the cardinal's distinct features:
✅ Draw the cardinal's crest—a pointed shape on top of the head. ✅ Outline the beak, making it slightly curved and sharp at the tip. ✅ Add more detail to the eye, drawing the pupil inside the small oval you created earlier.
The crest gives the cardinal its signature look, so make sure it has a sharp and triangular appearance.
Step 4: Add Feather Details and Texture
To make the cardinal look more lifelike, start adding feather details:
✅ Use short, curved lines across the body and wings to create the illusion of texture. ✅ Pay attention to the natural flow of feathers, following the shape of the body. ✅ Make the wing feathers slightly longer than the body feathers.
For a more natural effect, vary the length and direction of the feather strokes, rather than making them all uniform.
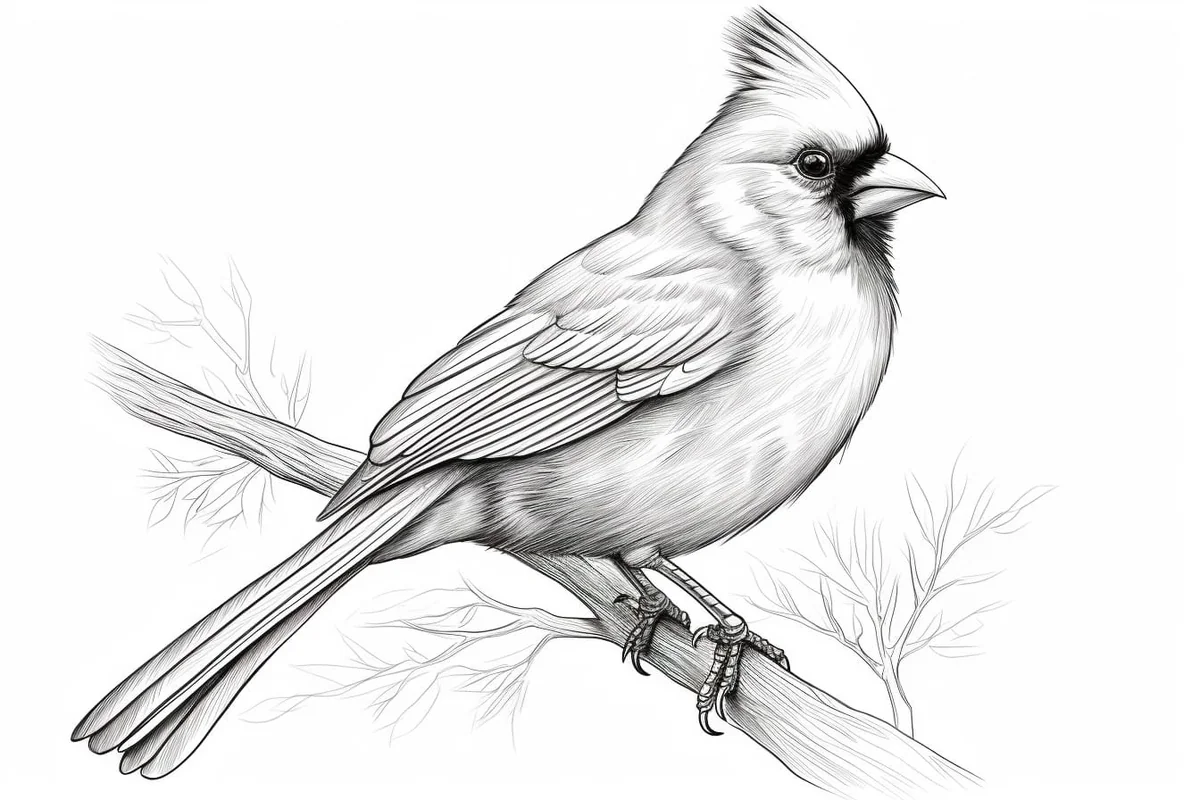
Step 5: Draw the Legs and Perching Feet
Cardinals are known for perching on branches, so let's add their small but sturdy feet:
✅ Sketch two thin legs extending downward from the body. ✅ Add three forward-facing toes and one rear-facing toe to each foot. ✅ Draw tiny claws at the tips of the toes to help the cardinal grip onto a branch.
Cardinal legs are delicate but strong, so avoid making them too thick. Keep them slender but defined.
Step 6: Shade and Define the Black Mask
One of the most striking features of a cardinal is the black mask around its eyes and beak:
✅ Darken the area around the eyes and extend the shadow toward the beak. ✅ The mask should be symmetrical but slightly rounded for a natural look. ✅ Blend shading lightly for a smooth transition between the red feathers and black mask.
This feature gives the cardinal its fierce and confident expression, so take your time perfecting it!
Step 7: Refine and Add Final Details ️
Now that the structure is complete, step back and refine your drawing:
✅ Darken the outlines to enhance the cardinal's form. ✅ Add more shading to the wings and body for depth and dimension. ✅ Erase any unwanted sketch lines to create a clean and polished look.
Optional: If using colored pencils or markers, apply vibrant shades of red, orange, and brown to enhance the drawing!
Final Thoughts on Drawing a Cardinal
Congratulations! You've successfully drawn a realistic and detailed cardinal using simple steps.
Keep practicing to improve your bird anatomy and feather detailing skills. Experiment with different poses—try drawing a cardinal perched on a snowy branch or in mid-flight! Add a background, such as a tree or winter scene, to make your artwork more dynamic.
The more you practice, the better your drawings will become. So keep sketching, have fun, and let your creativity soar!
Gallery of Cardinal Drawings


Fun Facts About Cardinals
-
Cardinals are songbirds native to North and South America, renowned for their bright red plumage and melodic songs.
-
The Northern Cardinal is the most well-known species and is the state bird of seven U.S. states, including Illinois, Indiana, and Ohio.
-
Unlike many bird species, both male and female cardinals sing, with their songs used for communication and establishing territories.
-
Cardinals can be monogamous, often mating for life, and they are known to be devoted partners in parenting.
-
These birds are non-migratory, staying in their chosen habitats year-round, which makes them more visible in the winter against snowy backgrounds.
-
Cardinals have a diverse diet that includes seeds, grains, fruits, and insects, and they frequent bird feeders, especially during winter months.
-
Juvenile cardinals have brownish feathers that become more vivid as they mature.
-
The red hue of a male cardinal's feathers comes from carotenoid pigments in their diet, with brighter red males typically being more successful in attracting mates.
-
Cardinals have been a part of various cultural and spiritual symbolism, often representing beauty, energy, and renewal.
-
Despite their vivid colors, cardinals possess excellent camouflage in dense foliage, helping them evade predators.
Suggestions for Scenes and Settings for Cardinal Drawings
-
Woodland Setting: Illustrate cardinals perched on tree branches in a lush, dense forest, with dappled sunlight filtering through the leaves.
-
Winter Landscape: Create a scene of cardinals in a snowy landscape, their bright red feathers standing out starkly against the white snow.
-
Bird Feeder Delight: Draw cardinals gathered around a bird feeder in a quaint garden, surrounded by flowers and greenery.
-
Autumn Ambiance: Capture cardinals in a vibrant autumn setting with leaves in shades of orange, yellow, and red, providing a perfect backdrop.
-
Morning Song: Depict cardinals singing at sunrise, with the sky painted in hues of pink, gold, and blue as the sun rises in the background.
-
Wetland Wonder: Illustrate a cardinal by a serene wetland, lush with tall grasses and reflective pools of water calmly mirroring the sky.
-
Secret Garden: Create a scene with cardinals among the delicate blossoms of a secluded garden, with butterflies and hummingbirds flitting about.
-
Suburban Oasis: Show cardinals visiting a backyard in a suburban neighborhood, adding a splash of color to the homely scene.
-
Sunflower Field: Illustrate cardinals perched amidst bright, cheery sunflowers under a clear blue sky.
-
Foggy Morning: Capture cardinals against a misty meadow setting, with the ethereal fog lending a sense of mystery and calm.
Explore these ideas as you draw cardinals and imagine how they fit into their beautiful natural settings. Happy drawing!