How to Draw a Car Crash
Learn how to draw with this step-by-step tutorial.
Materials You'll Need
- Drawing paper
- Pencil (HB or 2B)
- Eraser
- Markers
- Ruler
- Blending stump
Car crashes are not just mere accidents; they are dramatic, high-stakes events that evoke a range of emotions and stories waiting to be told. For artists, the chaotic beauty of a car crash can serve as a powerful source of inspiration, presenting an opportunity to explore themes of destruction, urgency, and human response. Through a well-crafted piece of art, one can convey the intensity of the moment and invite viewers to delve into the narrative behind the scene.
In this guide, we aim to empower you with the skills and knowledge needed to transform your vision of a car crash into a captivating drawing. This process requires more than just putting pencil to paper; it demands attention to detail, an understanding of perspective, and an embrace of the emotional weight surrounding such events. Our step-by-step approach will take you through each critical aspect, from the initial sketch to the final refinements, ensuring that your artwork resonates with the intensity of the collision.
Tip: When drawing a car crash scene, consider using contrasting colors and dynamic lighting to enhance the drama and emotional impact of your artwork. Bright highlights can draw attention to key elements like shattered glass or emergency lights, while darker shadows can add depth and a sense of chaos. This strategic use of color and light not only helps to convey the intensity of the moment but also guides the viewer's eye through the scene, making your composition more engaging and impactful.
Whether you are a budding artist or an experienced illustrator looking to expand your portfolio, this guide will provide the tools you need to create a dramatic and impactful car crash scene. So, gather your materials and prepare to embark on a creative journey that explores the delicate balance between chaos and artistry. Let's delve into the mechanics of drawing a car crash that is both realistic and emotionally charged!
Materials Required
Before we begin, gather the following materials:
-
Fine-tipped pens or markers
-
Ruler
-
Reference images of car crashes (optional)
Now that you have everything you need, let's get started on creating an impactful car crash drawing!
How to Draw a Car Crash: A Step-by-Step Guide
Drawing a car crash scene is a compelling artistic challenge that combines dynamic motion, emotional intensity, and realistic detail. Whether you're illustrating an action comic, designing a dramatic storyboard, or simply exploring the visual impact of motion and destruction, this guide will walk you through the process of creating a believable and visually striking crash scene from start to finish.
From gathering references and establishing perspective to depicting damage, debris, and emotion, this tutorial breaks down each step in a way that's accessible for both beginners and more advanced artists. Let's dive in and bring your dramatic scene to life—one sketch at a time.
Step 1: Gather References and Inspiration
Start by researching real-world car crashes (images, video stills, movie scenes, etc.) to understand how metal twists, how cars deform, and how debris scatters.
-
Look at the positioning of vehicles post-impact.
-
Pay attention to visible damage, such as dents, broken glass, crumpled hoods, and fluid leaks.
-
Take note of emotional elements—expressions of fear, panic, or shock if people are involved.
Even if you're stylizing your art, realistic references help ground your scene in believability.
Step 2: Plan the Composition and Sketch the Scene
Use light, rough lines to block out the core elements of the crash.
-
Decide how many vehicles are involved and where they're placed.
-
Sketch basic shapes for each vehicle (boxes or ovals) to define size, angle, and impact point.
-
Include supporting elements like skid marks, light poles, broken guardrails, road signs, or debris fields.
A tilted horizon or off-centered composition can add a sense of chaos and motion.
Step 3: Establish Perspective and Depth
Choose a vanishing point (or multiple, for more complex scenes) to define your perspective.
-
Draw a horizon line and use a ruler to sketch perspective lines.
-
Align your vehicles and road elements using these guidelines to create accurate angles and sense of scale.
-
Perspective is key to making the vehicles feel grounded in a real environment.
Use a three-point perspective if you want a more dramatic, cinematic angle.
Step 4: Draw the Vehicle Structures
Now refine the car outlines based on your perspective framework.
-
Add windows, doors, mirrors, grills, and tires with careful attention to the vehicle's make and model.
-
If you're not working from a specific model, use reference images to maintain realism.
-
Keep one car slightly more detailed if you want to emphasize it as the main subject.
Even with exaggerated damage, the foundation of the car should remain believable.
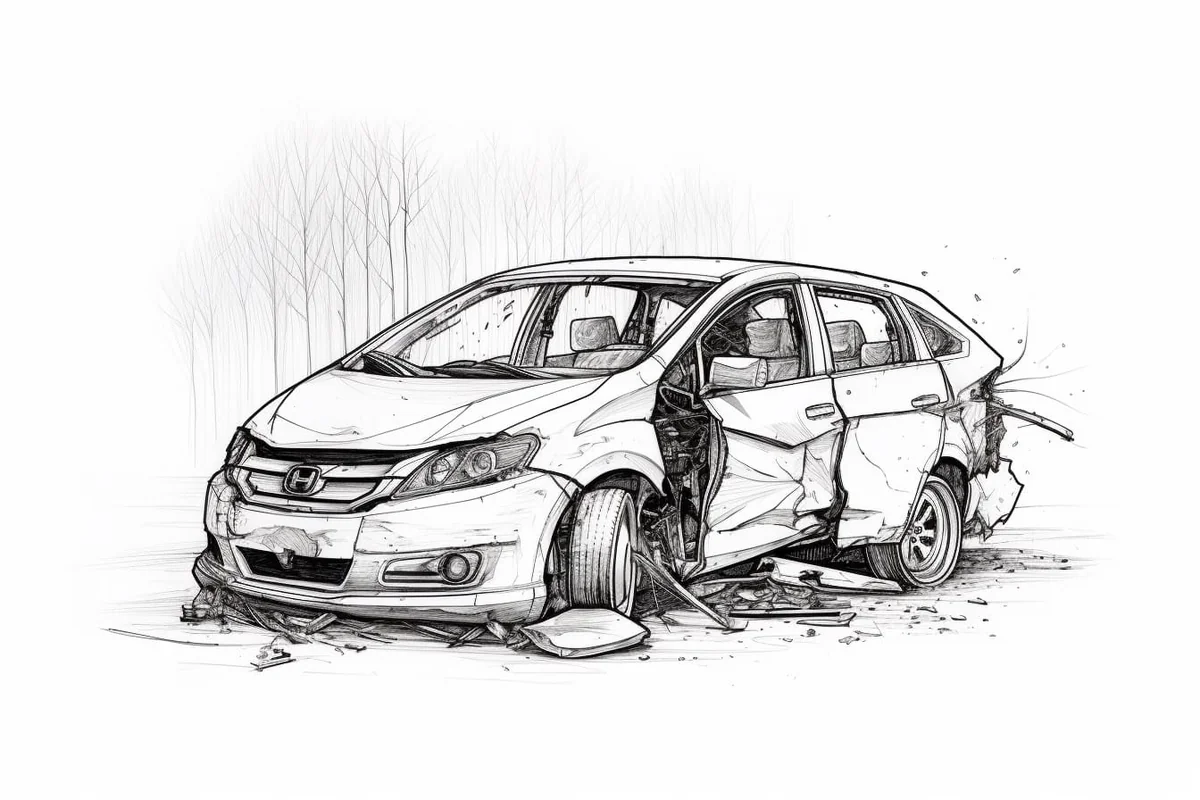
Step 5: Illustrate Crash Damage and Debris
This is where the action and impact come to life.
-
Draw bent metal, shattered glass, and twisted bumpers.
-
Use jagged lines and broken edges to depict torn or crumpled areas.
-
Scatter debris like loose tires, shards, car parts, or smoke clouds around the crash site.
Use overlapping lines and detail to add chaos—let some parts feel messy or chaotic for realism.
**Step 6: Add Motion and Emotion **
Enhance the energy and drama of your scene.
-
Use speed lines, dust clouds, or tire spin marks to suggest motion.
-
If people are included, sketch expressive poses—someone bracing for impact, shielding themselves, or reacting in fear.
-
Emphasize facial expressions like wide eyes, open mouths, or tense brows.
Use motion lines sparingly but strategically to direct the viewer's eye.
**Step 7: Shade and Highlight for Realism **
Create mood and depth with thoughtful shading.
-
Use shadows under the vehicles, in cracked panels, or behind debris.
-
Use cross-hatching, soft shading, or blending to show surface texture.
-
Highlight metal reflections, glass shards, or bright lights (like headlights or emergency lights).
Decide on a light source before you shade—it could be overhead, from a streetlamp, or directional for added drama.
**Step 8: Refine and Clean Up **
Finalize your scene with care.
-
Erase unnecessary sketch lines and clean up any messy areas.
-
Adjust proportions, add final details like grit, grime, oil leaks, or scuff marks.
-
You can frame the action with background elements like buildings, traffic signs, or police tape for added context.
Take a break and return with fresh eyes—it's easier to spot what needs tweaking.
Wild Inspiration: Imagine a car crash not just as an accident, but as a cosmic event where the vehicles transform into vessels of the universe, bursting into a kaleidoscope of vibrant colors and celestial elements. Picture a scene where the cars break apart, their metal frames morphing into constellations, spewing stars and swirling galaxies instead of debris. Surround the chaos with surreal landscapes—perhaps a ground of shimmering sand that reflects the cosmos above, or trees that bloom with flaming petals, capturing the raw energy of the collision. This unexpected juxtaposition of destruction and beauty invites you to explore the profound connection between chaos and creation, challenging you to push the boundaries of your imagination and transform a moment of impact into a celebration of the universe's wonders. Let your pencil dance across the page, capturing this fantastical scene that transcends the ordinary!
Bringing the Scene to Life: Final Thoughts
Great work! You've successfully tackled the challenge of drawing a car crash scene—a subject packed with energy, emotion, and intricate detail. Through careful composition, perspective, and texture, you've created a piece that tells a visual story in a single frame.
Whether you're using this as a study for animation, comics, or dramatic storytelling, the skills you practiced here—dynamic posing, expressive detailing, and realistic shading—will serve you well in countless other projects. Keep exploring, refining, and experimenting with dramatic scenes, and most importantly, enjoy the storytelling power your art can convey.
Now go create more action-packed illustrations that move, impact, and inspire! ️