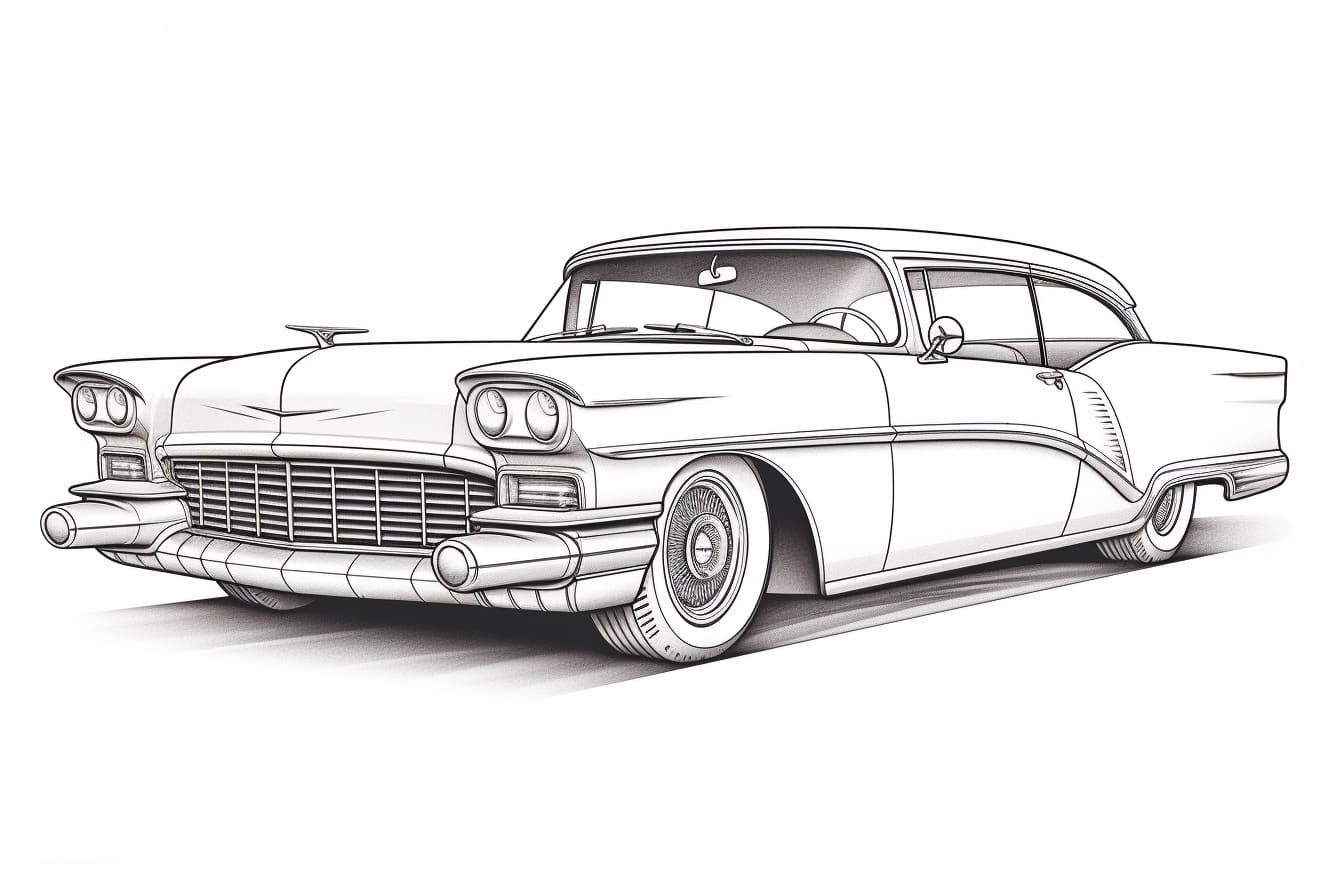
Whether you’re a car enthusiast, an aspiring artist, or just looking to improve your drawing skills, learning how to draw a classic car can be a fun and rewarding experience. Classic cars are known for their sleek lines, elegant designs, and timeless appeal. In this step-by-step guide, I will walk you through the process of drawing a classic car, from the basic shapes to the final details. So, grab your pencil and paper, and let’s get started!
Materials Required
Before we begin, make sure you have the following materials:
- Drawing paper
- Pencil (HB or 2B)
- Eraser
- Ruler
- Fine-tip markers or colored pencils (optional for adding color)
Now that you have all your materials ready, let’s dive into the step-by-step process of drawing a classic car.
Step 1: Basic Shapes
Every drawing starts with basic shapes, and drawing a classic car is no exception. Begin by lightly sketching the basic shapes that make up the car’s body. Classic cars often have a long, rectangular shape with rounded edges.
Start by drawing a horizontal rectangle for the car’s main body. Then, add a smaller rectangle on top of it for the roof. Sketch two circles for the wheels, making sure they are evenly placed at the bottom of the car’s body.
Step 2: Outline the Body
Using the basic shapes as a guide, start outlining the car’s body. Begin with the main body, following the lines of the rectangle and adding curves for the front and rear bumpers.
Next, outline the roof, making sure it flows smoothly from the main body. Pay attention to the angles and curves of the classic car’s design, as this will give it its distinctive look.
Step 3: Define the Details
Now that you have the basic outline, it’s time to add some details to your classic car drawing. Start by sketching the front grille, headlights, and taillights. Classic cars often have unique and intricate grille designs, so take your time and add as much detail as you’d like.
Next, add the door handles, side mirrors, and any other features that are specific to the classic car you’re drawing. Look up reference images to ensure accuracy and capture the unique character of the car.
Step 4: Wheels and Tires
Let’s move on to the wheels and tires. Start by adding the spokes and rims to the wheels. Classic cars often have stylish and detailed wheels, so take your time and sketch the details carefully.
Next, draw the tires, making sure they are in proportion to the rest of the car. Pay attention to the thickness of the tires and the grooves on the tread pattern.
Step 5: Windows and Windshield
Now it’s time to add the windows and windshield to your classic car drawing. Start by drawing the shape of the windshield, making sure it follows the curve of the roof. Then, add the side windows and rear window, again following the lines of the car’s body.
Step 6: Fine Details
To give your classic car drawing that extra level of realism, add some fine details. This can include things like door seams, side vents, and any other small features that are present on the car.
Take your time with the fine details and use reference images to ensure accuracy. These small touches will add depth and dimension to your drawing.
Step 7: Shading and Highlights
To make your classic car drawing truly come to life, add shading and highlights. Start by identifying the light source in your drawing and determine where the shadows will fall.
Using your pencil, add shading to the areas of the car that would be in shadow. Gradually build up the darkness of the shadows, using light, even strokes.
Next, use your eraser to create highlights on the car’s body. This will make the car appear more three-dimensional and add a sense of depth.
Step 8: Optional Coloring
If you’d like to add some color to your classic car drawing, now is the time to do so. Use fine-tip markers or colored pencils to carefully color in the different parts of the car.
Refer to reference images or your own imagination to choose the colors you’d like to use. Classic cars often come in a variety of vibrant and eye-catching colors, so don’t be afraid to get creative.
Conclusion
Drawing a classic car can be a fun and challenging task, but with the right guidance and practice, anyone can create a stunning piece of artwork. By following these step-by-step instructions and paying attention to the details, you can bring the elegance and timeless beauty of classic cars to life on paper.
So, grab your pencil and get started on your classic car drawing today. With a little patience and creativity, you’ll be amazed at what you can create. Happy drawing!


