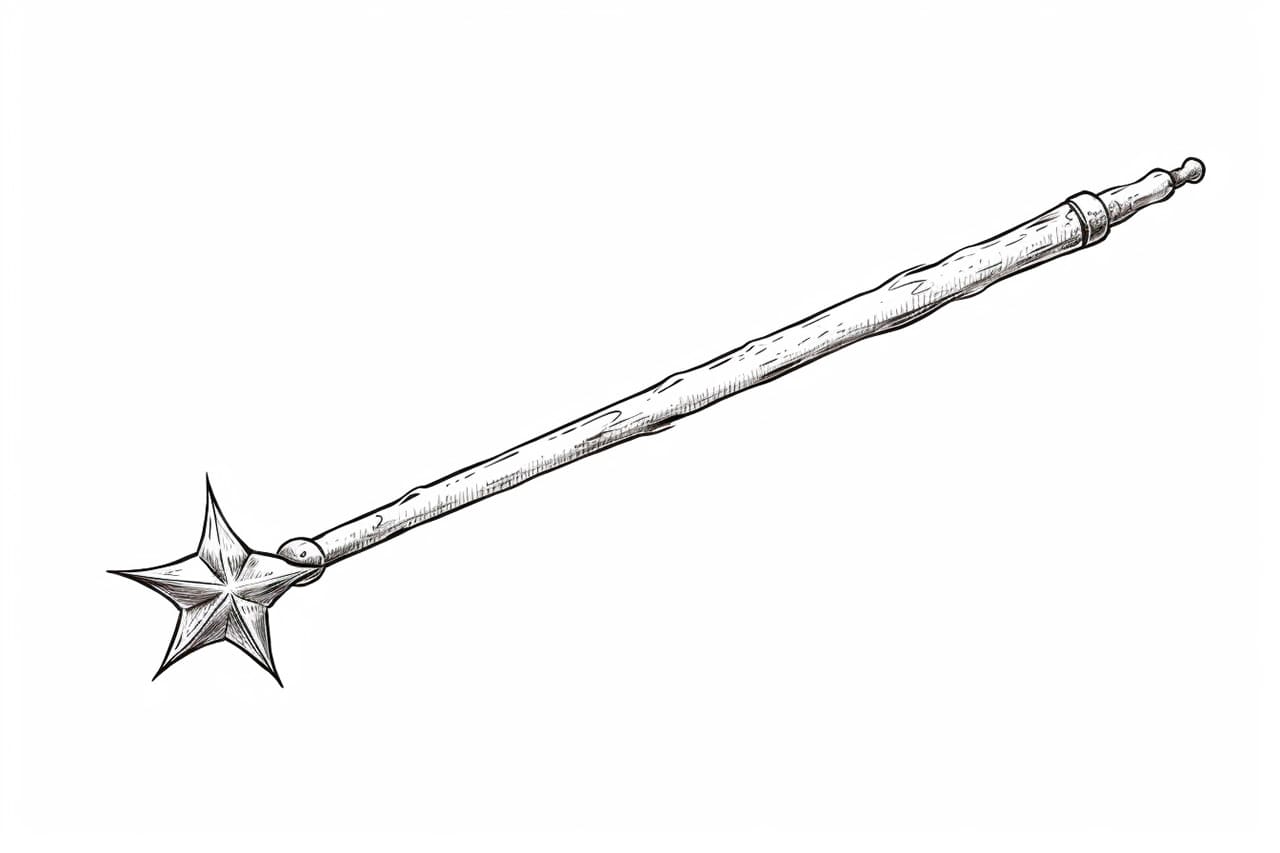
Are you fascinated by the enchanting world of magic? Have you ever wanted to create your very own magic wand? Well, you’re in luck! In this step-by-step tutorial, we will guide you through the process of drawing a captivating magic wand. So, grab your pencils and let’s get started!
Materials Required
Before we begin, let’s gather the necessary materials to bring your magic wand to life:
- A blank piece of paper
- Pencils (preferably a set with different hardness levels)
- Eraser
- Ruler or straight edge
- Compass (optional)
- Colored pencils or markers (optional)
Now that we have our materials ready, let’s dive into the magical world of drawing and learn how to create a stunning magic wand.
Step 1: Sketch the Basic Shape
To start, lightly sketch the basic shape of the magic wand using your pencil. Begin by drawing a straight vertical line in the center of your paper. This line will serve as the wand’s handle. Next, sketch a small circle at the top of the line, the size of which will determine the width of the wand’s tip.
Step 2: Define the Handle
Now, let’s add some details to the wand’s handle. Using your ruler, draw two parallel lines on either side of the vertical line you sketched earlier. These lines will give the handle a three-dimensional look. Extend the lines slightly beyond the top and bottom of the wand’s body.
Step 3: Add Decorative Elements
To make your magic wand visually appealing, let’s add some decorative elements. Along the handle, draw small circular patterns or spirals. You can also experiment with adding gemstones or intricate designs. Remember, this is your magical creation, so let your imagination run wild!
Step 4: Enhance the Wand’s Tip
Now, let’s focus on the wand’s tip. Starting from the circle you drew earlier, taper the lines gradually to form a pointed end. Make sure the lines converge at the center. This will give your wand a sleek and elegant look.
Step 5: Refine the Details
It’s time to refine the details of your wand. Carefully go over the pencil lines, making them darker and more defined. Pay attention to the decorative patterns, ensuring they stand out and add an enchanting touch to your creation. Use an eraser to remove any excess pencil markings.
Step 6: Optional – Add Color
If you want to add some magic to your drawing, now is the perfect time to bring out your colored pencils or markers. Choose colors that resonate with the mystical aura of the wand. You can opt for metallic shades or vibrant colors, depending on the effect you wish to achieve. Experiment and have fun!
Step 7: Final Touches
As a final touch, examine your drawing and make any necessary adjustments. Use your eraser to clean up any smudges or stray marks. Take a step back and admire your marvelous creation – your very own magic wand!
And there you have it – a beautifully drawn magic wand that is ready to cast spells and embark on enchanting adventures. Remember, drawing is a skill that improves with practice, so don’t be discouraged if your first attempt isn’t perfect. Enjoy the process and let your creativity shine.
Conclusion
In this tutorial, we’ve learned how to draw a captivating magic wand step by step. From sketching the basic shape to adding decorative elements, each stage has contributed to the creation of a magical masterpiece. So, gather your art supplies and let your imagination guide you as you embark on your artistic journey. Now, go forth and create your own magical world with your newfound drawing skills!