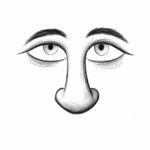
The human nose, with its intricate contours and subtle details, is a challenging yet rewarding subject for artists. Whether you’re a novice looking to improve your drawing skills or an experienced artist aiming to master the art of nose drawing, this comprehensive guide is here to help. In this step-by-step tutorial on how to draw a nose, we will break down the process into easily digestible steps. By the end of this article, you’ll have the knowledge and techniques to create lifelike and expressive nose drawings.
Materials Required
Before we begin, gather the essential materials you’ll need:
- Pencil: A range of pencils with different lead hardness (e.g., 2H, HB, 2B) for various shading effects.
- Eraser: A good quality eraser for correcting mistakes and refining details.
- Drawing Paper: Choose a smooth and sturdy drawing paper that can handle fine details.
- Reference Images: Having reference images of noses from various angles and perspectives can be immensely helpful in understanding their structure and capturing realistic details.
Now, let’s delve into the step-by-step process of drawing a nose.
Step 1: Basic Nose Shape
Start by drawing a simple, slightly elongated oval shape on your paper. This will serve as the basic outline of the nose. Keep in mind that nose shapes vary widely from person to person, so embrace the diversity of forms you may encounter.
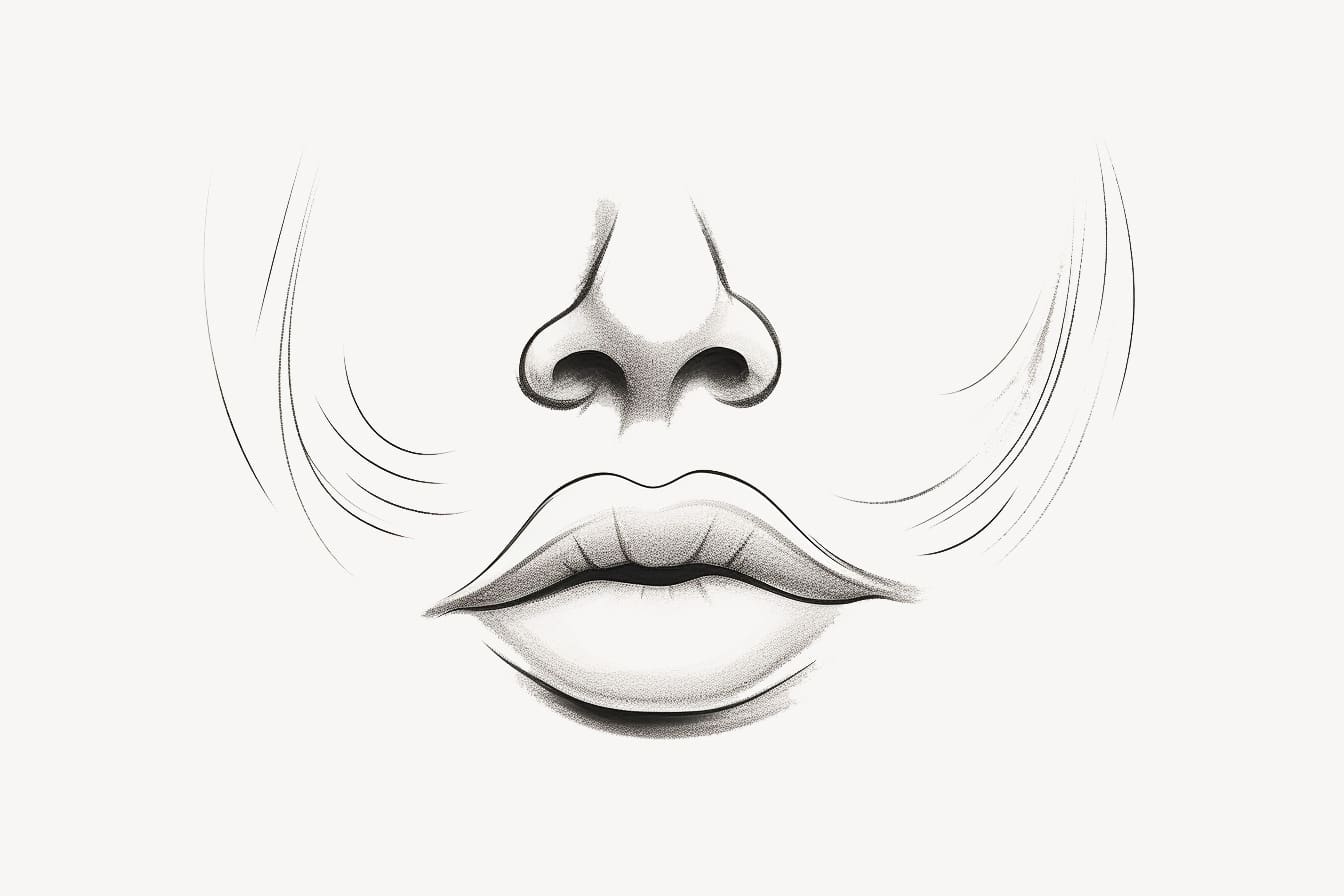
Step 2: Nostrils and Septum
Within the oval shape, draw two smaller ovals—one on the left and one on the right. These represent the nostrils. The distance between the nostrils and their size depend on the nose’s perspective.
Connect the nostrils with a curved line at the bottom to create the septum, which separates the nostrils.
Step 3: Bridge and Tip
From the top of the oval, extend two lines upward and slightly outward. These lines will form the bridge of the nose. The bridge can be straight or have subtle curves, depending on the nose you’re drawing.
For the tip of the nose, draw a small, soft triangle or shape that suits the nose’s style. Some noses have pointed tips, while others are more rounded.
Step 4: Shading and Shadows
Now, it’s time to add depth and dimension to your nose drawing. Observe your reference image carefully to identify areas where shadows fall. Typically, shadows appear under the nose, along the sides of the nostrils, and under the bridge.
Using a softer pencil (e.g., 2B), shade these shadowed areas gradually, keeping your strokes light at first. Build up the shading to achieve the desired depth. Pay attention to the subtle transitions from light to shadow.
Step 5: Highlights and Details
To make your nose drawing come to life, add highlights and refine the details. The highlight on the nose is usually found on the bridge and the tip. Carefully erase or lighten those areas to create the illusion of light hitting the nose.
Add small details like wrinkles, pores, and fine lines, but avoid overdoing it. Subtle details contribute to realism without overwhelming the drawing.
Conclusion
Congratulations! You’ve successfully learned how to draw a nose, a fundamental skill in the world of portrait and character art. Noses are intricate and diverse, and with practice, you can capture their unique beauty. Remember that noses come in various shapes and sizes, so keep experimenting with different styles to refine your skills further.
In conclusion, drawing a nose is a challenging yet gratifying artistic endeavor. Whether you’re drawing for artistic expression or as part of a portrait, mastering the art of nose drawing opens up a world of possibilities. Keep practicing, observing, and refining your techniques, and soon you’ll be creating captivating and realistic nose drawings that breathe life into your artwork.