Welcome to this step-by-step guide on how to draw a bull! In this article, I will guide you through the process of drawing a realistic bull using simple and easy-to-follow instructions. Whether you are a beginner or an experienced artist, this tutorial will help you create a stunning bull drawing. So, let’s get started!
Materials Required
Before we begin, let’s gather the materials you will need:
- Drawing paper or sketchbook
- Pencil (preferably a range of graphite pencils such as 2H, HB, and 2B)
- Eraser (preferably a kneaded eraser)
- Fine tip black pen (optional)
- Colored pencils or markers (optional)
Now that you have all the necessary materials, we can dive into the step-by-step process of drawing a bull.
Step 1: Basic Shapes
To begin, let’s start by sketching the basic shapes that will serve as the foundation for our bull drawing. Start by drawing a large oval shape for the body and a smaller circle for the head. These shapes will determine the overall size and proportion of the bull.
Step 2: Head and Face
Next, let’s focus on the head and face of the bull. Use the circle as a guide and draw two curved lines extending from the circle for the facial structure. Sketch the eyes, nose, and mouth using simple shapes. Pay attention to the placement and size of these features to capture the characteristic bull appearance.
Step 3: Body and Legs
Now that we have the head and face in place, let’s move on to sketching the body and legs. Use the oval shape as a guide and add more curves and lines to define the muscle structure of the bull. Draw the four legs, paying attention to the positioning to ensure a balanced composition.
Step 4: Details and Features
In this step, we will add more details and features to our bull drawing. Start by refining the facial features, adding more definition to the eyes, nose, and mouth. Then, draw the ears, paying attention to their placement and shape. Next, add the horns and the neck using curved lines to create a sense of depth and dimension.
Step 5: Shading and Texture
Now that we have the basic structure and details in place, let’s add shading and texture to our bull drawing to give it a realistic look. Start by identifying the light source and then use light and dark pencil strokes to create shadows and highlights on the body of the bull. Pay attention to the curves and contours of the muscles to add depth and dimension.
Step 6: Final Touches
In this final step, let’s add any final touches to our bull drawing. You can use a fine tip black pen to outline and define the main lines of the drawing. Erase any unnecessary pencil lines and smudges to clean up the artwork. If you prefer, you can also use colored pencils or markers to add color and bring your bull drawing to life.
Conclusion
Congratulations! You have successfully learned how to draw a bull. By following these step-by-step instructions, anyone can create a stunning bull drawing. Remember, practice is key, so don’t be discouraged if your first attempt doesn’t turn out perfectly. Keep practicing, experimenting, and refining your skills. Now go grab your materials and start drawing! Happy creating!
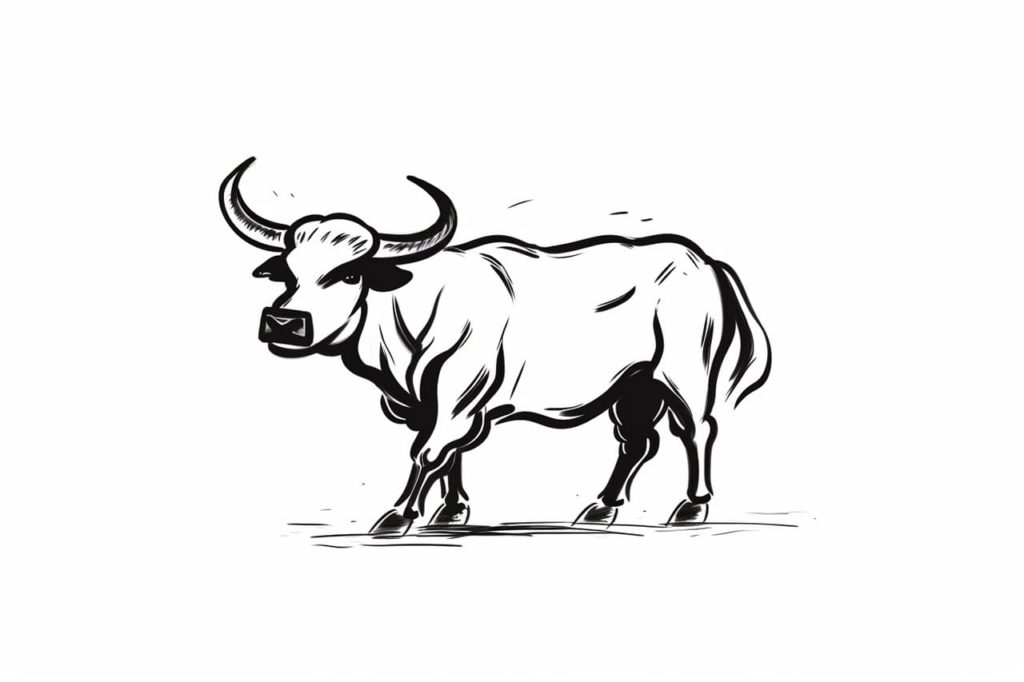
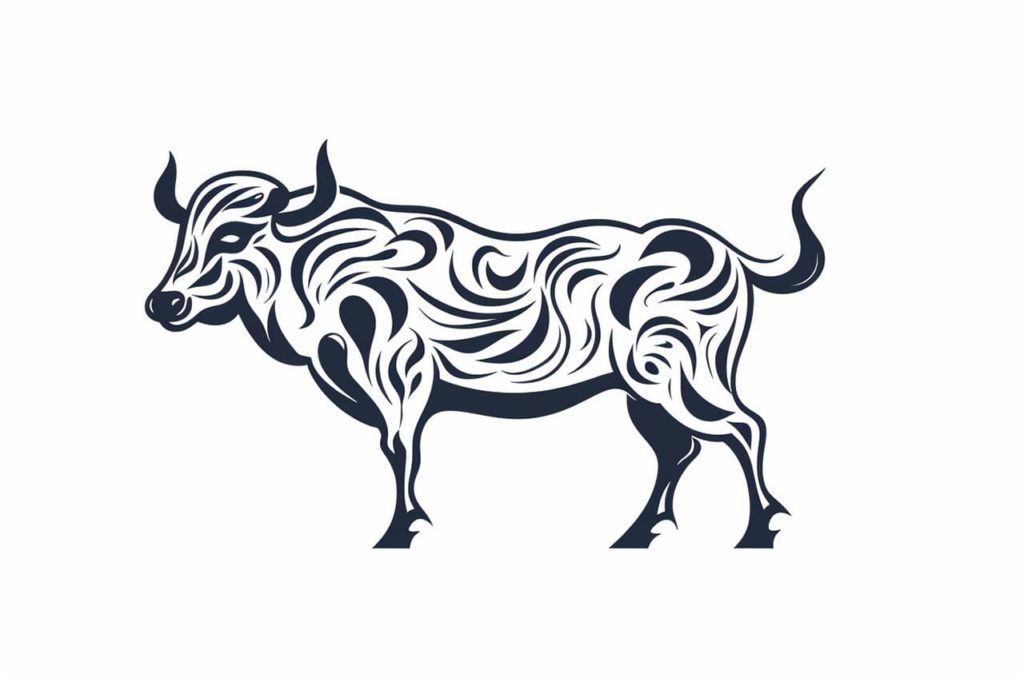
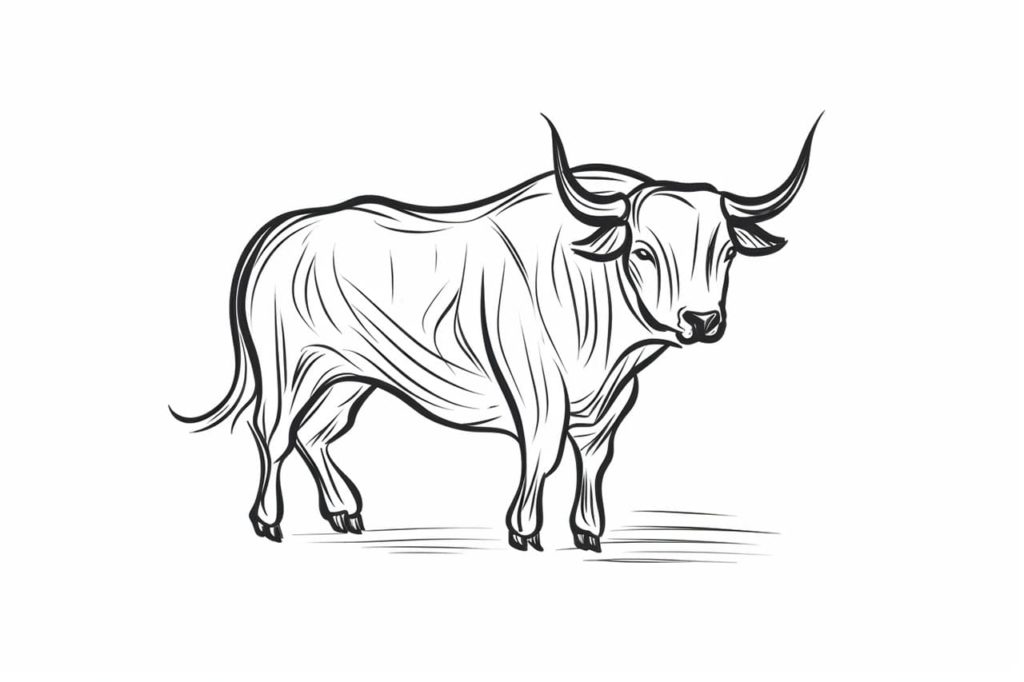
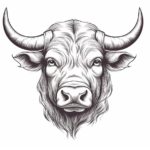
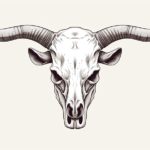
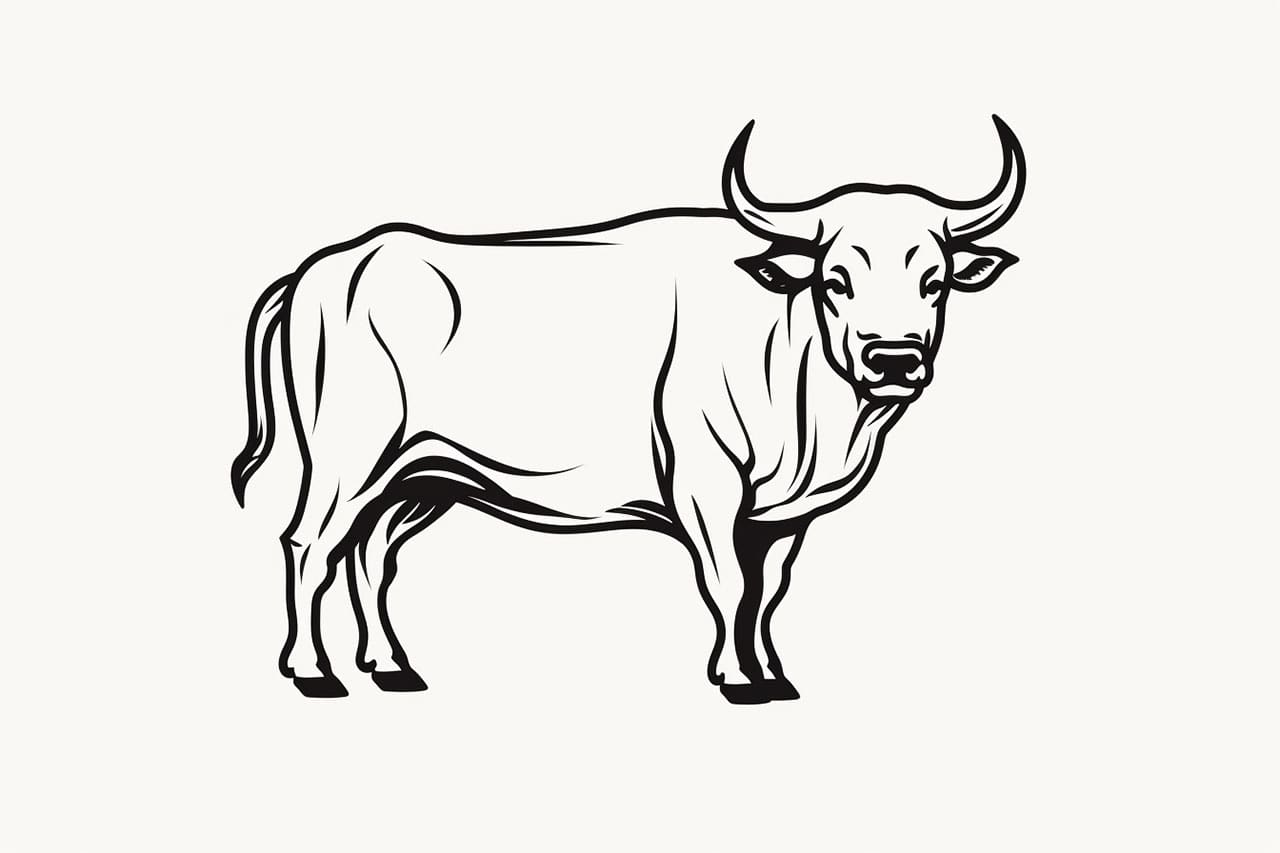
Gallery of Bull Drawings