Welcome to this step-by-step guide on how to draw a buffalo! Whether you’re an aspiring artist or simply looking to explore your creative side, drawing animals is a great way to improve your skills and have some fun. In this tutorial, we will break down the process of drawing a buffalo into easy-to-follow steps. So grab your pencil, paper, and let’s get started!
Materials Required
Before we dive into the drawing process, let’s gather the materials you’ll need:
- Paper: Choose a sheet of paper suitable for drawing. You can use a sketchbook or any type of paper that works well with pencils.
- Pencils: Get a range of pencils with different lead grades, such as 2H, HB, 2B, and 4B. These will allow you to achieve varying levels of darkness and texture in your drawing.
- Eraser: Have a good quality eraser handy, preferably a kneaded eraser, which can be shaped to remove small details or lighten areas as needed.
- Reference Image: Find a clear reference image of a buffalo to guide you throughout the drawing process. You can search for one online or use a wildlife photography book.
Now that you have gathered your materials, let’s begin drawing our buffalo!
Step 1: Basic Shapes and Proportions
Start by lightly sketching the basic shapes and proportions of the buffalo. Begin with an oval for the body and a smaller oval for the head, connecting them with a neck line. Add circles for the joints of the legs and ovals for the horns. Remember, these are just guidelines, so keep your lines light and easily erasable.
Step 2: Outlining the Body
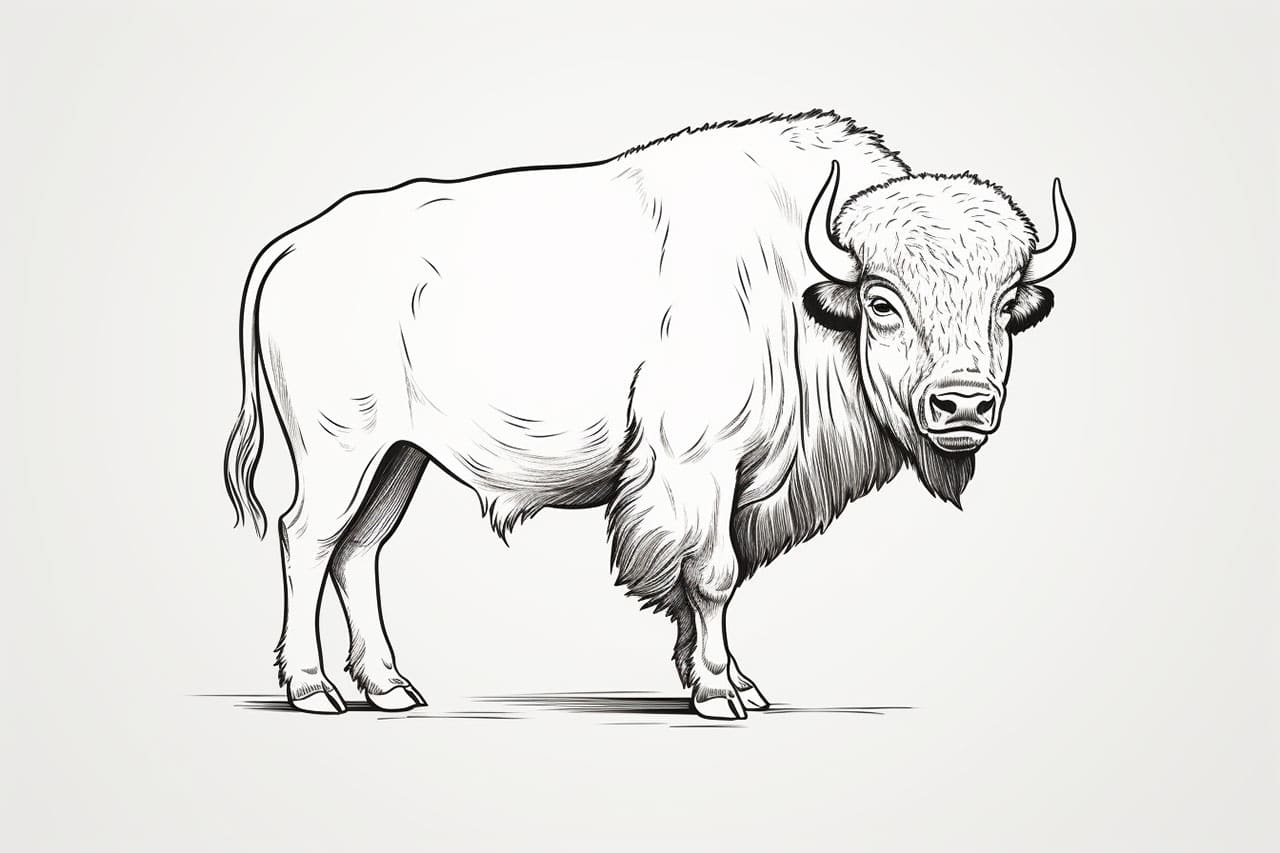
Using your initial shapes as a guide, start outlining the body of the buffalo with more defined lines. Pay attention to the contours and curves of the body, making sure to capture the rounded shape of the buffalo’s back and the muscular structure of its legs. Take your time and make adjustments as needed.
Step 3: Adding Features
Now it’s time to add the details that bring your buffalo to life. Start with the head, sketching the eyes, ears, and nose. Pay attention to the placement and size of these features, as they are essential for capturing the buffalo’s expression. Next, add the textured fur along the body and horns. Use short, curved lines to create the illusion of fur, and add shading to give depth and dimension.
Step 4: Refining and Shading
Refine the lines of your drawing, erasing any unnecessary guidelines and making adjustments to the proportions if needed. Now, focus on shading to give your buffalo a three-dimensional appearance. Observe the reference image for areas of light and shadow, and use a combination of light and dark pencil strokes to achieve a realistic effect. Remember to blend the shading using a blending stump or your fingers for a smooth transition between light and dark areas.
Step 5: Final Touches
Take a step back and evaluate your drawing. Make any final adjustments, adding more details or shading as necessary. Pay attention to the overall balance and harmony of your composition. Once you are satisfied with the result, you can darken the lines and erase any remaining guidelines. Congratulations, you’ve successfully drawn a buffalo!
Conclusion
Drawing a buffalo may seem challenging at first, but with practice and patience, you can create a stunning representation of this magnificent animal. By following the steps outlined in this tutorial and using your creativity, you’ll be able to capture the unique features and essence of a buffalo in your artwork. Remember to have fun throughout the process and don’t be discouraged by mistakes. Keep practicing, experimenting, and soon you’ll be able to draw various animals with confidence and skill. Happy drawing!