Welcome to this step-by-step guide on how to draw a basketball hoop. Drawing is a wonderful way to express your creativity and improve your artistic skills. Whether you’re an aspiring artist or simply looking to have some fun, this tutorial will teach you how to create a realistic basketball hoop on paper. So grab your drawing materials and let’s get started!
Materials Required
To draw a basketball hoop, you will need the following materials:
- Drawing paper: Choose a good-quality paper that is suitable for the medium you will be using (pencil, pen, marker, etc.)
- Pencil: A regular graphite pencil will be ideal for sketching and adding details.
- Eraser: Make sure you have a soft eraser to correct any mistakes along the way.
- Ruler: Use a ruler to create straight lines and maintain symmetry in your drawing.
- Compass: A compass will be useful for drawing circles.
- Coloring materials (optional): If you wish to add color to your drawing, prepare some markers, colored pencils, or paints.
Now that you’re ready with your materials, let’s dive into the steps of drawing a basketball hoop.
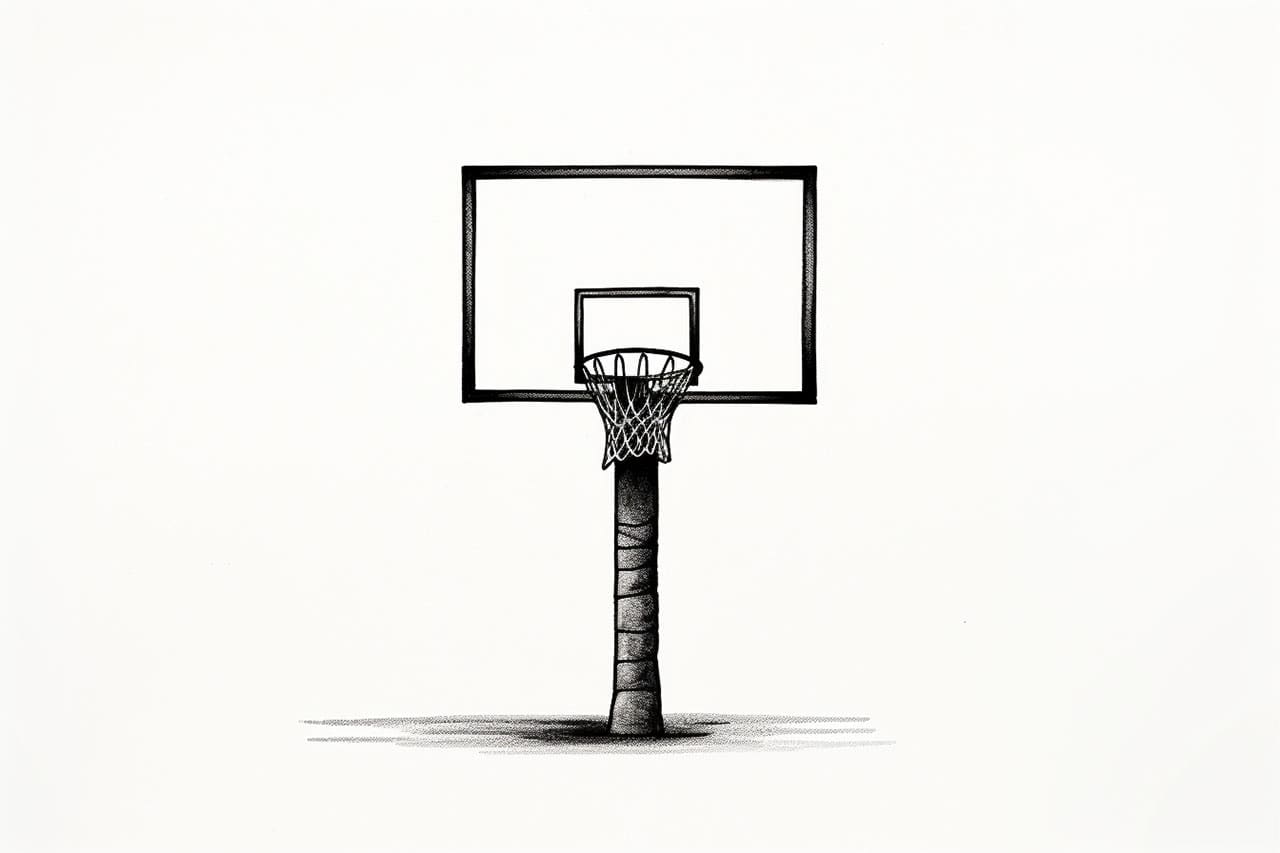
Step 1: Start with the Backboard
To begin, draw a rectangle in the center of your paper to represent the backboard. Use a ruler to ensure that the lines are straight and parallel. The size of the rectangle will depend on your preference, but make sure it is proportional to the rest of your drawing.
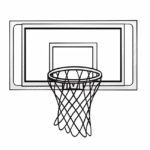
Step 2: Add the Rim
Next, draw a circle for the rim of the basketball hoop. Position the circle at the top of the rectangle, leaving enough space for the basketball to pass through. Use a compass to draw a perfect circle, or you can trace around a round object if you don’t have a compass.
Step 3: Connect the Rim and the Backboard
Now, draw two diagonal lines to connect the rim and the backboard. These lines will represent the metal support that holds the rim in place. Start from the top of the rim and extend the lines to the corners of the backboard. Again, use a ruler to ensure they are straight and symmetrical.
Step 4: Create the Net
To make the hoop look more realistic, draw the net. Begin by sketching two straight lines from the bottom of the rim, slightly curving them downward. Then, draw a series of curved lines between the two straight lines to represent the net. You can make it as detailed as you desire, adding more or fewer curves depending on the level of realism you aim for.
Step 5: Outline the Backboard
Once you have completed the basic structure of the basketball hoop, it’s time to add some details. Start by outlining the backboard, giving it a three-dimensional appearance. Add depth by drawing two lines parallel to the top and bottom edges of the rectangle, slightly curving them inward.
Step 6: Draw the Shot Clock
If you want to include additional elements in your drawing, you can add a shot clock above the basketball hoop. The shot clock is a digital timer used in basketball games to count down the seconds a team has left to shoot the ball. Sketch a rectangle above the backboard and draw a small circle at its center to represent the digital display.
Step 7: Add Texture and Shading
To make your drawing more realistic, add texture and shading to the various components of the basketball hoop. Use hatching and cross-hatching techniques to create a sense of depth and dimension. Shade the areas that are in shadow and leave the areas that receive direct light unshaded. Take your time and build up the shading gradually to achieve a realistic result.
Step 8: Fine-tune and Refine
Take a step back and evaluate your drawing. Look for any areas that may need adjustments or corrections. Erase any unwanted lines or mistakes and continue refining your drawing until you are satisfied with the result. Pay attention to proportions, details, and overall composition to ensure your drawing looks balanced and accurate.
Conclusion
Congratulations! You have successfully learned how to draw a basketball hoop step by step. By following this tutorial, you were able to create a realistic representation of a basketball hoop on paper. Remember, practice makes perfect, so keep honing your drawing skills and exploring your creativity. With time and dedication, you will continue to improve your artistic abilities. Happy drawing!