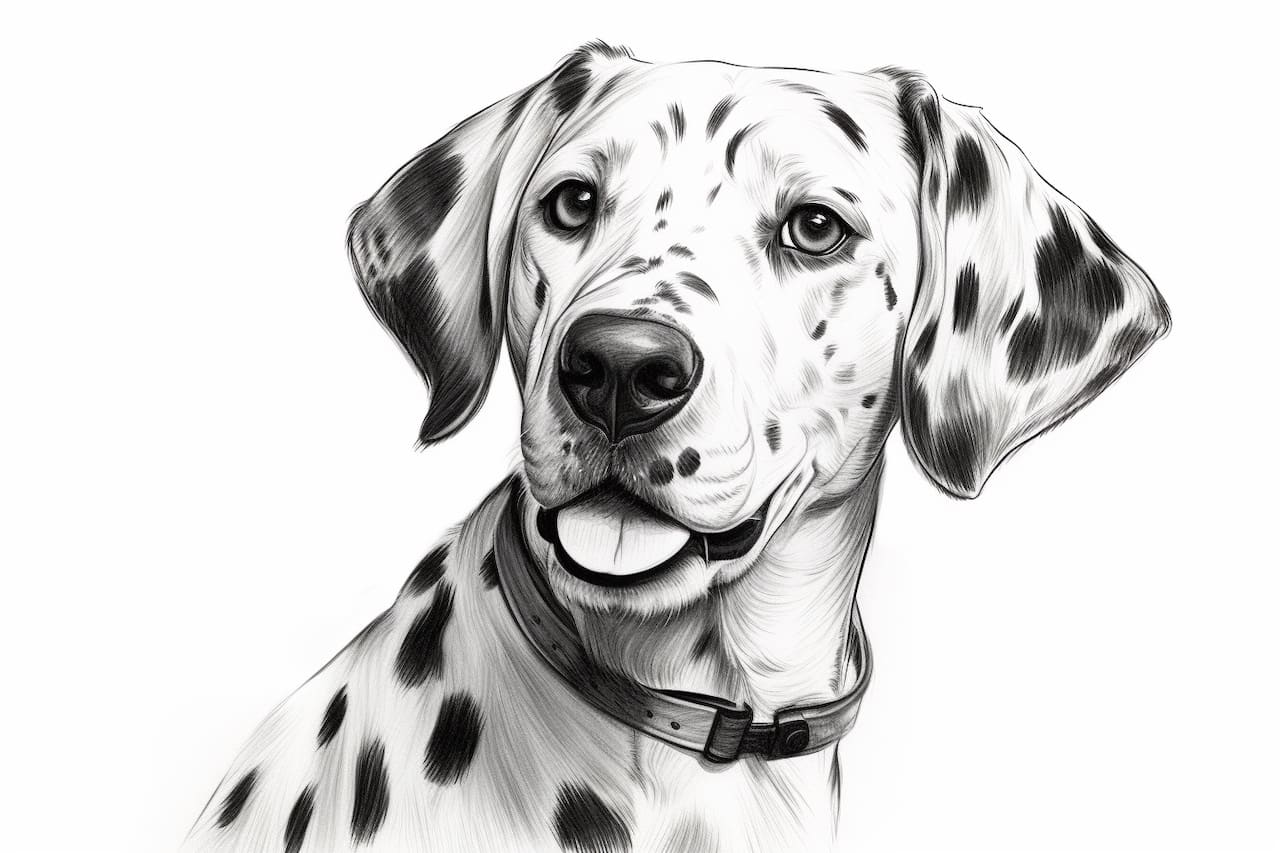
Welcome to this step-by-step guide on how to draw a Dalmatian! Whether you’re an aspiring artist or just looking to have some fun, this tutorial will walk you through the process of creating a realistic and adorable Dalmatian dog.
Dalmatians are known for their distinctive spots and elegant appearance, making them a popular choice for drawing subjects. With a few simple techniques and some patience, you’ll be able to capture the charm of this breed on paper.
So, let’s grab our drawing materials and get started!
Materials Required
Before we begin, gather the following materials:
- Drawing paper or sketchbook
- Pencils of various hardness (e.g., HB, 2B, 4B)
- Eraser
- Blending stump or cotton swabs
- Reference photo of a Dalmatian (optional, but highly recommended)
Now that you’re prepared, let’s dive into the steps of drawing a Dalmatian!
Step 1: Sketch the Basic Shapes
Start by lightly sketching the basic shapes that will serve as the foundation for your Dalmatian drawing. Draw a large oval shape for the body, a smaller oval for the head, and two rectangles for the front and hind legs. These shapes will help you establish the proportions and pose of your Dalmatian.
Step 2: Add the Facial Features
Using the small oval as a guide, sketch the placement of the eyes, nose, and mouth. Dalmatians have almond-shaped eyes, a rounded nose, and a slightly curved mouth. Take your time to get the proportions right as these features contribute to the dog’s expression and character.
Step 3: Outline the Dalmatian’s Body
Using the larger oval shape, carefully outline the body of the Dalmatian. Pay attention to the curves and angles of the dog’s back, chest, and legs. Keep your lines light and fluid, as you can refine them later.
Step 4: Define the Spots
Dalmatians are famous for their spots, so let’s add them to our drawing. Start by lightly sketching random spots all over the body. Vary the size and shape of the spots to add visual interest. Dalmatians often have larger spots on their body and smaller ones on their face and ears.
Step 5: Refine the Facial Features
Now it’s time to add more detail to the facial features of your Dalmatian. Begin by carefully shaping the eyes, making sure they convey the right expression. Darken the nose, adding a slight shine to make it look realistic. Define the mouth by lightly indicating a few lines for the lips.
Step 6: Bring Your Drawing to Life
To make your Dalmatian drawing more realistic, start shading the various areas of the body. Use softer pencils (e.g., 4B) to create the shading, as it will add depth and dimension to your artwork. Pay attention to the lighter and darker areas of the Dalmatian’s coat, and use a blending stump or cotton swabs to blend the shading for a smoother look.
Step 7: Fine-Tune the Details
Now that the basic shading is complete, it’s time to refine the details of your Dalmatian drawing. Add more definition to the spots, making sure they follow the contours of the body. Pay attention to the fur texture, using short, feathery strokes to imply the dog’s coat.
Step 8: Add Highlights and Shadows
To make your Dalmatian really pop, add highlights and shadows to enhance the three-dimensional effect. Use an eraser to lift off some of the graphite in areas where the light hits, creating highlights. In contrast, darken areas that are in shadow or receive less light. These subtle touches will add realism and depth to your drawing.
Conclusion
Congratulations! You’ve successfully learned how to draw a Dalmatian. By following these step-by-step instructions, you’ve created a realistic and charming representation of this beautiful breed. Remember, practice makes perfect, so don’t be afraid to experiment and continue honing your artistic skills.
Drawing animals can be a rewarding and enjoyable experience, and the Dalmatian is an excellent subject to explore. So keep sketching, keep learning, and have fun bringing more animals to life on paper!